Installing roller shades yourself saves real money—but only if the job goes right. A shade that goes up crooked, pulls out of the wall, or binds on the tube because the brackets are 2mm out of alignment is going to come down again, costing you time and possibly a replacement part. This guide gives you the unvarnished numbers: what tools you actually need, what professional installers charge in 2026, where DIY goes wrong, and how to decide which path makes sense for your specific project.
What DIY Roller Shade Installation Actually Costs
The DIY savings calculation depends almost entirely on what tools you already own. If you have a power drill, a level, a pencil, and a tape measure, your out-of-pocket cost to install roller shades is essentially $0 beyond the shades themselves. If you're buying tools for the first time, budget $100–$200 for a cordless drill ($60–$100), a 24-inch level ($20–$40), a set of drill bits ($15–$25), and a stud finder ($20–$35).
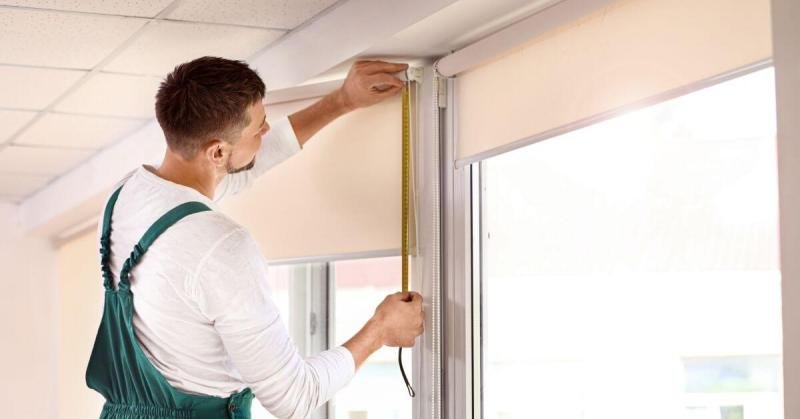
Beyond tools, count your time. First-time installers typically spend 45–90 minutes per window—measuring, marking, drilling, mounting brackets, hanging the tube, and adjusting tension. After the first two or three windows, most people get the process down to 25–40 minutes per window. On a 10-window house, that's 5–8 hours of actual work spread over a Saturday.
Consumables matter too: wall anchors ($5–$15 per box depending on type), screws if not included with your shades (often included), and a tube of painter's caulk to fill any test holes from a misplaced mark ($5). Total consumable cost for a 10-window installation: $15–$35.
World Wide Shades ships shades with all necessary mounting hardware included—brackets, screws, and end caps—so you typically won't need to source hardware separately. Before ordering, read our how to measure windows guide and our inside mount vs outside mount guide to avoid the most common pre-installation mistake: ordering shades with the wrong dimensions for your chosen mount type.
What Professional Installation Costs in 2026
Professional roller shade installation in 2026 runs $75–$150 per window for standard manual shades on typical residential windows (up to approximately 8 feet high, drywall or standard framing). The rate includes measuring, mounting, leveling, and basic cord/chain tensioning. Some installers charge a flat trip fee of $75–$150 on top of per-window rates; others build it into their per-window pricing. Always ask whether the quote includes travel before comparing bids.
Motorized shade installation costs more: $200–$400 per window for battery-operated motors, and $300–$600 per window for hardwired motors that require an electrician to rough in a junction box. That premium reflects additional time for motor calibration, remote pairing, limit setting, and—for hardwired systems—coordination with electrical work.
High-ceiling installations (12 feet and above) add $50–$150 per window because the installer needs to set up and reposition a ladder or scaffold for each window, and larger shades are physically heavier to handle. For windows above 16 feet, some installers require two-person crews, which drives the per-window rate higher still.
For a 10-window house with standard windows, professional installation typically adds $750–$1,500 to your total project cost. For motorized shades throughout a whole home, add $2,000–$4,000 or more. Contact World Wide Shades or call (844) 674-2716 to get a referral to vetted installers in your area who are familiar with our products.
Anchor Types: Drywall, Plaster, Brick, and Concrete
Bracket failure is the most consequential DIY installation mistake and almost always traces back to the wrong anchor for the wall material. Using the right anchor is not optional.
Standard hollow-wall anchors work for light shades (under 10 lbs total), but toggle bolts are more reliable for heavier shade assemblies and for shades that will be cycled multiple times per day. Snap toggles (also called Toggler brand anchors) are the most reliable and easiest to install correctly—they expand behind the drywall and can be removed without destroying the hole. Avoid plastic expansion anchors in drywall; they creep under sustained load and eventually allow the bracket to shift.
If there's a stud in the right position, a #8 wood screw driven 1.5 inches into the stud is always stronger than any hollow-wall anchor. Use a stud finder before drilling and shift your bracket position by up to 0.5 inches to catch a stud when possible—most bracket designs have slotted holes that allow minor horizontal adjustment.
Old plaster over wood lath is brittle and behaves differently from drywall under drilling and anchor load. Drill slowly with a sharp bit to avoid cracking the plaster face. If you hit wood lath behind the plaster, a wood screw into the lath is strong. If you miss the lath, toggle bolts work in the air gap behind plaster. Plastic expansion anchors frequently fail in plaster—the plaster cracks rather than allowing the anchor to expand properly.
Masonry installation requires a hammer drill and masonry bit. Standard drill drivers will not create clean holes in brick or concrete. Use a 3/16-inch masonry bit for standard sleeve anchors, drill to the depth marked on the anchor (typically 1.5–2 inches), blow out dust before inserting the anchor, and use a properly rated sleeve anchor or Tapcon screw. Tapcon screws (3/16 inch by 2.25 inches) are the simplest masonry fastener for roller shade brackets and are widely available. Do not use hollow-wall anchors in masonry.
Time Investment: Realistic DIY Hours Per Window
The 45–90 minute first-window estimate accounts for setup, reading instructions, making measurement mistakes, filling the first hole, and re-drilling. Here's a realistic breakdown:
- Measuring and marking bracket positions: 10–15 minutes
- Drilling and setting anchors: 10–20 minutes (longer on first attempt)
- Mounting brackets and checking level: 10–15 minutes
- Hanging shade tube and testing operation: 5–10 minutes
- Adjusting tension and trimming cord: 5–10 minutes
After the first window, you're more efficient and each subsequent window takes 25–40 minutes. A 10-window house done solo takes most people 5–8 hours total, typically split across two sessions. Factor in time for a hardware store run if you discover you need different anchors mid-project—allow 1–2 hours buffer for a single-day installation project.
Common DIY Mistakes and How to Avoid Them
The most common mistake is drilling both bracket holes before checking level, then discovering the shade tube sits visibly tilted. The fix: after marking and drilling the first bracket hole, mount that bracket loosely, place a level on top of the bracket, and mark the second bracket position off the level rather than off a tape measure transferred from the window frame. Window frames themselves are often not perfectly level—measure off the bracket, not the frame.
Electrical wires in exterior walls typically run vertically between outlets and switches and horizontally toward junction boxes. Roller shade brackets go into the wall only 1–2 inches, which is inside the stud bay and well clear of most wiring paths. The higher risk is near windows with integral outlets or near switch boxes on the window trim. If you're drilling within 12 inches of an outlet or switch, use a stud finder with AC detection capability before drilling. Hitting a wire at shallow depth is unlikely to cause electrocution but will require a repair.
Self-tapping drywall screws are not appropriate for use in anchors—they have coarse threads that don't grip anchor material well and can strip under the torque of a cordless drill set too high. Use the screws supplied with your shades or standard #8 pan-head machine screws for anchor applications. Set your drill clutch low (setting 3–5 on most drivers) when driving into anchors to avoid stripping.
A shade that's level but not square to the window reveal—because the reveal itself is out of square—will have an uneven gap on one side when in the up position. For inside-mount shades, check both the level of the brackets and the clearance on each side of the roller tube before finishing. A small shim behind one bracket can correct a skewed reveal without re-drilling.
World Wide Shades includes installation instructions with every shade that walk through these checks in sequence. If you want a visual walkthrough, see our full how to install roller shades guide.
When DIY Makes Sense
DIY installation is the right call when: you have 10 or fewer windows at standard heights (under 8 feet), you own basic tools or are willing to buy them for future use, the wall material is standard drywall over wood framing, the shades are manual (not motorized), and you have a free half-day to do the work at a comfortable pace.
Rental properties are a strong DIY use case. You're installing shades to add value to a rental unit, not making a permanent design statement, and keeping costs low per window makes financial sense. A 5-window apartment done DIY with $0 in tool costs (tools already owned) saves $375–$750 in labor versus professional installation.
Budget-conscious homeowners doing a room at a time are also good DIY candidates. There's no rush, you can spread the work over several weekends, and mistakes on early windows can be corrected before you reach the rooms that matter most aesthetically.
For specific guidance on the actual installation steps, see our how to install roller shades guide. For a cost comparison between custom shades and big-box alternatives, see custom roller shades vs Home Depot.
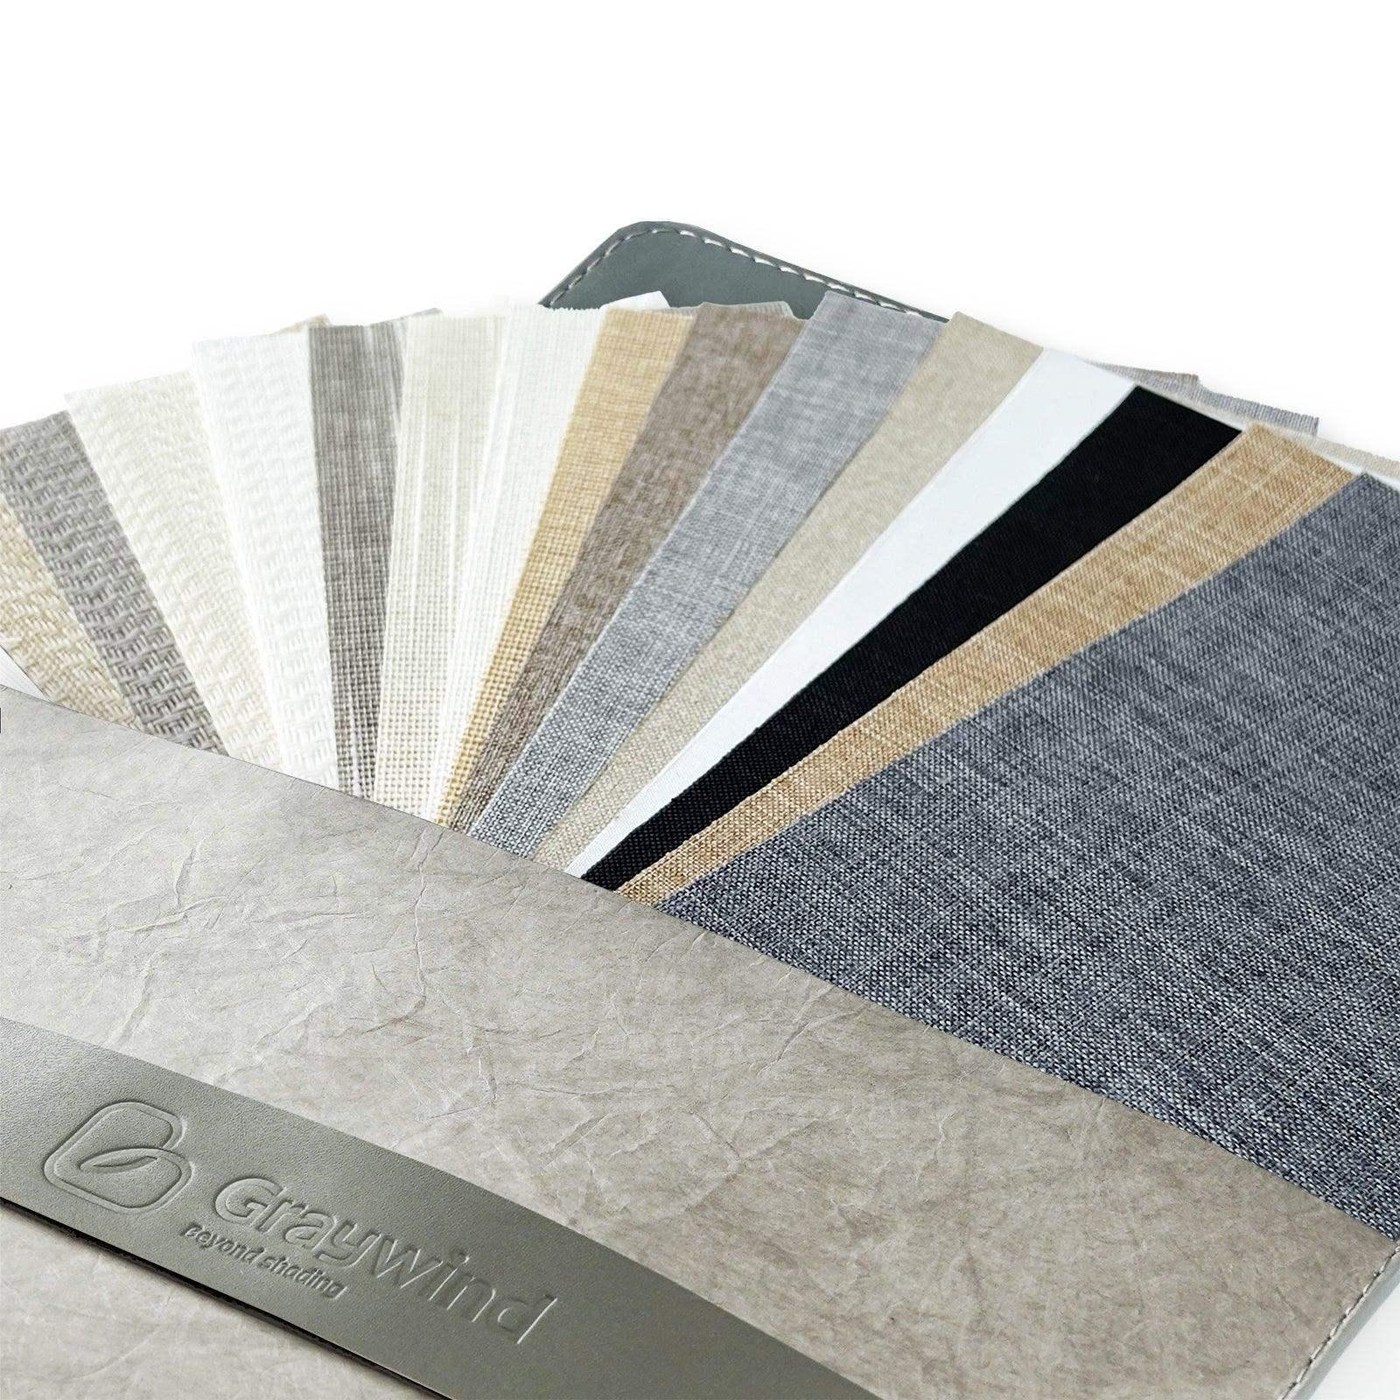
Ready to order? Configure your shades in the World Wide Shades builder or request fabric swatches to nail down your color selection before committing.
When Professional Installation Makes Sense
Professional installation earns its cost in several specific scenarios.
Motorized shades: Setting motor limits, calibrating travel distance, and pairing remotes requires familiarity with the motor system. Done incorrectly, a motor shade can over-travel and damage the fabric or the tube stop. Professional installers who work regularly with motorized systems do this in 10–15 minutes per window; a first-timer can spend an hour per window troubleshooting. If you're spending $300–$600 per motorized shade, adding $200–$400 per window in professional installation is proportionally reasonable. See how much do motorized roller shades cost for the full cost picture.
Hardwired systems: Hardwired motor installations require a licensed electrician to rough in the electrical—this is not a DIY task in most jurisdictions unless you hold a homeowner electrical permit. The installer and electrician need to coordinate the rough-in and trim-out sequence, which is smoother with a professional managing both scopes.
High ceilings (12+ feet): Working off a ladder at 12–16 feet while handling heavy hardware and checking level is genuinely hazardous and physically difficult. Professional installers have proper equipment—pump jacks, scissor lifts for very high work—and can complete high-ceiling installations faster and more safely than a homeowner can.
Historic homes: Old plaster, original window trim, and building materials that behave unpredictably require experience. A professional installer who works in older homes knows how to read wall construction, avoid cracking ornate plaster, and select anchors that will hold in non-standard materials. Call World Wide Shades at (844) 674-2716 for installer referrals in your area if you have a challenging installation environment.
Large quantity: If you're outfitting a whole house with 20+ windows at once, the time and physical fatigue of DIY become significant factors. Many homeowners find that doing 10–12 windows is manageable but 20+ pushes into territory where a professional team finishes in one day what would take a homeowner two full weekends.
Warranty Implications of DIY vs Professional Installation
World Wide Shades product warranties cover manufacturing defects in the shade fabric, roller tube, and hardware components. The warranty does not cover damage resulting from improper installation—a bracket that was over-torqued and cracked the end cap, or a roller tube that was bent because it was forced into misaligned brackets.
This is standard across the window covering industry. The practical implication: if you DIY and something goes wrong with the shade mechanism, document the installation carefully (photos of bracket positions, level, and anchor type) before reporting a warranty issue. If the cause is clearly a manufacturing defect rather than an installation error, the warranty claim process is straightforward. If the cause is ambiguous, having documentation of a careful installation supports your claim.
Professional installation adds a separate labor warranty—typically 90 days to 1 year—that covers any issues with the installation work itself. If a bracket pulls out of the wall within the warranty period, the installer comes back and remounts it at no charge. That coverage has value, particularly for high-ceiling or masonry installations where anchor selection is genuinely complex.
Electrical Requirements for Hardwired Motorized Shades
Hardwired roller shade motors run on standard 120V household current in North America, typically drawing 40–80 watts each during operation. Each motor needs a dedicated switched leg—either a wall switch or a connection to a building automation system—at or near the window location.
The rough-in work involves a licensed electrician pulling wire from the nearest circuit (ideally a lighting circuit on the same wall) to a junction box at the top of each window opening. The junction box is typically concealed by the shade fascia or headrail. This work costs $50–$150 per window for the electrical portion alone, in addition to the shade installation cost.
For battery-operated motorized shades, no electrical work is required—the motor connects to a rechargeable battery pack that sits inside the roller tube or in a concealed location at the window. This eliminates the electrical coordination step and is the practical choice for most residential motorized shade projects unless you are doing a full renovation where new electrical is already being run. See our motorized roller shades: are they worth it analysis for the full cost-benefit breakdown.
What Professional Installers Do That DIYers Miss
Professional shade installers do several things beyond just mounting brackets that materially affect long-term performance:
Level and square check as a system. Rather than leveling each shade individually, experienced installers establish a reference line across a bank of windows and align all shades to that line. On a wall with 6 windows, this ensures the shade hem lines read as continuous and level across the wall rather than as slightly different heights on each window.
Shim work for out-of-square openings. Older homes with windows that have settled over decades often have window openings that are out of square by 0.25–0.5 inches. A professional installer will shim behind a bracket to compensate for a tilted reveal, which ensures the shade hangs straight even in a crooked opening.
Cord and chain tensioning. Manual roller shades have a spring-loaded tensioner inside the roller tube. If the tension is too low, the shade won't hold position; if too high, raising the shade requires significant force and the spring fatigues quickly. Setting tension correctly is a learned skill—most installers do it by feel after hundreds of installations.
Operator placement for accessibility. A professional installer considers where the operating cord or chain will land relative to furniture, traffic flow, and accessibility needs, and adjusts chain length or cord routing accordingly. This is easy to overlook on DIY installations and frustrating to correct after the shades are fully installed.
Frequently Asked Questions
Not for standard windows. If you can drill a hole in a straight line and use a level, you can install manual roller shades. The process is well within the capabilities of anyone who has done basic home repair tasks. Mistakes are usually correctible: a misdrilled hole gets patched with spackling compound and re-drilled. Allow more time than you think you need on the first window. Our how to install roller shades guide walks through every step.
A power drill is non-negotiable—hand screwdrivers won't drive anchors reliably. A level is essential; a phone-based level app is surprisingly accurate as a substitute for a physical level for light use. A tape measure is obvious. Everything else (stud finder, pencil, painter's tape for marking) has workable substitutes. Total cost to buy the essentials if you own nothing: $80–$130.
DIY installation does not void the product warranty on World Wide Shades products. The warranty covers manufacturing defects regardless of who installs the shade. What can void the warranty is damage caused by improper installation—forcing a tube into misaligned brackets, over-torquing bracket screws, or similar installation errors. Install carefully and document with photos, and warranty claims remain fully valid.
Inside mount shades sit within the window frame and require a minimum depth of 2.5 inches (for a standard roller tube) in the frame recess. Measure from the front of the frame to the nearest obstruction. If you have less than 2.5 inches of clear depth, use outside mount. Outside mount shades attach to the wall or ceiling above the window and provide better light blockage. Full guidance is in our inside mount vs outside mount guide. See also our how to measure windows guide.
For a typical home with 10 windows, expect $1,200–$2,500 in shade cost from World Wide Shades depending on fabric and whether motorization is included, plus $750–$1,500 in professional installation for manual shades. Total installed cost: $1,950–$4,000 for a 10-window project with manual shades. Motorized shades on the same project would add $2,000–$4,000 in shades and $2,000–$4,000 in installation, putting total installed cost at $5,950–$12,000. For a detailed cost breakdown, see our guide on how much do custom roller shades cost.
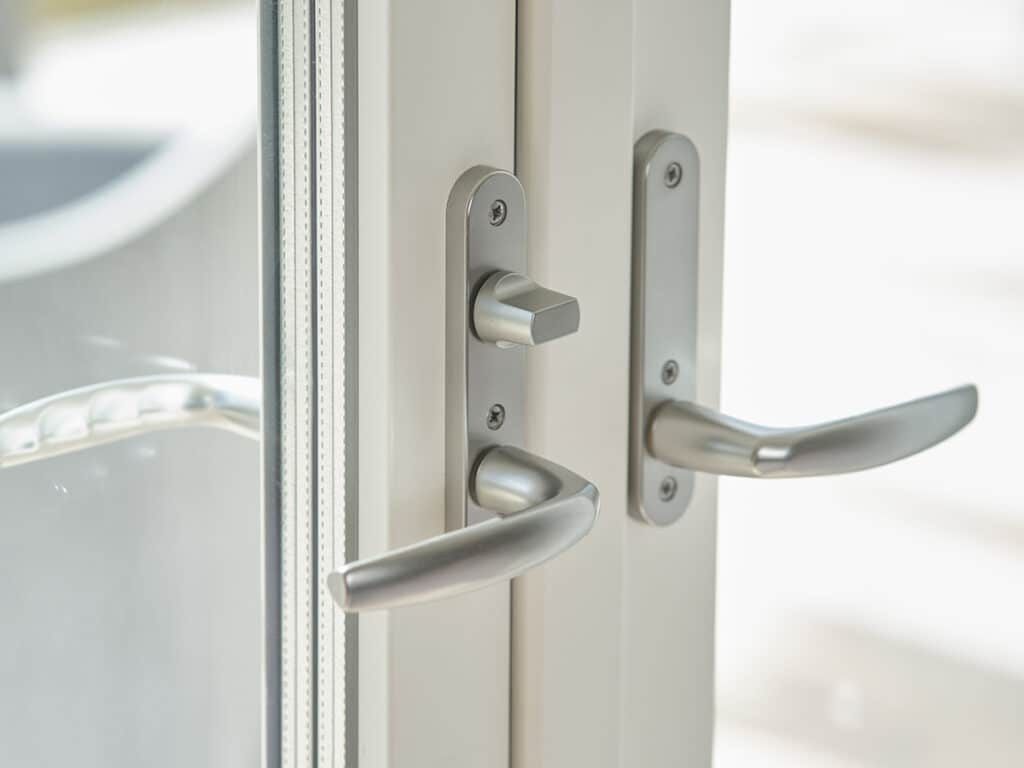
Yes, but French doors require specific hardware to prevent the shade from swinging when the door opens. World Wide Shades offers French door roller shade kits with hold-down brackets that secure the bottom of the shade to the door panel, keeping it flat during operation. Installation on French doors adds 15–20 minutes per door panel versus a standard window. See our roller shades for French doors guide for detailed instructions.