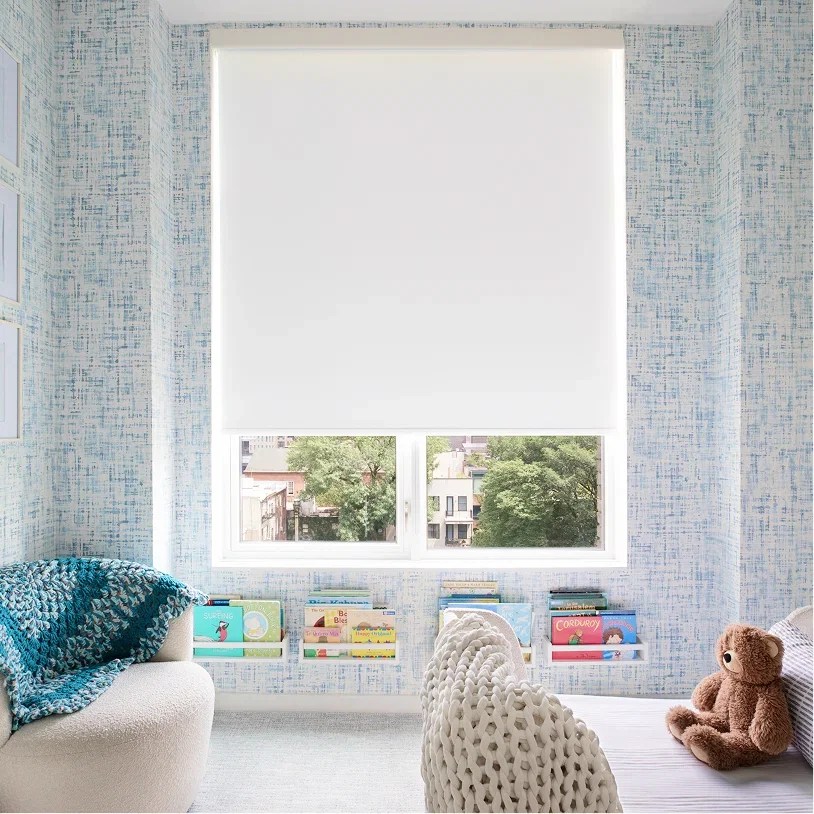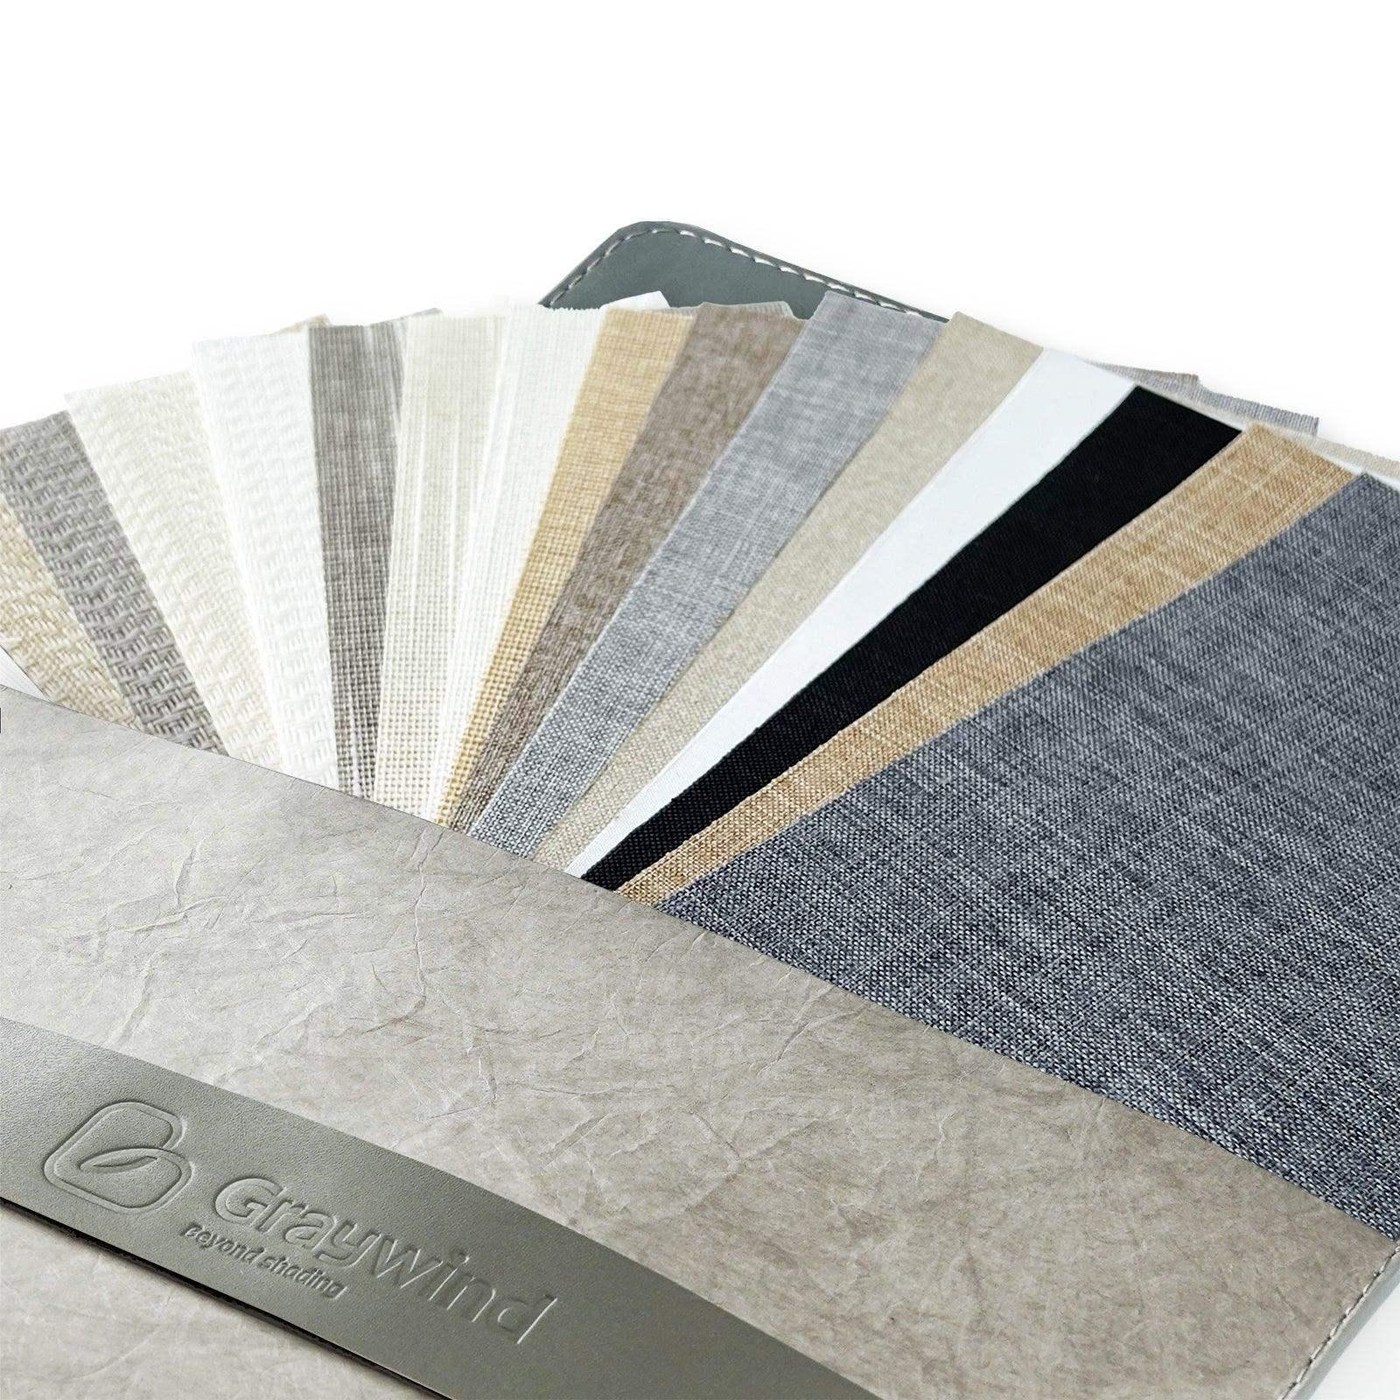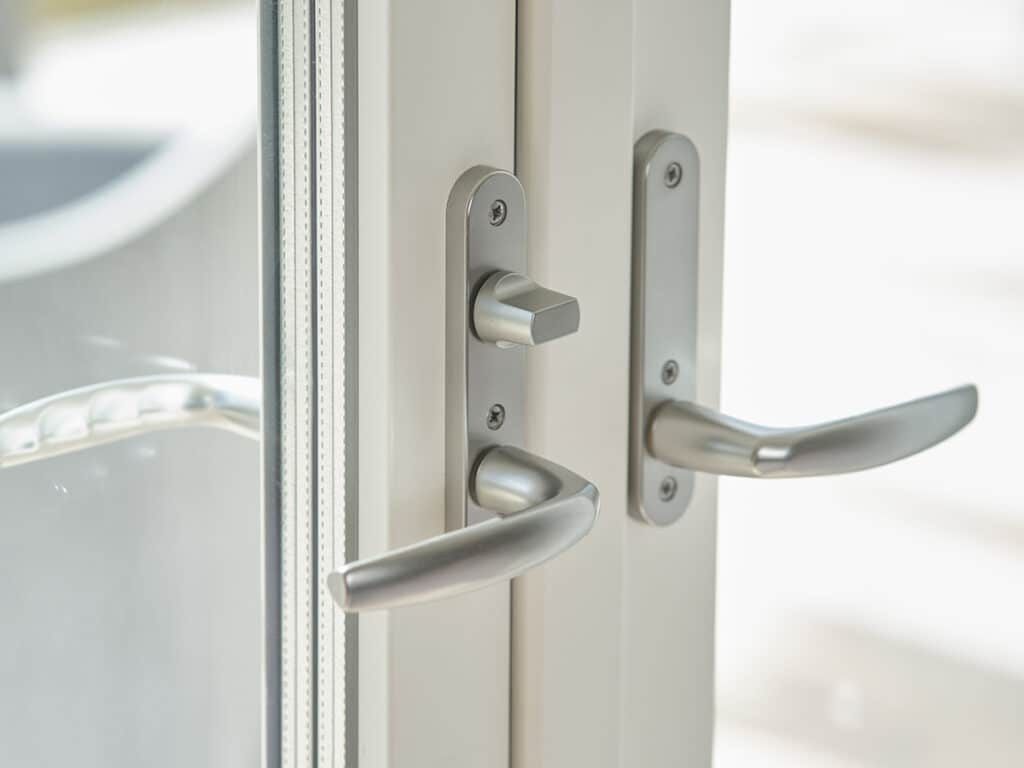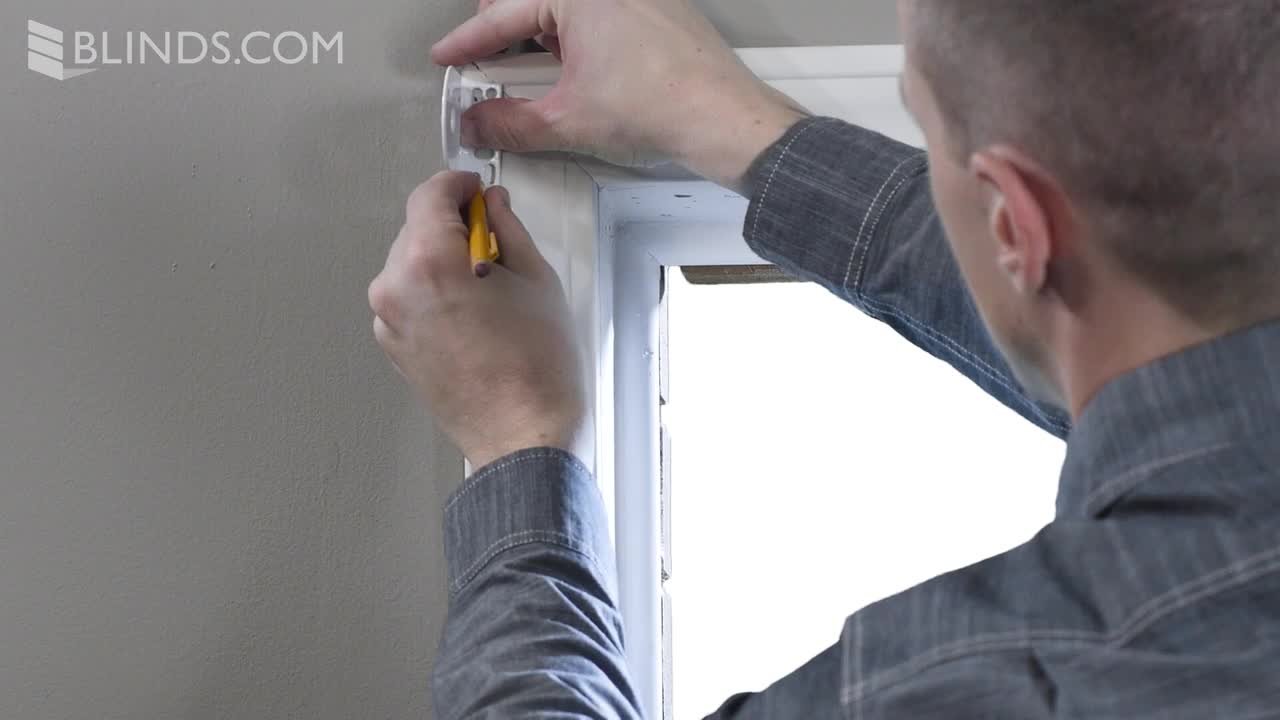
Outside-mount roller shades sit on the wall, trim, or window casing instead of inside the recess. That position is useful when the opening is shallow, the frame is uneven, or you want more fabric overlap to reduce side light. A successful installation depends on three things: the brackets must be level, the anchors must match the wall, and the shade must clear handles, trim, and nearby furniture.
World Wide Shades can help choose the mount and hardware before you drill. Configure outside-mount shades with World Wide Shades, compare light-control fabrics, or contact World Wide Shades for a mounting review. Call (844) 674-2716 if the shade is extra wide, over a door, above stairs, or being installed into masonry.
When outside mount is the better choice
Choose outside mount when the recess is too shallow for the roll, brackets, or cassette; when a crank, handle, or lock projects into the opening; or when you want the shade to cover trim and reduce visible gaps. It can also make a narrow window look taller because the headrail sits above the frame and the fabric extends beyond the jambs.
The tradeoff is projection. The shade may sit several inches forward of the wall, so measure how it relates to a door swing, cabinet, picture frame, or ceiling fan. If the wall is textured or irregular, spacers may be needed for a stable, level plane. For a comparison, read inside-mount versus outside-mount shades.
World Wide Shades can calculate the coverage needed for privacy, glare, and blackout goals. Ask World Wide Shades to review the opening before ordering.
Plan the coverage first
Measure the visible opening, the trim, and the area you want covered. For light control, a planning allowance of 2 to 4 inches of fabric overlap per side is common, but the product, trim, and wall determine the final number. More overlap helps reduce side light; it also increases finished width and may affect whether the shade is one piece or split into two.
Measure from the intended top bracket line to the desired bottom position. If the shade covers a door, check the handle and lock. If it covers a bedroom window, decide whether the fabric should stop at the sill or extend below it. The finished height is not automatically the glass height.
Order the correct hardware for outside mount. Brackets for an inside recess may not provide the projection or load support needed on a wall. World Wide Shades can supply the appropriate bracket and cassette configuration. Start a World Wide Shades order.
Tools and safety
Gather a steel tape measure, pencil, level, drill, drill bits, screwdriver or driver, stud finder, anchor set, and step stool. Use eye protection when drilling. Have a second person support a wide shade; a long tube can be awkward and can twist the brackets if one end is loaded first.
Identify the wall material before selecting anchors. A wood stud can take a screw of the correct length; drywall alone needs a rated hollow-wall anchor; masonry needs a masonry bit and appropriate fastener. Do not rely on a small plastic plug for a heavy shade over a frequently used door. If you are unsure about the wall or a high installation, hire a professional. World Wide Shades can coordinate installation for projects that require special access.
Mark a level bracket line
Hold the shade or cassette above the opening and mark the desired height. Use the level to transfer that line across the entire opening. Do not use the ceiling or trim as a visual reference; older homes can have lines that are not level. The shade tube should be level even if the window is not perfectly square.
Mark bracket centers according to the manufacturer’s drawing. Keep brackets far enough from the fabric roll and any end cap so the tube can seat fully. On a wide shade, locate studs where possible and distribute anchors across the headrail. Before drilling, hold the shade in place and check that the roll will clear the handle, trim, and glass.
For a cassette or valance, leave the specified top and front clearance. Review roller shade valance options if you want to conceal the roll without creating a collision with the wall or trim.
Install anchors and brackets
Drill pilot holes appropriate to the anchor and wall material. Keep the drill square to the mounting surface. Install each anchor fully and tighten screws until the bracket is secure; do not crush drywall or strip the screw head. Recheck the bracket line with the level after both ends are mounted.
If a stud is slightly off the planned location, do not force the bracket into a crooked position. Adjust the bracket layout while preserving the manufacturer’s minimum end clearances. If the wall is uneven, use approved spacers rather than stacking random washers. World Wide Shades can advise on special mounting conditions before delivery.
For a motorized shade, keep the motor end and charging or wiring access in mind. Do not bury a rechargeable port behind a fixed valance or install a hardwired product without an electrician’s plan. Contact World Wide Shades about motorized mounting.
Hang and test the shade
With a helper, place the shade into the brackets according to the product instructions. Verify that every tab, clip, or retaining screw is engaged. Do not let the tube hang from one bracket while you work on the other. For a chain or cordless shade, lower it slowly and watch the fabric edges. For a motorized shade, use the remote or approved control and keep hands clear of the roll.
Lower the fabric to the intended bottom position, then raise it fully. Look for rubbing, telescoping, or a roll that drifts toward one side. A level headrail helps, but a crooked tube can also result from a mis-seated end cap, uneven fabric, or an obstruction. Stop if the shade strains or the motor sounds abnormal. See how to troubleshoot uneven roller shade tracking.
Check coverage, gaps, and privacy
Stand inside the room during daylight and inspect both side edges. Outside mount should reduce the gap, but no shade is automatically blackout without the right fabric, overlap, and side conditions. A solar screen may preserve a view during the day while revealing silhouettes at night when interior lights are on. Use UV-protection window shade guidance and the light-filtering shade guide to match the result to the room.
Close the shade after dark and turn on interior lights. Look from outside if privacy is important. Check the bottom edge for a gap caused by the sill or flooring, and confirm that the shade does not block the door handle or egress path. World Wide Shades can recommend a blackout fabric, side channel, or dual-shade layout when the opening needs a more controlled result. Request a fabric recommendation from World Wide Shades.
Common outside-mount mistakes
A frequent mistake is using the visible glass width instead of the required coverage width. Another is mounting the brackets at different heights because the installer follows the trim. Drilling into drywall without an appropriate anchor can allow a heavy shade to pull away over time. Mounting too close to a handle creates rubbing, while mounting too low can reduce headroom over a door.
Avoid tightening a bracket against an uneven wall until the tube is installed and leveled. Avoid forcing a motorized shade by hand or using an unapproved charger. Avoid trimming fabric or drilling new holes into a cassette unless the manufacturer specifies that adjustment. If the hardware does not fit the opening as measured, pause and contact World Wide Shades rather than improvising.
Outside mount by room
Use enough overlap to reduce early-morning side light, then select blackout or room-darkening fabric based on how dark the room needs to be. Compare blackout curtains and blackout shades before choosing the edge treatment.
A solar or light-filtering fabric can lower glare while preserving the view. If the window faces west, plan a daytime position and a night privacy position. Review best roller shades for living rooms.
Check handle clearance, walking paths, and service access. A motorized shade may be safer and easier when the headrail is high. For tall windows, see roller shades for tall narrow windows and plan a stable ladder-free control.
Have World Wide Shades match the coverage to your room or call (844) 674-2716 for installation guidance.
Final installation checklist
Before you leave the ladder, verify that the brackets are tight, the tube is level, the fabric clears the hardware, and the bottom stop is correct. Operate the shade through at least three full cycles. Confirm the cord tension device or cordless control is installed as directed. For motorized shades, test the remote, local control, charging access, upper limit, lower limit, and any group command.
Take a photo of the installed bracket and write down the fabric, motor, remote, and charger model. That record helps with future service. World Wide Shades can answer installation questions and help you plan a replacement or additional room. Save your project details with World Wide Shades, order matching swatches, or call (844) 674-2716 for a professional review.
Frequently asked questions
A common planning range is 2 to 4 inches of overlap on each side, but the right amount depends on trim, handle clearance, fabric opacity, and the mounting surface. World Wide Shades should confirm the final finished width for the selected hardware.
Yes, when the anchor is rated for the shade’s load and the wall condition is suitable. A stud is preferred where available; heavy or wide shades may need multiple solid attachment points. Never assume a small plastic anchor is adequate.
No. They should be level with each other and positioned according to the shade’s clearance and coverage requirements. Trim may be sloped or out of square, so use a level rather than the casing as the reference.
Yes, if the motor, tube, fabric weight, bracket, and control system are compatible. Plan battery or wiring access before mounting. World Wide Shades can coordinate the motorized configuration and fallback control.
Side light can come from insufficient overlap, a projecting sill, an uneven wall, fabric bowing, or a shade that is narrower than the coverage area. More overlap, a cassette, side channels, or a different shade layout may help. Ask World Wide Shades to diagnose the opening.