Plan the Mount Before Touching the Tile
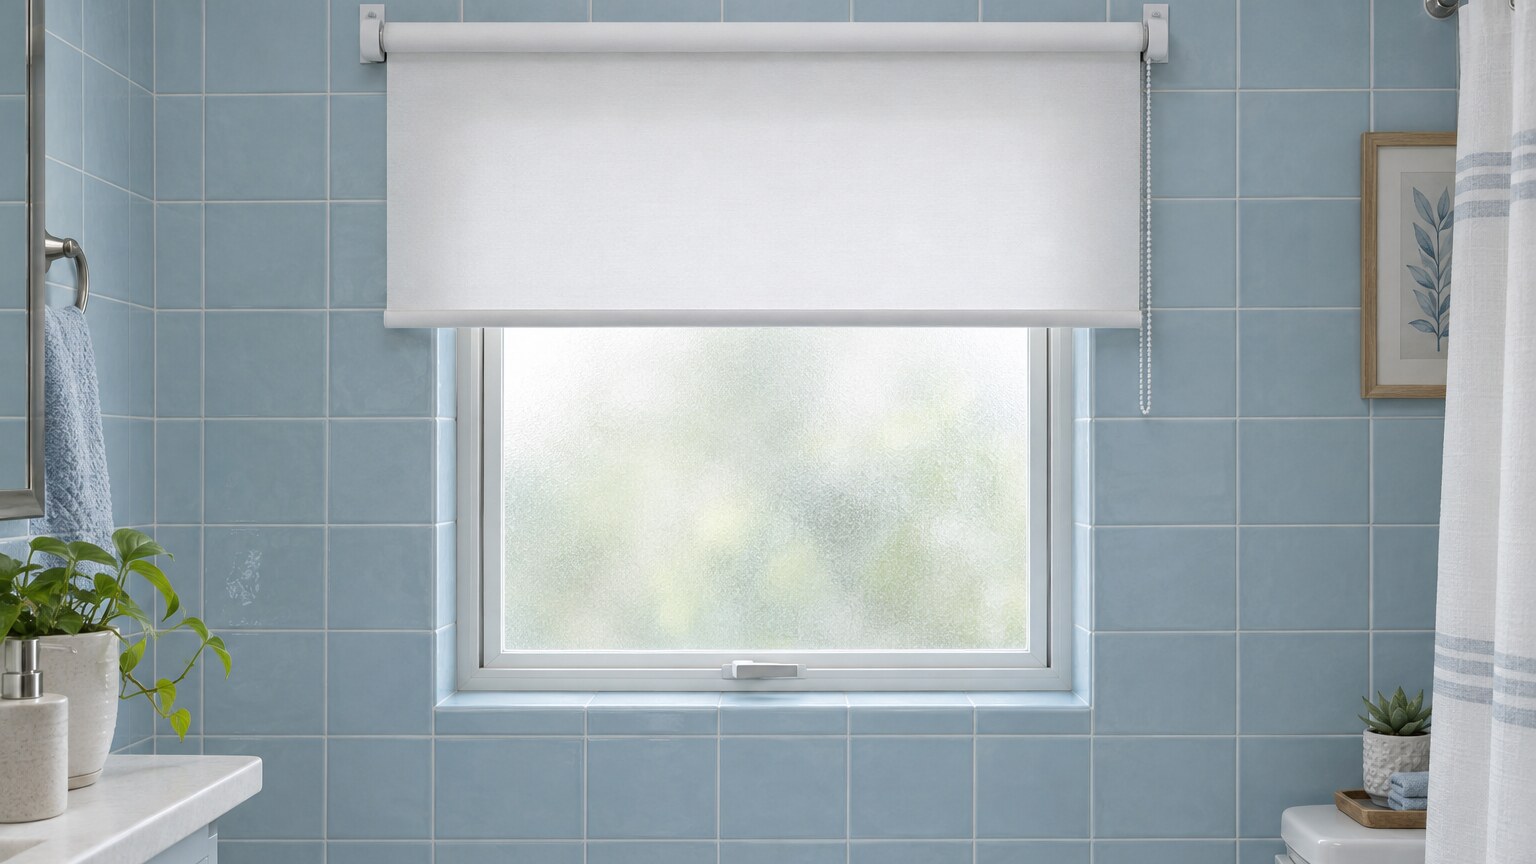
Installing a shade over a tiled kitchen or bathroom window takes more planning than attaching brackets to exposed wood. The goal is to protect the finish while securing the shade to suitable material behind it. To install roller shades on tile, first confirm the tile type, wall construction, bracket requirements, and whether a different mounting surface would be safer.
No drilling method guarantees a crack-free result, especially with damaged tile or an uncertain wall assembly. Treat this guide as planning support, not a substitute for the instructions supplied with your shade, drill bit, anchors, and waterproofing system.
World Wide Shades can help you think through shade configuration before installation begins. Contact World Wide Shades or call (844) 674-2716 to discuss your window and the product information your installer needs.
Choose a Mounting Surface That Makes Sense
Look for sound wood trim, a suitable overhead mounting surface, or an untiled section above the window. Any alternative still needs adequate structural support and a bracket orientation approved for the shade. Moving a bracket off tile is useful only if the new location is appropriate.
An inside mount may involve drilling into tiled window returns, while an outside mount may allow attachment above the tiled surround. Check that the roller, fabric, and operating mechanism will clear handles and other obstacles. Our general roller shade installation guide explains the broader mounting sequence.
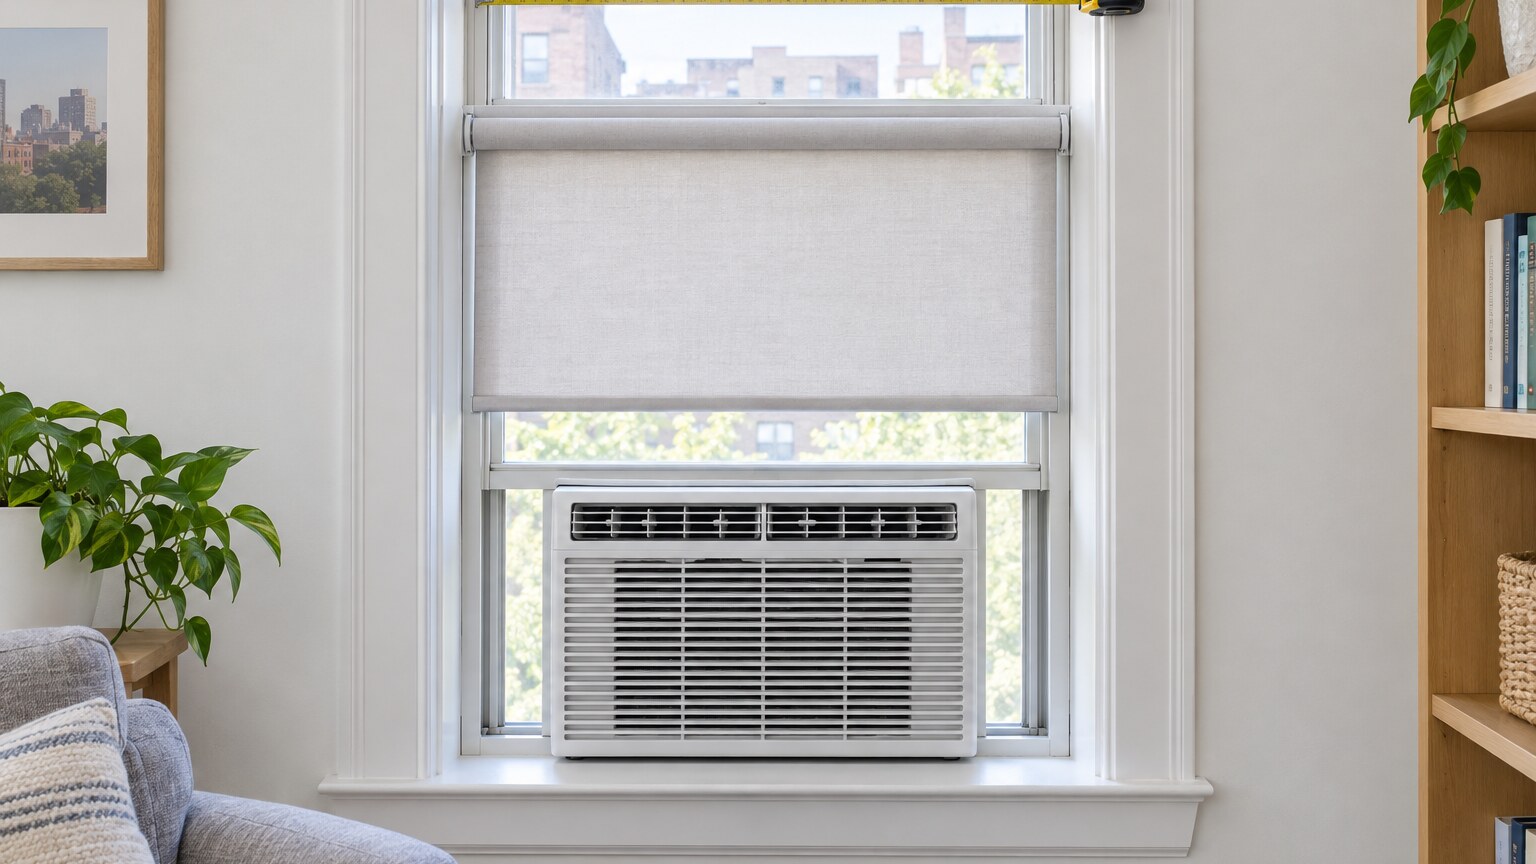
If the opening also contains an air conditioner, consult our guide to planning roller shades around window AC units before settling on bracket positions. Resolve equipment access and shade travel together rather than after drilling.
Do not substitute adhesive strips for mechanical brackets unless the shade manufacturer explicitly approves that exact installation. A smooth tile surface alone is not evidence that an adhesive can support a shade through repeated operation.
A grout joint is not automatically the safest drilling location. Bosch notes that joint drilling requires holes and plugs smaller than the joint itself; otherwise, surrounding tile can be damaged (Bosch tile-drilling guidance).
Bracket spacing must still follow the shade instructions, and the fastener must engage appropriate backing. Do not shift brackets into convenient grout lines if doing so compromises their required placement.
Identify the Tile and What Is Behind It
Find the tile packaging, project records, or installer information when possible. Ceramic, porcelain, natural stone, and glass should not be treated as interchangeable drilling surfaces. Bosch distinguishes glass-and-tile bits for softer materials from diamond bits intended for hard surfaces such as porcelain (Bosch bit-selection guidance).
Select a bit whose manufacturer explicitly lists your tile material. For glass tile, also establish whether the material can be drilled at all; do not assume that a glass-rated bit makes every glass product suitable. If identification is uncertain, ask a tile professional before making a permanent hole.
Tile is a finish, not a complete anchor specification. Behind it may be wood framing, masonry, cement board, a proprietary building panel, or another assembly. Select screws and anchors for the actual supporting material, shade load, bracket geometry, and required embedment.
Do not assume the anchors supplied with a shade are appropriate for your tiled wall. Confirm the fastener diameter, clearance through the tile, and installation depth with the anchor instructions. If you cannot establish adequate support, have an installer evaluate blocking or a different mounting location.
World Wide Shades recommends resolving these questions before choosing a final mount. Explore your custom shade configuration in the builder, then confirm installation requirements before ordering.
Check for Hidden Services and Prepare the Area
Kitchen and bathroom walls deserve particular caution because the installation area may conceal plumbing and wiring. Bosch advises checking for water and electrical lines before drilling and using an appropriate detector rather than relying solely on expected routing (Bosch safe drilling preparation).
Review available plans and inspect both sides of the wall where accessible. A scanner is an aid, not permission to drill into an uncertain assembly. If services cannot be ruled out at the intended hole location and depth, stop and involve a qualified professional; shutting off power does not make damaging a cable acceptable.
Protect the countertop, sink, sill, and floor with coverings that will not create a slipping hazard. Wear eye protection and use dust controls and respiratory protection appropriate to the tile, backing material, and tool instructions. Keep bystanders away, and do not allow drilling debris to spread into food-preparation areas.
Use a stable platform that lets you hold the drill comfortably without overreaching. Keep any cooling water away from electrical equipment and follow the bit manufacturer's specified cooling method.
Position the Brackets Before Drilling
Hold the actual brackets in their intended positions and verify their orientation against the shade manual. Account for the operating end, idle end, cassette or valance, and any retention clips. A bracket that looks symmetrical may still have a required installation direction.
Use a level and mark the approved screw locations on removable masking tape. Bosch recommends crossed masking tape to help limit slipping and splintering at the hole (Bosch marking guidance).
Tape is not a guarantee against cracking. Avoid treating chipped areas, existing cracks, or a loose tile as acceptable bracket locations, and have questionable tile assessed before proceeding. Do not hammer a nail or punch into the glaze as an improvised starting method.
If you plan to cover the brackets, review roller shade valance options before fixing their location. World Wide Shades also suggests considering fabric and finish together rather than making the mounting hardware an afterthought.
Order World Wide Shades swatches to compare colors beside the actual tile before committing to your shade finish.
Drill the Tile Slowly and Without Hammer Action
Set the drill to rotary mode, not hammer or percussion mode. Bosch specifically warns that hammer action can damage tile and recommends low pressure and controlled speed for drilling the surface (Bosch drilling technique).
Begin at low speed, but use the operating range specified for your particular bit rather than copying a universal RPM. Hold the tool steadily and use a compatible guide when recommended. Some diamond bits have a specific starting technique, so follow their instructions instead of forcing every bit into the same approach.
Let the cutting edge work without leaning heavily on the drill. If the bit skates, stops cutting, or produces unexpected movement, release the trigger and reassess. Increasing force is not a reliable solution to an unsuitable or worn bit.
Cooling requirements vary: Bosch describes both water-cooled and wax-cooled diamond bits, so water should not be added or omitted by assumption (Bosch cooling guidance).
Use the specified cooling method and pause as required. Do not keep drilling with a visibly struggling tool in the hope that speed will improve. A spare tile can be useful for learning the bit's behavior, but successful practice does not establish that the installed tile is sound.
Once through the tile, use the correct bit and method for the confirmed backing material. Do not continue blindly to an arbitrary depth, and do not enable hammer action near the tile as a shortcut. If the supporting wall requires a drilling method you cannot safely separate from the fragile finish, bring in a professional.
Secure the Brackets Without Crushing the Finish
Clean each hole as directed by the anchor manufacturer before installing the fastener. Check that its diameter and depth meet the anchor specification and that the anchor is intended for the confirmed wall construction.
Expansion location matters. Do not use an arrangement that depends on forcing an unsuitable anchor to expand against the tile; have the fixing supplier or installer confirm the correct detail. Never enlarge a hole by rocking a running drill sideways against the tile edges.
Seat the bracket flat and tighten gradually with control. Stop when the bracket is secure according to its instructions, rather than using extra torque to make it feel stronger. If the surface is uneven, do not pull the bracket into alignment by crushing a high spot.
World Wide Shades can help clarify product-side bracket requirements, while your installer should confirm the wall-side fixing. Ask World Wide Shades about your mounting setup or call (844) 674-2716 before improvising around incompatible hardware.
Treat Wet-Area Penetrations as Waterproofing Work
A window inside a shower enclosure is different from a tiled backsplash away from direct water. Before drilling in a wet assembly, identify the waterproofing system and obtain its approved penetration detail; surface caulk is not a universal substitute for maintaining that system.
For example, Schluter's KERDI-BOARD instructions specify treatment of joints and fastener penetrations within its own assembly, illustrating why waterproofing details must be system-specific (Schluter KERDI-BOARD guidance).
Have a waterproofing professional approve the location, compatible sealant or sealing detail, and installation sequence. If a compliant detail cannot be established, choose a different mounting surface instead of making an unplanned penetration.
Shade selection also deserves attention in a damp room. Use our kitchen and bathroom roller shade guide and roller shade fabric guide to frame product questions, but verify the chosen shade's suitability for the actual exposure.
Fit the Shade and Check Its Operation
Install the roller or cassette exactly as its manual directs, including any locking tabs or retention screws. Support the assembly while seating it rather than twisting the brackets to force engagement.
Operate the shade through several controlled cycles and watch the brackets for movement. If the fabric tracks unevenly, scrapes, or pulls the assembly sideways, stop and troubleshoot the installation before regular use. Do not correct alignment by repeatedly tightening the wall screws.
Follow all operating-system safety instructions, including any required tensioning device, and review child-safe window treatments when selecting controls. World Wide Shades encourages planning the complete installation, not just the two main brackets.
Build your World Wide Shades roller shade once the mounting surface, fixing method, and operating clearances have been confirmed.
Frequently Asked Questions
Possibly, if an approved mounting method uses suitable untiled trim or another supported surface. Do not assume adhesive brackets or a generic tension system are compatible with your shade; obtain product-specific approval first.
Bosch describes porcelain as a dense material and recommends diamond bits for very hard tile surfaces (Bosch tile material guidance). Choose by the actual tile and the bit's stated compatibility, not appearance alone.
No, because the joint may be too narrow or may not align with the required brackets. Grout also does not eliminate the need to identify suitable structural support behind the finish.
Stop immediately and do not install a loaded bracket over the damaged area. Ask a tile professional to assess replacement and any waterproofing damage before continuing, particularly in a wet location.
Use professional help when the tile type, hidden services, backing, waterproofing, or fixing method is uncertain. World Wide Shades can answer shade-specific questions, but a site assessment is the right next step when the wall itself presents unresolved risks.