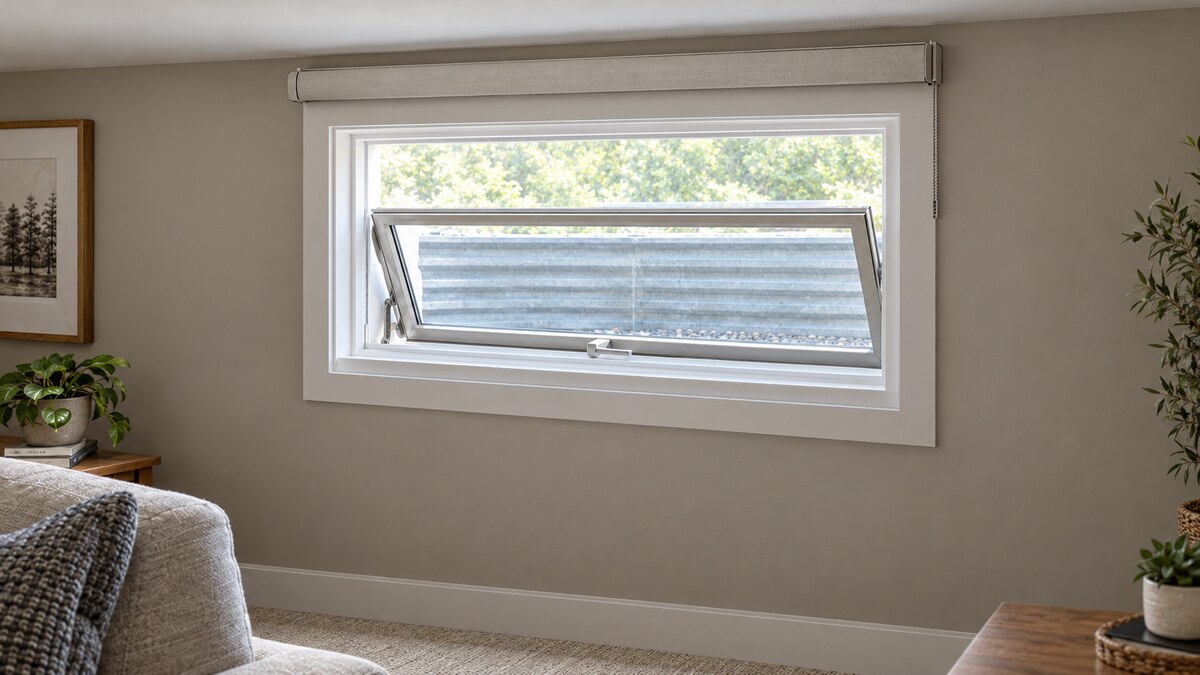
Roller shades for hopper windows need more planning than a width-and-height measurement. Hopper windows usually hinge at the bottom and tilt inward at the top, although some models permit a different installation orientation, so identify your actual window before choosing the shade location (Lowe’s hopper window guide).
The practical question is whether the sash, handle, shade fabric, and roller assembly can each move without touching. At World Wide Shades, we recommend resolving that layout before selecting the finishing details. A tidy inside mount is not a good fit if opening the window pushes its sash into the roller.
Start with photographs of the window closed and open, then contact World Wide Shades or call (844) 674-2716 to discuss the mounting questions before ordering. Include a side view so the conversation covers projection as well as appearance.
Follow the sash, not just the frame
Open the window slowly and observe every position you actually use. Note where the top rail travels, how the latch rotates, and whether your hand needs space behind the handle. If your window has a crank or removable operator, test that component rather than assuming it behaves like a simple latch.
Record two separate conditions: the space occupied by stationary hardware with the sash closed, and the larger space occupied while the window opens. Crestron’s measuring guidance specifically calls for inspecting window hardware and other obstructions that could prevent smooth shade travel (Crestron roller shade measuring guidelines).
For example, a handle may clear the lowered fabric while the window is locked, yet move directly through that fabric plane during opening. Plan to raise the shade before operating the sash when those paths overlap. Raising the fabric will not solve a collision with the fixed roller, cassette, or brackets.
Avoid attaching the shade to the moving sash unless both manufacturers explicitly approve that arrangement. Treat the stationary frame, wall, or suitable overhead surface as the mounting candidates to review first.
Choosing inside or outside mounting
Consider an inside mount when the finished recess offers a supported bracket location outside the sash’s movement. Measure available depth where the complete assembly would sit, not only at the deepest part of the opening. Include any cassette, end caps, bracket projections, and bottom rail in your mock-up.
A deep opening does not automatically provide usable clearance. The opening sash may sweep through the same upper recess where the roller would sit, even if the closed window looks unobstructed. Crestron recommends measuring after the window is fully finished so casing, sills, hardware, and other obstructions can be considered together (Crestron measuring guidance).
Use the proposed product’s drawing to compare minimum mounting depth with fully recessed depth. Do not borrow another shade system’s requirements or deduct a generic allowance from your measurements.
An outside mount is worth evaluating when the recess conflicts with the sash or lacks a suitable attachment surface. Position a full-size cardboard outline of the proposed hardware above the opening, then operate the window while someone watches the closest points.
Mounting higher may move the roller out of the sash path, but check the fully raised bottom rail too. Moving the assembly farther into the room is not automatically an improvement because an inward-opening sash also moves toward the room.
World Wide Shades can help you frame the questions around your photos and selected system. Start a shade configuration once you have a plausible mounting location, and review the hardware dimensions before finalizing it.
Measure coverage and hardware separately
Record the finished opening’s width and height at several positions, plus the depth at the intended bracket locations. Keep a separate sketch of trim, handle projection, ceiling clearance, and the sash’s open position. Crestron calls for measurements in three locations and distinguishes fabric width from bracket-to-bracket width (Crestron measuring guidelines).
The ordering distinction matters: ask whether the entered width represents the overall assembly, bracket spacing, or fabric. Follow World Wide Shades instructions for the chosen product, and confirm whether any manufacturing deduction is already included rather than subtracting it yourself.
Here is an illustrative coverage example, not a sizing recommendation. If an opening is 30 inches wide and your proposed layout calls for 2 inches of fabric coverage beyond each side, the desired fabric width is 34 inches. The overall assembly may need additional room, which must come from that system’s specifications.
Similarly, an illustrative 3-inch recess does not prove that a shade will fit. The hardware still needs a usable attachment surface and clearance from the moving sash. Keep those checks separate from the coverage calculation.
Before ordering, send your dimensions to World Wide Shades or call (844) 674-2716 to clarify the measurement convention. Include your intended mount and the exact shade configuration.
Test handle clearance and roll direction
Use removable tape to mark the proposed hanging fabric plane. Then move the handle through its full operating motion and check finger access, not just metal-to-fabric clearance. A handle that technically turns may still be awkward if your knuckles press against the shade.
If the selected system offers different roll directions, compare their drawings rather than relying on the names alone. Evaluate where the fabric leaves the roller and how that position relates to the handle, trim, and sash. Request confirmation that the proposed orientation is compatible with the control and top treatment.
An illustrative comparison might place one fabric plane 1 inch farther toward the room than another. That shift could help with a closed handle but worsen the conflict with an opening sash. Test both conditions before choosing.
Do not improvise bracket extensions from loose stacks of washers. Ask for an approved mounting solution and appropriate fasteners, or reconsider the mounting surface. For the broader installation sequence, read how to install roller shades, then follow the instructions supplied with your specific hardware.
Match fabric to the room’s priorities
Begin with the room’s main task: softening daylight, providing privacy, or darkening the space. Avoid making a fabric decision from a small online image alone. Compare samples at the actual window, with daylight behind them and the room lights on after dark.
For World Wide Shades projects, use that sample review to narrow the material before confirming coverage. Ask about privacy characteristics and cleaning instructions for each candidate, especially in a bathroom or utility room. A fabric should be evaluated for its intended environment rather than assumed to tolerate splashes or persistent dampness.
If darkening is important, examine the whole proposed installation, including its perimeter. Ask how the selected assembly addresses side and bottom gaps rather than treating the fabric description as a promise about the finished room.
Energy expectations also need context. The Department of Energy explains that window-covering savings depend on the attachment, season, climate, and how the covering is used; do not assume a particular bill reduction for one hopper window (DOE energy-efficient window coverings).
Order fabric swatches from World Wide Shades before choosing the final color and opacity. Compare them beside the finished trim so the room’s existing surfaces inform the decision.
Install for both window and shade operation
Before drilling, confirm that the proposed attachment surface and fasteners are appropriate for the selected assembly. Do not assume a narrow frame section is safe to drill simply because a bracket fits against it. Check the window manufacturer’s restrictions and use qualified installation help when the supporting construction is uncertain.
Hold the actual brackets in place and repeat the movement test with the intended roller or cassette dimensions represented. Allow access for installation, removal, controls, and charging if applicable. Keep any required window access unobstructed rather than prioritizing a concealed bracket.
After fitting the shade according to its instructions, test it with the window closed first. Lower and raise it while watching the fabric edges, handle, and bottom rail. Then raise it fully and carefully test the sash, stopping immediately if anything touches or strains.
If the sash cannot open with the shade lowered, make “shade up, window open” the household routine. If it cannot open with the shade fully raised, revisit the mounting layout instead of accepting reduced window operation. Review your planned configuration in the builder only after resolving those conflicts.
Apply the same clearance thinking elsewhere
Different window shapes and surrounding hardware call for different layouts. Keep each opening’s movement and mounting surfaces separate rather than copying the hopper solution across the room.
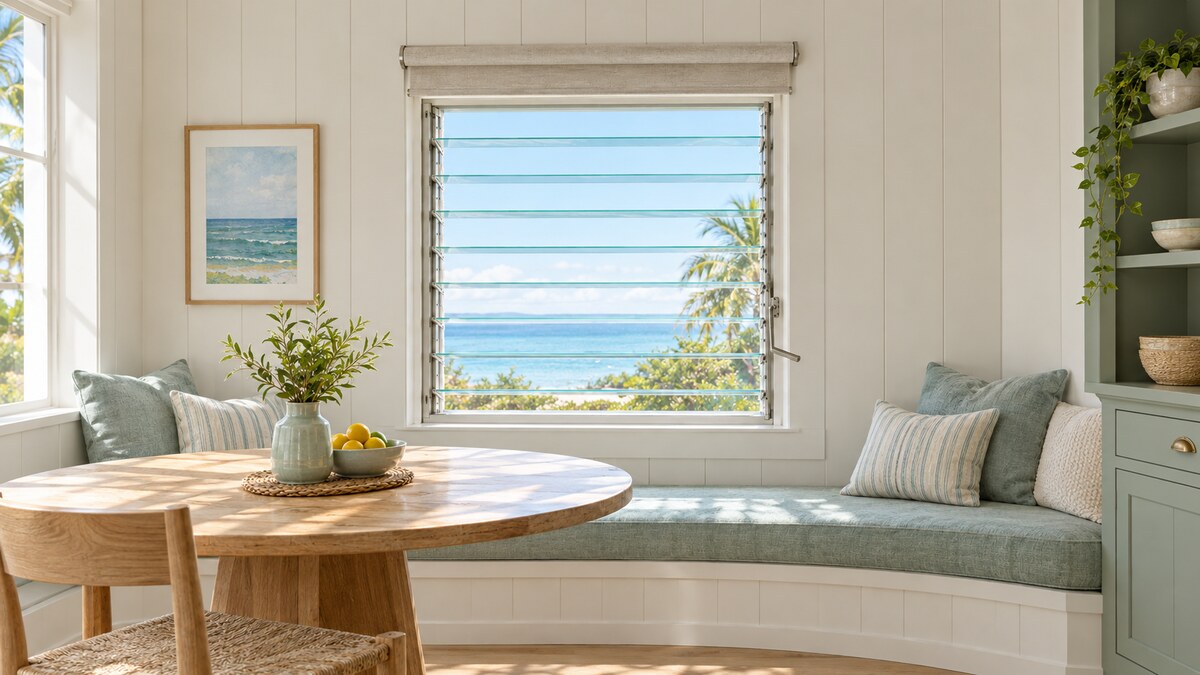
- Louvered openings: Read roller shades for jalousie windows when planning around another operating window style.
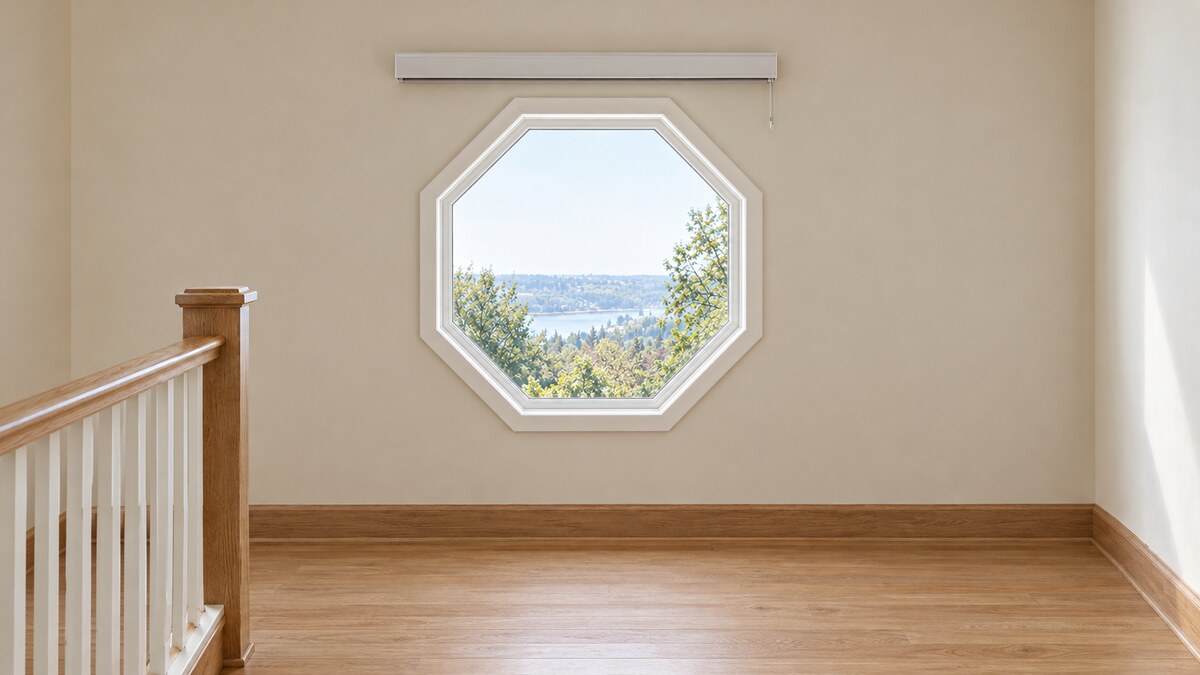
- Unusual shapes: Explore roller shades for octagon windows before deciding how to cover a nonrectangular opening.
- Added hardware: Consult roller shades for windows with security bars when fixed equipment affects the layout.
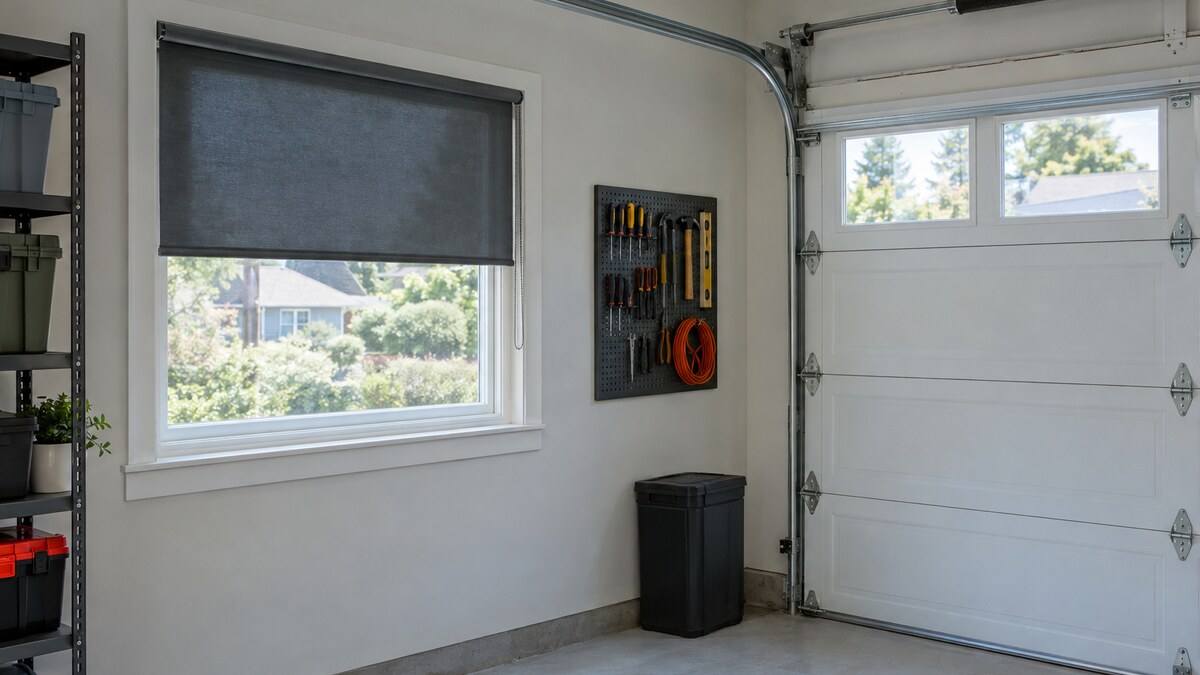
- Moving doors: Review roller shades for garage door windows for a separate application that needs its own movement assessment.
Frequently asked questions
Possibly, but judge the fit using the finished recess, selected hardware, and full sash movement rather than depth alone. An inside mount should remain clear of the sash even when the fabric is fully raised, with adequate access to the handle.
Raise it first whenever the sash or handle would cross the lowered fabric plane. Then confirm that the raised bottom rail and fixed roller assembly also remain clear; fabric retraction cannot correct a hardware collision.
No, it is a layout option rather than a universal requirement. Compare both positions using the actual assembly dimensions and your window’s movement, then choose the supported location that preserves operation and gives the intended coverage.
It is worth reviewing if that option is available for your selected system. Compare the resulting fabric positions with both the closed handle and opening sash, and ask World Wide Shades to confirm compatibility before ordering.
Send straight-on and side-view photographs, opening dimensions, usable recess depth, and pictures showing the sash fully open. Add the proposed shade and mounting location, then contact World Wide Shades for help organizing the remaining fit questions before purchase.