Start with the window in motion
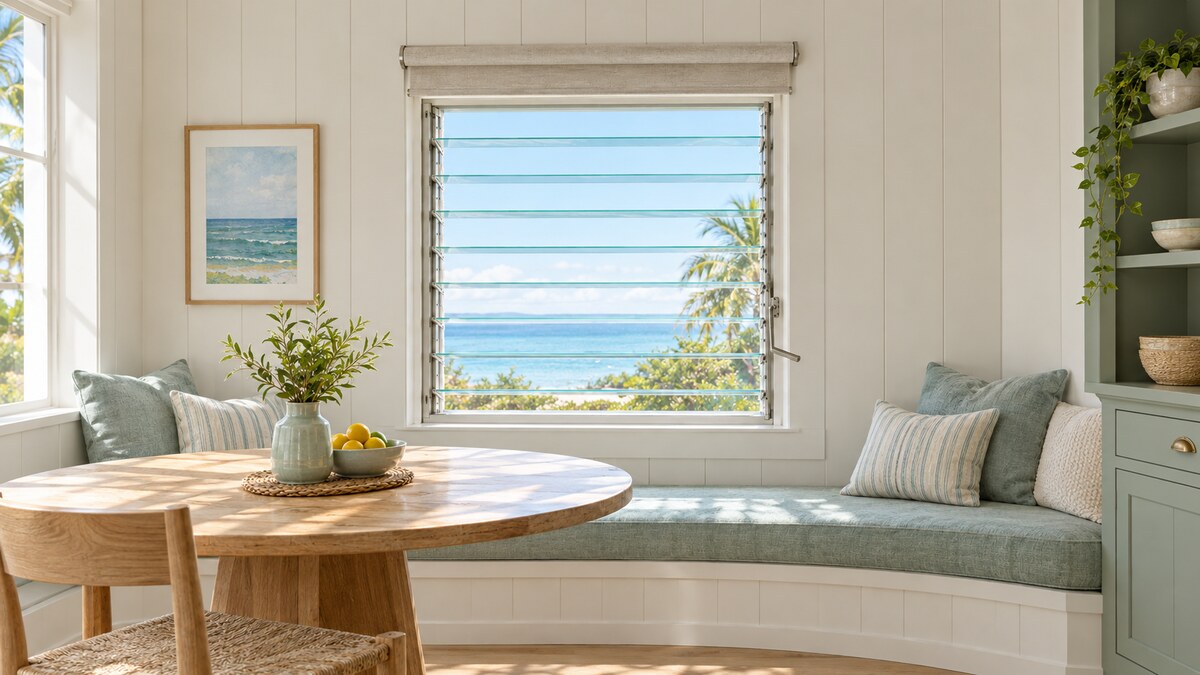
Roller shades for jalousie windows should fit the way the window operates, not just the rectangle around the glass. A jalousie window uses horizontal glass louvers that rotate outward when cranked open, rather than one sash that slides vertically (Thermal Windows glossary).
The operating mechanism links the slats so they move together, making the handle and linkage part of the space you must consider (Ace Hardware’s operator guide). Plan around the complete movement, including room for your hand, rather than measuring only with the window closed.
World Wide Shades recommends beginning with a practical question: can you raise the shade, reach the operator, and open the louvers without touching the treatment? If the answer is uncertain, resolve the clearance before choosing fabric or ordering dimensions.
Contact World Wide Shades with straight-on and side-view photos, or call (844) 674-2716 to discuss the proposed mounting position. Include a photo with the window open so the conversation starts with the real obstruction.
Map the crank, linkage, and fabric path
Work with the window in its existing condition before marking bracket positions. Crestron’s measuring guidance specifically calls for inspecting hardware and other obstructions that could prevent smooth shade travel, and measuring after the window finishes are complete (Crestron measuring guidelines).
Have a helper operate the window slowly while you observe from the side. Keep hands away from moving joints, and do not force stiff or damaged hardware.
- Handle sweep: Note the space occupied throughout a full turn, plus a comfortable path for your fingers.
- Linkage movement: Observe the connecting hardware through opening and closing, rather than treating its closed position as its only position.
- Shade travel: Sketch where the fabric and bottom bar would descend, including the position of the fully raised shade.
- Service access: Identify how you will reach the operator, screen, and glass for routine care.
Treat every moving component as a no-contact zone. Do not solve a tight fit by draping fabric over an operator, fastening through its mechanism, or removing a handle that you need for normal use.
For example, a proposed shade plane might appear clear above the sill yet intersect the crank lower down. That is a reason to reconsider the mount, not shorten the window’s operating range.
Choose an inside or outside mount deliberately
An inside mount sits within the opening; an outside mount attaches beyond it, typically on suitable trim or wall structure. The right choice depends on both the mounting surface and the usable space around hardware, not the style label alone.
Use inside mount as a candidate when you want the surrounding trim visible. First verify the selected shade’s bracket depth, roll dimensions, and required mounting space against the actual opening; Crestron includes depth among the dimensions needed for an inside-mounted roller shade (Crestron measuring guidelines).
Do not count a deep recess as entirely usable if the crank occupies part of it. Also consider whether the lowered fabric leaves enough access to the operator without pushing the shade aside.
World Wide Shades suggests sketching the bracket position and fabric drop separately. The opening may accommodate the brackets while the fabric path still conflicts with the handle.
Consider outside mount when the recess cannot accommodate the selected system. Plan a mounting position beyond the opening that preserves the full operating envelope and a convenient hand approach.
Wider coverage can be part of that plan, but extra width alone does not address projection. Likewise, moving a shade forward requires compatible hardware and a suitable mounting surface, not improvised stacks of spacers.
Explore a configuration in the World Wide Shades builder, then confirm the mount before submitting final dimensions. Compare the general bracket-planning steps in our roller shade installation guide, while following the instructions supplied for your specific product.
Record dimensions without inventing deductions
Measure the finished opening and the proposed mounting location as separate things. Crestron advises recording width by height, checking the mounting area, and taking width and height measurements in three locations (Crestron measuring guidelines).
Keep the individual readings in your notes instead of replacing them with one average. Add the depth and obstruction locations, identifying where each measurement starts and ends.
For an explicitly illustrative example, suppose the opening measures 30 inches across at the top, 29 7/8 inches in the middle, and 30 inches at the bottom. Record all three and flag the narrower middle reading for review; this example is not an instruction to order a particular finished width.
Ask World Wide Shades which entry the chosen product requires: opening width, bracket-to-bracket width, or fabric coverage. Crestron distinguishes bracket-to-bracket and fabric widths, demonstrating why those labels should not be treated as interchangeable (Crestron measuring guidelines).
Never borrow another manufacturer’s deduction. Ask who applies any allowance and whether the supplied measurement includes the control hardware.
For outside mount, write down the desired coverage boundaries and the proposed bracket locations. Include an illustrative sketch of the crank’s furthest projection so a reviewer can evaluate depth as well as width.
Balance daylight, privacy, and the view
Choose the room’s main priority before comparing colors. DOE explains that more open solar-screen fabrics increase visibility and light transmission while reducing protection against glare and solar heat gain (DOE window-covering guidance).
That tradeoff matters when your jalousie window frames a garden but also faces strong afternoon light. Ask whether preserving a view, softening the light, or creating a more private evening setting should lead the decision.
- View-first rooms: Compare solar-screen samples at the actual window and request the fabric’s documented performance.
- Daylight-first rooms: Evaluate light-filtering samples against the glare you experience at your normal seating position.
- Privacy-first rooms: Test the candidate fabric with indoor lights on and someone observing from an appropriate outdoor position.
- Sleep-focused rooms: Review the fabric and the complete edge-coverage plan rather than treating the fabric label as the whole solution.
Do not assume a daytime sample test establishes nighttime privacy. Make evening evaluation a separate decision before ordering.
Request World Wide Shades swatches and compare them where the shade will hang. Hold samples against both bright glass and the adjacent wall to judge the color in context.
Preserve ventilation and cleaning access
Plan a repeatable routine: raise the shade clear, operate the window, and leave the treatment where it cannot contact moving hardware. If you want the shade partially lowered while venting, have that exact combination reviewed rather than assuming a successful closed-window test is enough.
Watch how the fabric behaves during ordinary ventilation after installation. If it moves toward the crank or linkage, raise it out of the affected area and reconsider the arrangement; never use moving window parts as an anchor.
Separate the shade’s light-control role from the window’s ventilation role. DOE notes that operable coverings let occupants adjust natural light and seasonal solar heat gain, so the useful position can change with the time of day (DOE window-covering guidance).
For cleaning, confirm you can fully retract the fabric and reach the glass without working around a hanging bottom bar. Follow the window manufacturer’s care instructions for louvers and hardware, and the selected fabric’s instructions for shade cleaning.
World Wide Shades recommends planning that access before installation. For instance, rehearse your normal screen-removal procedure with the proposed bracket positions marked, without drilling or interfering with the existing mechanism.
Send your clearance questions to World Wide Shades, or call (844) 674-2716 before placing the order. A short review is preferable to choosing dimensions around an untested assumption.
Apply the same thinking to other unusual openings
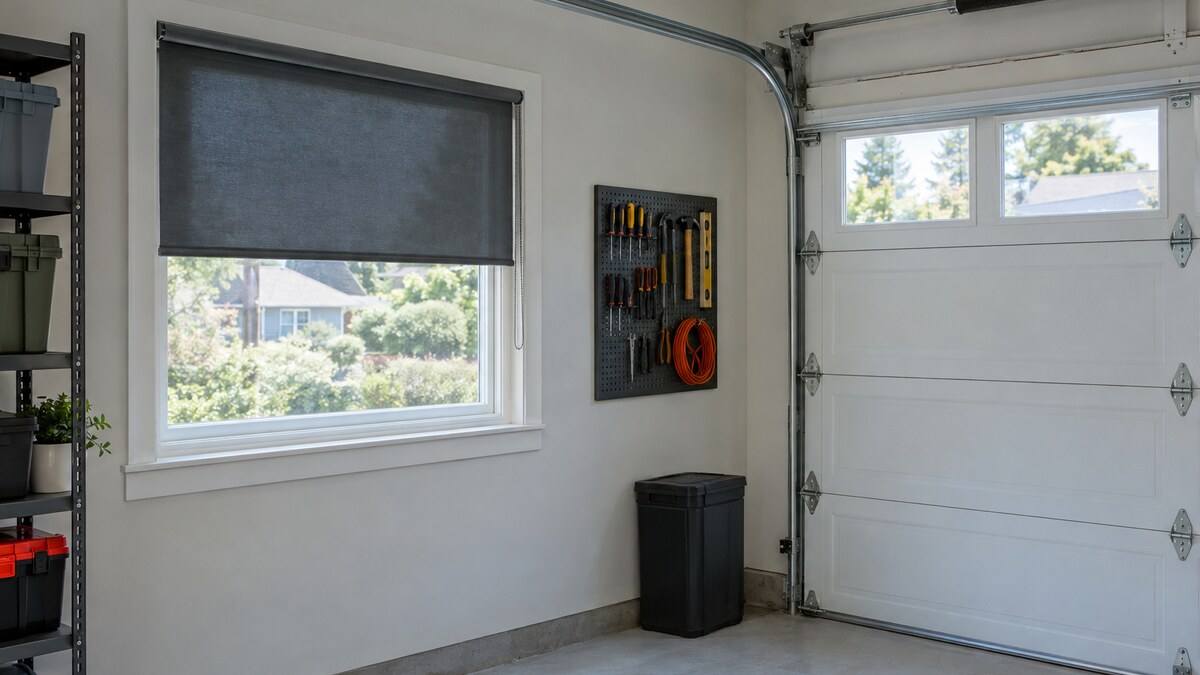
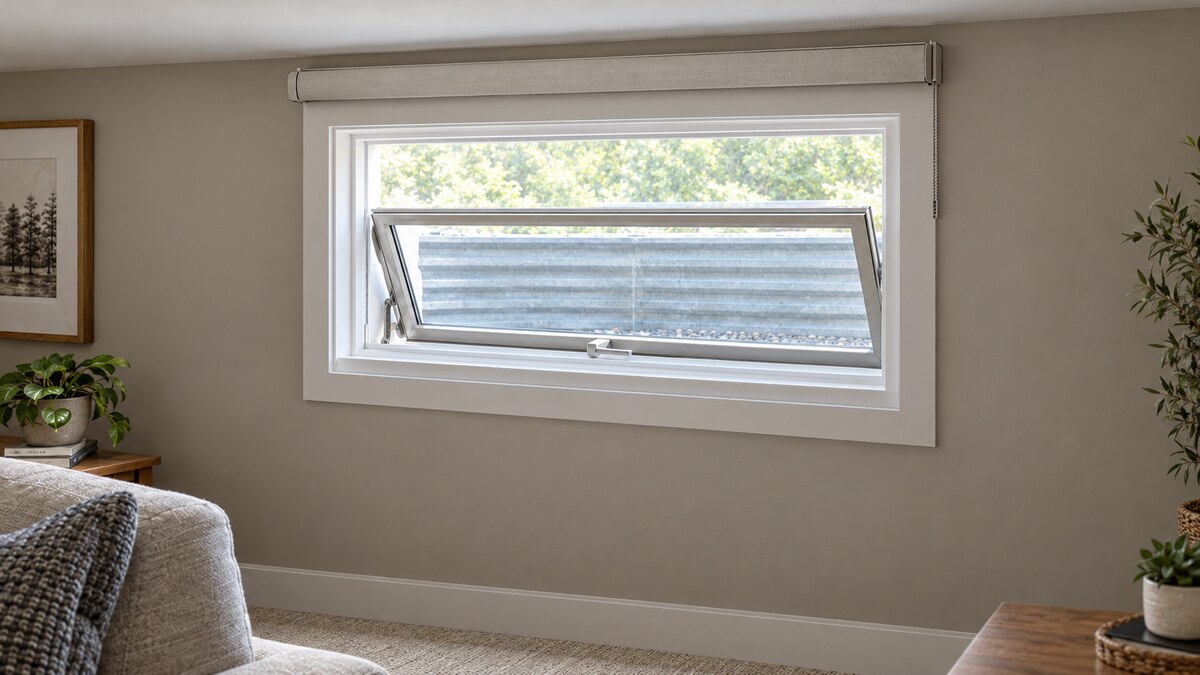
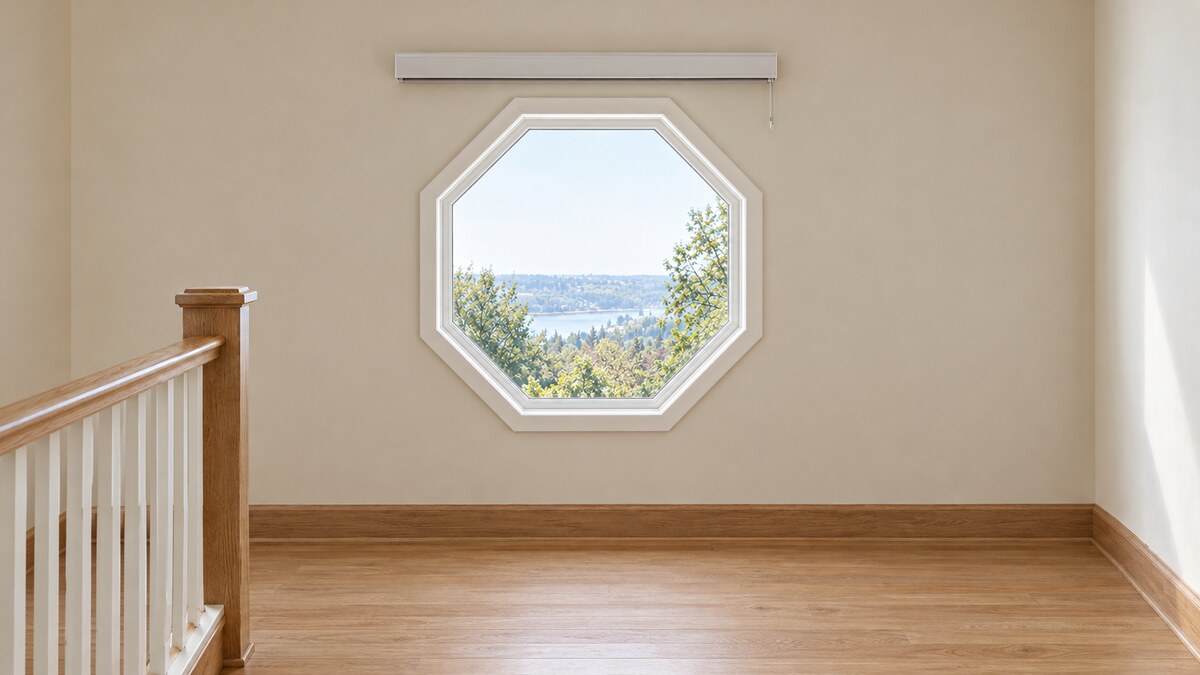
Use the jalousie project as a reminder to match each treatment to its actual surroundings. For related projects, compare our guides to roller shades for hopper windows, roller shades for octagon windows, roller shades around security bars, and roller shades for garage door windows.
Do not transfer one opening’s dimensions or mounting solution to another without checking it. Photograph each window separately, label the photos, and keep the operator-side notes with the correct opening.
Frequently asked questions
Consider them only after confirming a mounting position and fabric path that preserve full window operation. Review the crank, linkage, hand access, and raised-shade position together instead of approving the fit from a front-facing photograph alone.
No mounting style should be approved automatically. Compare the available recess with the selected system’s requirements, then evaluate an outside position if inside mounting cannot provide unobstructed operation and reliable attachment.
Record the finished opening, then observe the complete operating cycle to map the moving hardware. Crestron’s guidance calls for considering hardware and obstructions when measuring, rather than relying only on the clear glass dimensions (Crestron measuring guidelines).
Do not reach behind fabric that covers or contacts the operator. Raise the shade clear first, and have any proposed partially lowered operating position checked for hand access and separation throughout the window’s movement.
List the times and activities that matter most, then evaluate samples in those conditions. Check daytime glare and evening privacy separately, and review the mounting coverage along with the fabric choice.
Finish with a usable window
The best plan is one you can explain clearly: where the brackets attach, where the fabric travels, and how you reach the operator and glass. Keep those decisions ahead of color selection so appearance does not conceal a functional conflict.
Start your World Wide Shades project in the builder once the mounting approach is settled. Bring your dimension notes, operating photos, and preferred swatches together so the final order reflects the way you will actually use the window.