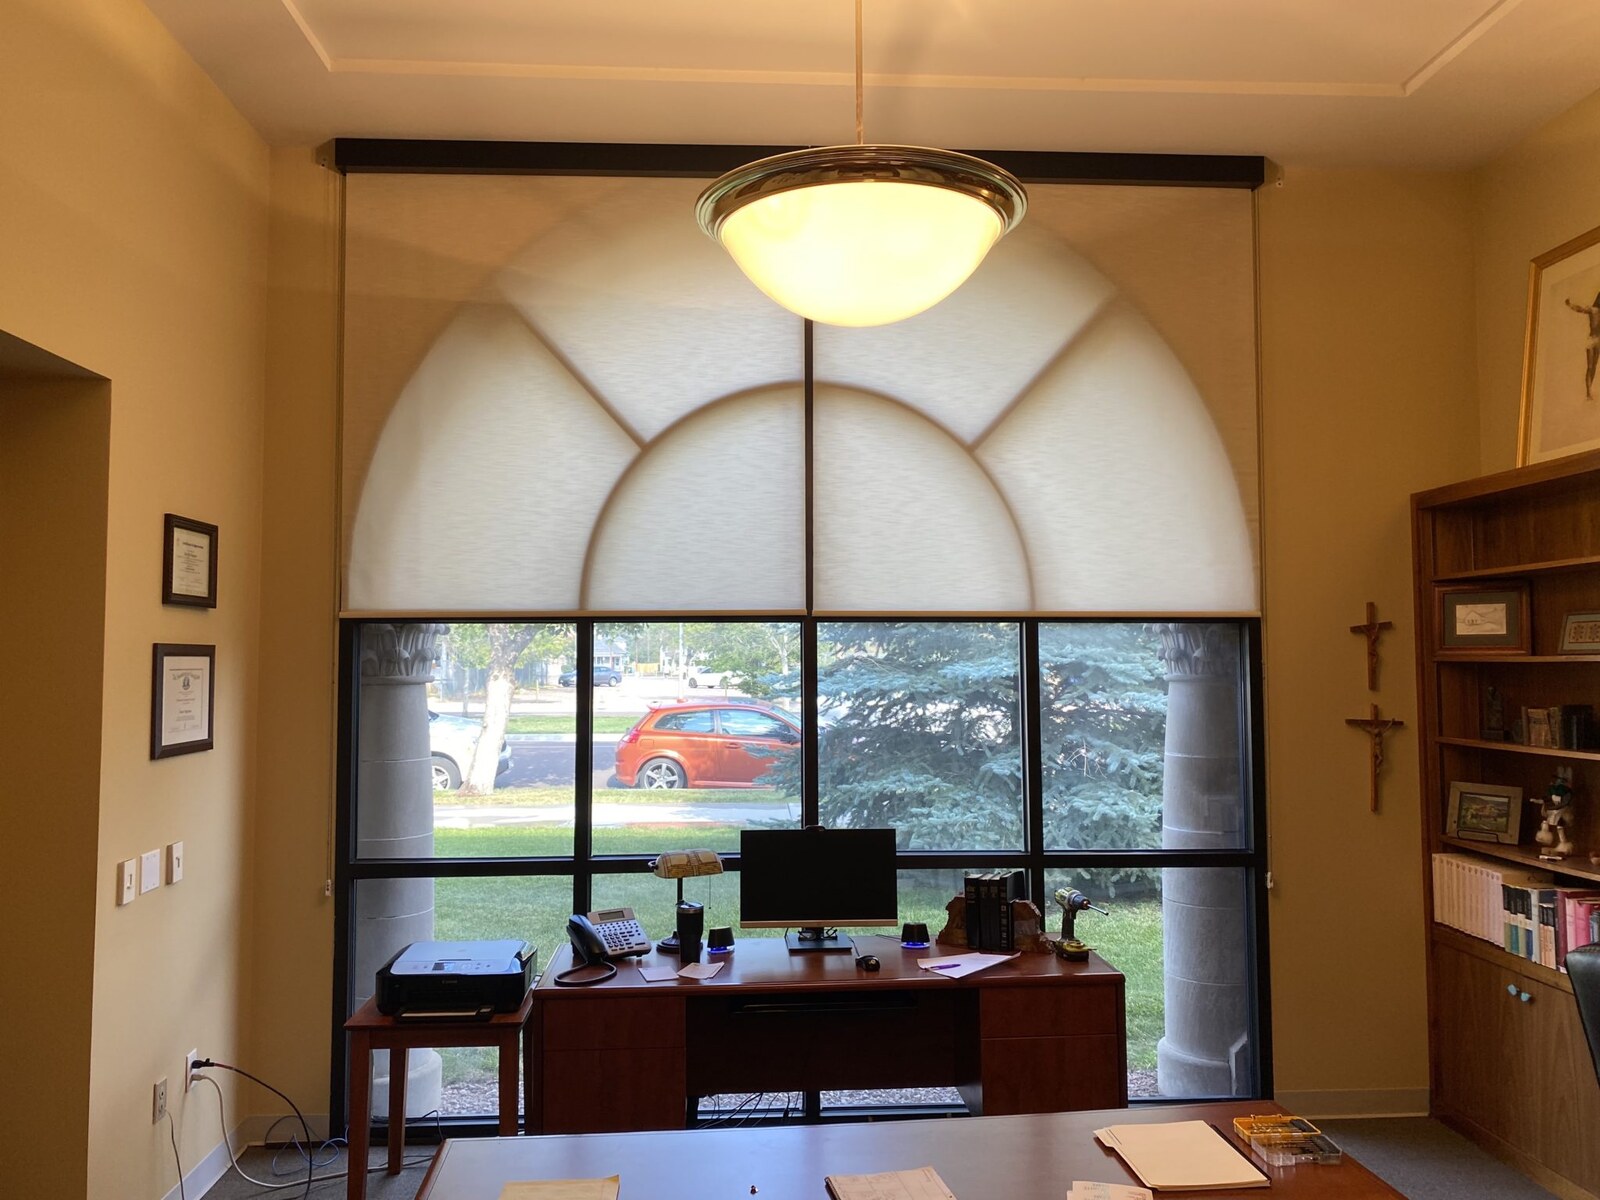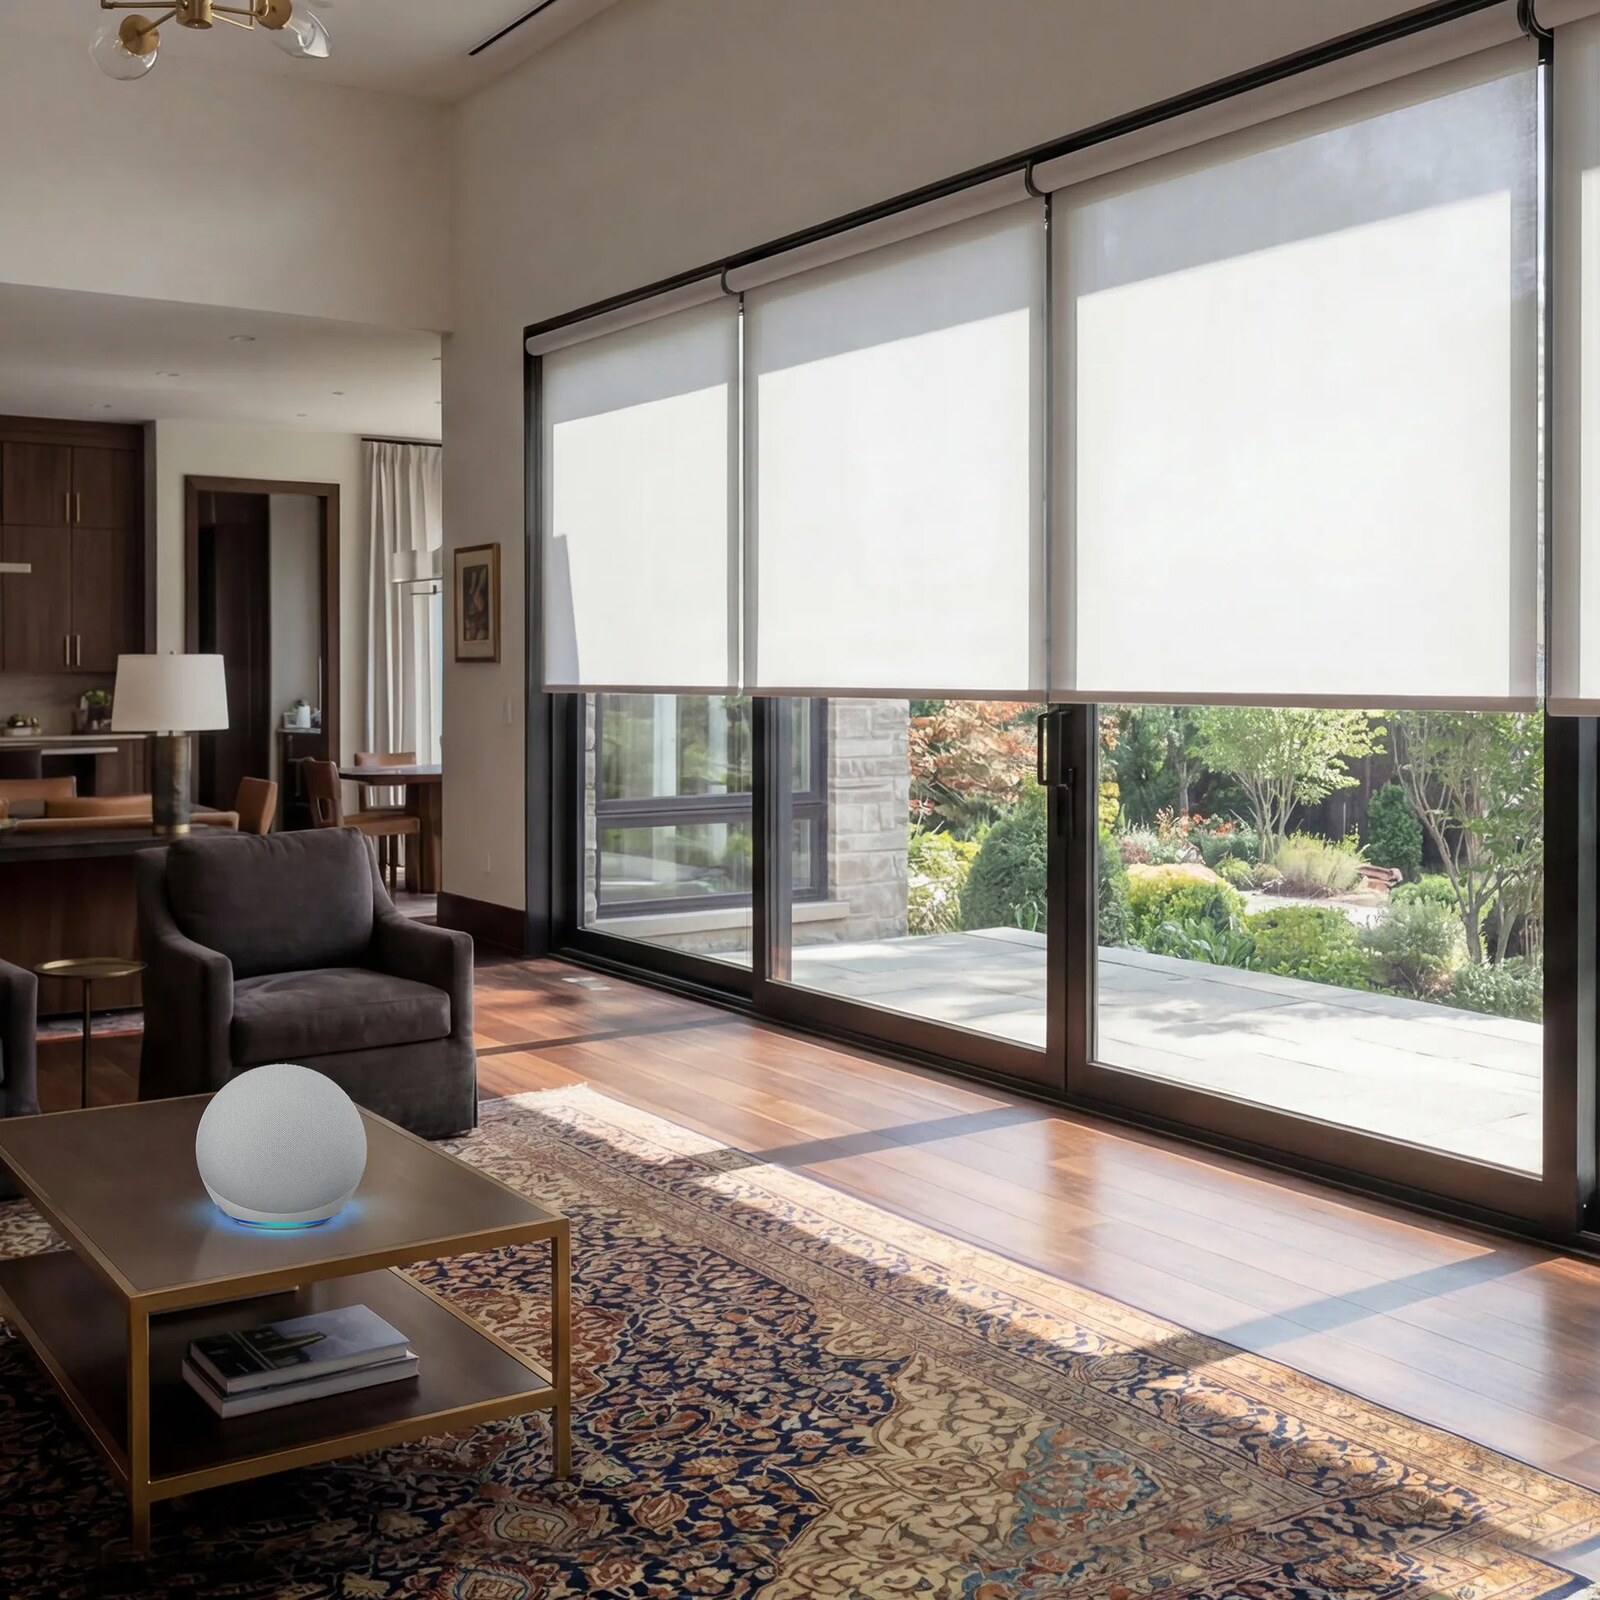
Adjacent windows turn small differences into visible distractions. A slightly higher cassette, a different fabric undertone, or one bottom rail stopping early can interrupt an otherwise clean wall of glass.
The most useful approach is to treat the windows as one composition while measuring and fitting each opening individually. This World Wide Shades guide separates the shared visual decisions from the adjustments each shade needs.
Decide which lines should match
Before choosing hardware, identify the lines you want people to notice: cassette tops, cassette bottoms, fabric starting points, and lowered bottom rails. These are separate references, and matching one does not automatically match the others.
For a row of equal-height windows, consider a common top treatment and a shared resting position for the bottom rails. For staggered windows, decide whether the shades should emphasize the architecture or create a new horizontal line above it.
Sketch the entire elevation, not just one opening. Include mullions, trim, doors, and the intended shade positions so the arrangement makes sense both raised and lowered.
World Wide Shades can help you compare these priorities before you settle on individual sizes. Contact World Wide Shades or call (844) 674-2716 to discuss the mounting line for your adjacent windows.
Measure each opening against a shared reference
Do not duplicate the first window’s dimensions across the order. Record the width at several heights, the height at several positions, and the available mounting depth for each opening, then follow the selected product’s ordering instructions rather than making your own deductions.
Assign clear labels such as left, center, and right. Record opening dimensions separately from finished shade dimensions and fabric coverage; those terms should not be treated as interchangeable.
Establish a horizontal datum using a level or laser, then measure from that reference to each window head and sill. This exposes differences that can disappear when each opening is measured independently.
Also record the reveal, meaning the depth and visible surfaces around the recessed window. Two equally wide openings may place the glass at different depths or have different casing projections, changing where the shade can sit.
Inside mounting may preserve attractive trim but reveal variations between window heads. Outside mounting may allow one continuous mounting height, provided suitable structure and clearance are available; the World Wide Shades roller shade installation guide explains both approaches.
Suppose three measured openings are 35 7/8, 36, and 35 3/4 inches wide, while their heads sit at slightly different elevations. These are illustrative measurements, not manufacturing allowances or instructions to deduct a fixed amount.
The appropriate result might be three individually sized inside mounts, accepting the architectural differences. Alternatively, compatible outside mounts could share a level line above the tallest head, with coverage calculated separately for each window.
Do not average the widths or subtract a guessed clearance. Ask whether the ordering field requires an opening measurement, bracket-to-bracket width, or another defined dimension before submitting it.
Establish one level mounting datum
Mark the chosen horizontal reference across the entire group before marking individual screw holes. Use the same defined feature on every shade, such as the cassette’s bottom edge, rather than switching between bracket tops and cover edges.
A ceiling, sill, or decorative casing should not substitute for a level. The World Wide Shades installation instructions emphasize checking bracket level and the mounting plane rather than following an uneven frame.
For mixed hardware configurations, obtain the dimensional drawings first. Equal bracket elevations may produce different visible cassette heights if the mounting geometry differs.
View the proposed shade positions from the side. A cassette projecting farther into the room can cast a different shadow even when its bottom edge matches its neighbors.
Use compatible brackets and any manufacturer-approved spacers needed to establish the planned plane. Do not bend brackets or force a housing against uneven trim to make its face look straight.
Metal framing needs its own fastening decision rather than a wood-frame assumption. See installing roller shades on steel window frames when that substrate is part of the project.
World Wide Shades can review the mounting approach alongside your dimensions. Start a coordinated shade configuration after confirming which surfaces can safely support the hardware.
Coordinate roll size, stack height, and covers
For roller shades, “stack height” generally refers to the space occupied by the raised roll and associated hardware rather than folded fabric. Ask for the fully raised assembly dimensions, including the hem bar, instead of estimating from an empty tube.
Specify matching cover styles when you want a consistent architectural line. Review the available approaches in roller shade valance and cassette options, then confirm the actual housing dimensions for every shade.
Unequal drops deserve particular attention because each roll stores a different length of material. Ask the supplier whether the selected fabric and drops require different tubes or housings, and whether a coordinated cover can accommodate them.
Keep the roll direction consistent unless an obstruction requires an exception. If one shade must clear a deep handle, review the whole elevation before mixing configurations rather than discovering the difference during installation.
Choose fabrics as a group
Specify the same fabric collection, color, opacity, and orientation across the run when visual continuity is the goal. Consider ordering the group together and asking the supplier how production variation is managed; do not assume matching color names guarantee an invisible match.
Use the roller shade fabric guide to compare material categories and the light-filtering shade guide when balancing brightness against privacy.
Place samples at all the windows, not only on a table. Compare them against the actual glass and trim in morning light, afternoon light, and with interior lights on.
Treat any apparent color mismatch as something to investigate before blaming the fabric. Compare the samples side by side under the same illumination, then return them to their intended windows to evaluate the effect of different backgrounds.
The window shade color guide offers a useful framework for comparing undertones and room finishes. For adjacent windows, prioritize how the samples read together rather than how one swatch looks in isolation.
Order swatches from World Wide Shades before finalizing the full run. Bring the samples to the actual windows and make your decision from the room’s normal viewing positions.
Compare one wide shade with multiple shades
A single wide shade removes intermediate fabric edges, but it also treats the entire span as one operating zone. Before selecting it, have the supplier confirm that the chosen fabric, tube, brackets, and mounting structure support the proposed size.
Multiple shades let you uncover one window while screening another. Plan their fabric edges around mullions where possible, and ask for actual fabric widths and expected gaps rather than assuming the ordered width is all usable cloth.
Make a simple elevation showing both arrangements. Include any door that needs independent access and any desk that requires glare control while the neighboring glass stays open.
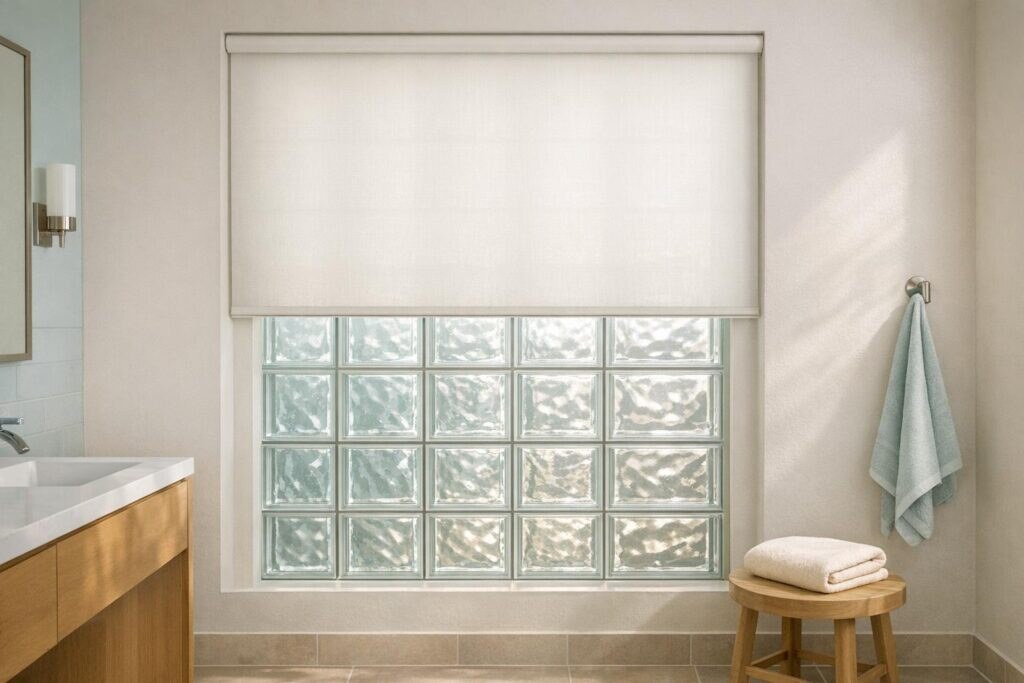
The same coordination question appears in roller shades for office glass partitions. For adjacent glazing that includes privacy glass, compare the mounting context in roller shades for glass block windows before assuming every bay can use identical fixings.
Understand coupled systems and grouped motors
A coupled system mechanically connects compatible shade panels, while a motor group sends commands to separate powered shades. Neither arrangement should be specified merely because several windows sit next to each other.
Coupling is product-specific: Lutron’s documentation describes compatible coupled systems with intermediate light gaps and panel limitations, while its Palladiom FAQ states that Palladiom shades cannot be coupled (Lutron coupled roller specifications; Lutron roller shade FAQs).
Ask the selected supplier about maximum dimensions, compatible fabrics, intermediate supports, independent operation, and access for service. Mechanical coupling does not remove the need to align the installation or confirm the gaps.
A shared remote is not enough evidence that separate shades will track together. Lutron identifies its Intelligent Hembar Alignment as a specific synchronization feature, so comparable performance should not be assumed for unrelated motors (Lutron technical FAQs).
For an illustrative example, consider two shades with drops of 60 and 72 inches measured from a shared starting reference. At 50% of their respective travel, their bottom rails could sit 30 and 36 inches below that reference; the percentages match, but the rail elevations do not.
Specify a physical resting line when aligned partial opening matters, then confirm that the controls support it. Review smart-home motorized shade setup for the broader control-planning context.
Ask World Wide Shades about coordinated controls or call (844) 674-2716 before assuming a grouped command will keep every hem bar level in motion.
Inspect the installation as one elevation
Dry-fit the hardware before drilling and confirm fasteners appropriate to the actual substrate. Follow the supplied bracket spacing and installation sequence, then verify each tube is seated and every retaining component is engaged.
Operate the shades individually before testing them together. Watch for rubbing, skewed rails, or fabric drifting on the roll; stop and investigate instead of repeatedly cycling a shade that appears to bind.
Stand back with the shades fully raised, partly lowered, and closed. Compare cassette lines, fabric edges, and bottom rails from the entrance and the main seating area, not only from directly beneath the windows.
Check window operation, charging access, handles, and service clearances. For homes where children may be present, the CPSC recommends cordless window coverings and warns that accessible window-covering cords are dangerous (CPSC cordless guidance).
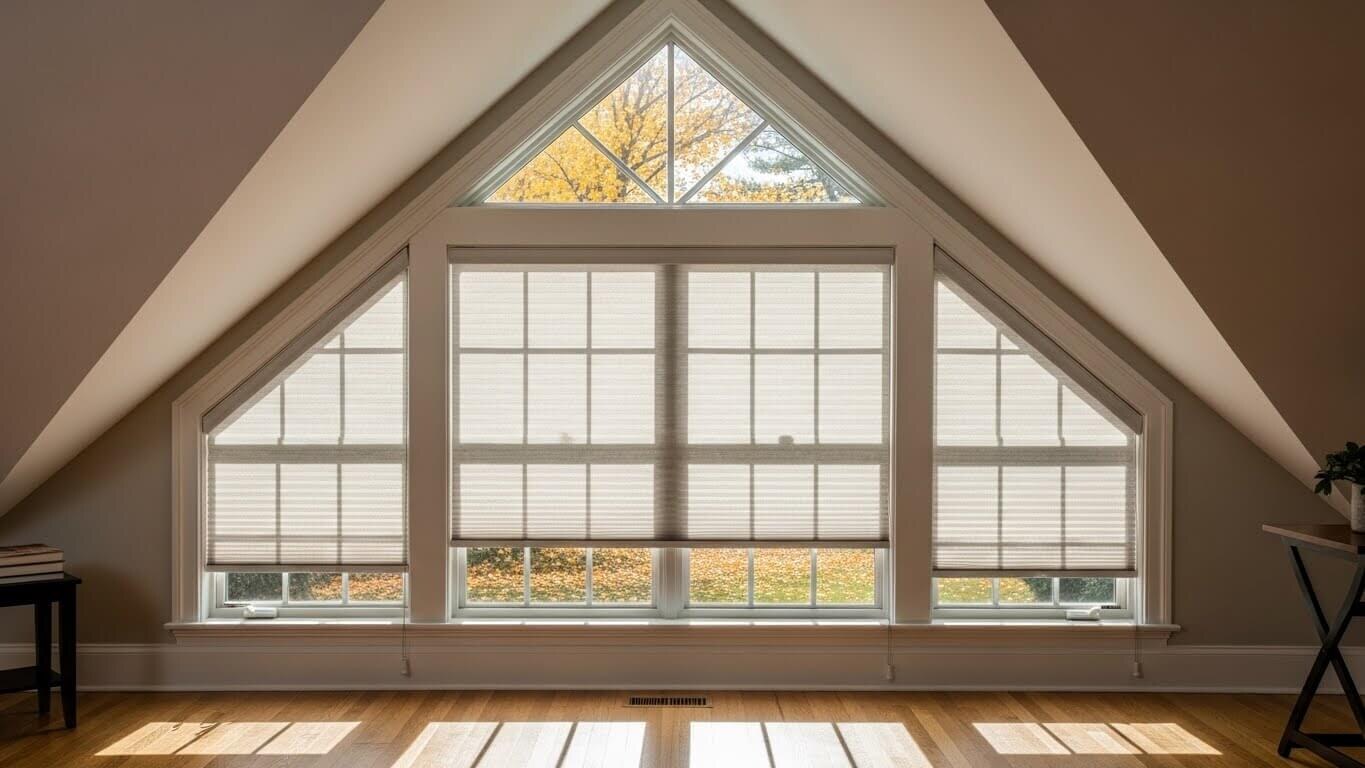
Record the final control names and preferred positions after testing. If a sloped gable sits above the adjacent rectangular windows, treat it as a separate geometry problem using measuring triangular gable windows for shades, not as another standard roller opening.
Frequently asked questions
Only when the measured openings and intended coverage support that choice. Aim for coordinated appearance without replacing the actual dimensions with an average.
Sometimes the hardware allows an approved adjustment within each recess. If not, decide whether to retain the individual head heights or use an outside-mounted arrangement with a common reference.
No; the top treatment and the stopping positions are separate decisions. Establish the intended lower line and verify it during commissioning.
Do not assume that neighboring fabric panels can touch. Obtain the selected system’s dimensional drawings and compare its required clearances with the mullion positions.
Send labeled opening dimensions, head elevations, mounting depths, and photographs showing the entire run. Add your preferred raised and lowered positions so the design can be evaluated as a group.
Bring the whole window wall together
Successful alignment starts with a shared reference and ends with testing the installed shades together. Keep individual opening dimensions, fabric choices, hardware geometry, and control settings connected throughout the project.
Build your coordinated roller shades with World Wide Shades once the mounting plan is confirmed. Use the same room-wide plan for every panel so the finished wall feels intentional rather than assembled one window at a time.