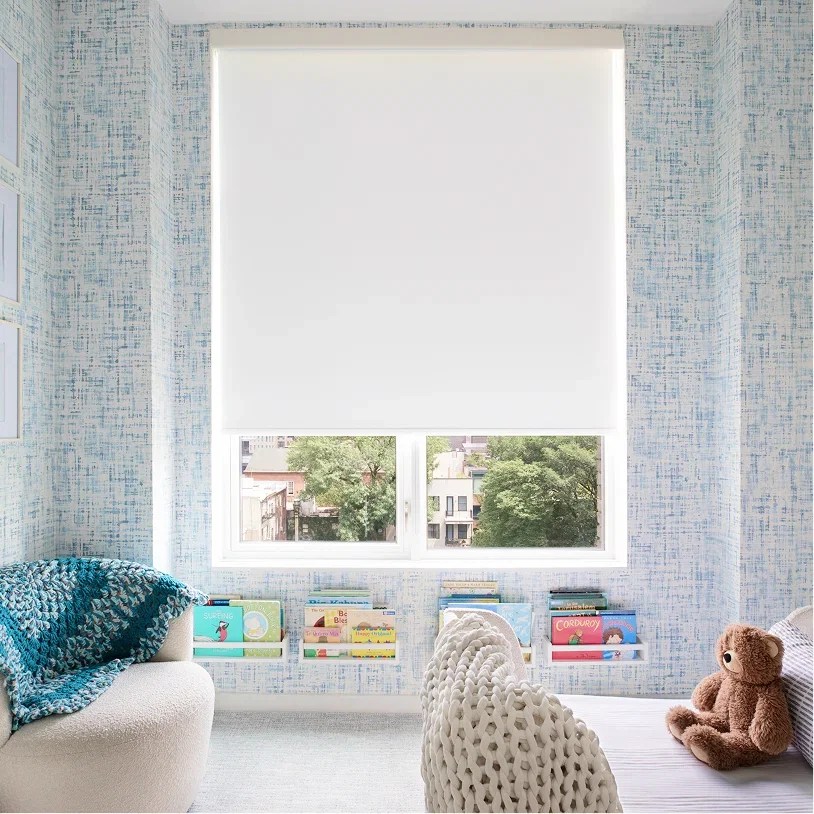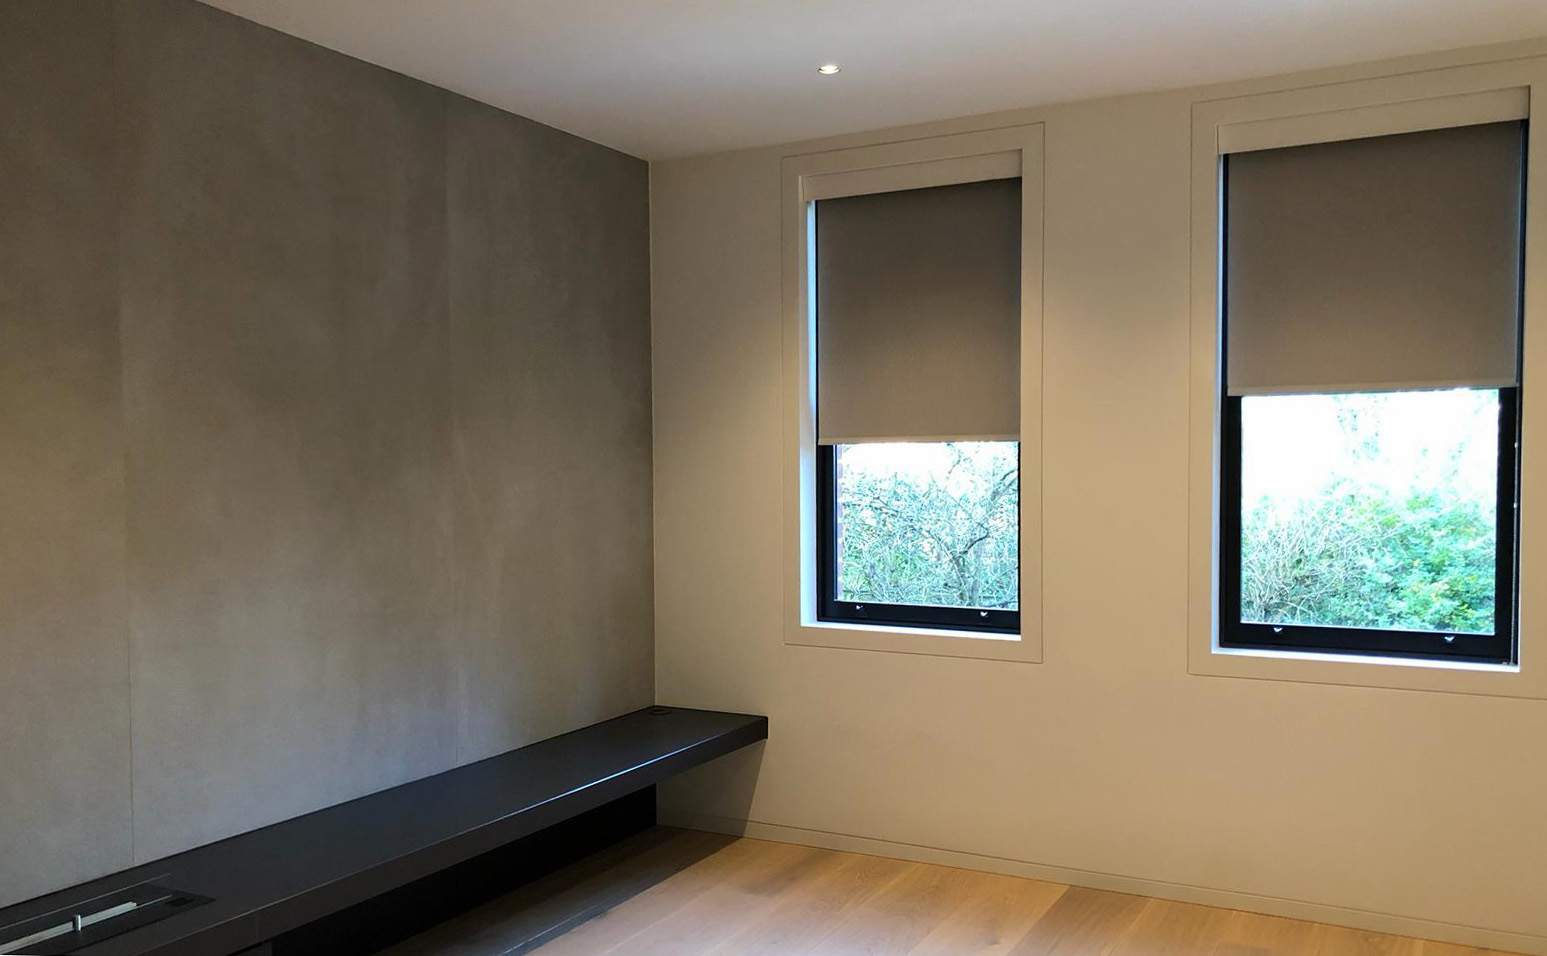
Deep window recesses can make a roller shade look beautifully built in, but they also create fit questions that a shallow opening does not. The headrail must clear the jambs, the fabric must roll without rubbing, and the handle, crank, or insect screen must remain usable. A successful recessed installation begins with a decision about where the shade sits—not with drilling the first bracket.
World Wide Shades can help choose an inside-mount, outside-mount, cassette, or side-channel approach. Start with the World Wide Shades builder, and use contact for a second opinion when the recess is deeper than the shade system's published bracket depth.
What counts as a deep recess?
There is no single universal threshold because headrail sizes differ. In practice, an opening becomes “deep” when the back of the recess is far enough from the room that trim, a sill, a mullion, or a crank affects the shade's front-to-back position. A 3-inch recess may be generous for one roller system and tight for a cassette or motorized system.
Measure the depth at the top, middle, and bottom. Also measure from the front edge to any handle or screen. A deep reveal can taper, especially in masonry or older homes. Use the smallest clear depth as the constraint and photograph each corner before ordering.
For a refresher on basic placement, see how to install roller shades. If you are deciding between an inside fit and a surface fit, the comparison in custom roller shades versus Home Depot shades explains why precise fabrication can matter in irregular openings.
Choose the mounting position before you drill
An inside mount places the brackets on the top jamb or side jambs within the recess. It preserves the trim and keeps the shade visually contained. The tradeoff is a small light gap at each side and less freedom if the recess contains hardware.
Use this position when the top jamb is flat, the opening is square enough, and the headrail clears the sash. A deep opening does not automatically require mounting at its back; often the best position is closer to the room where the shade can clear the handle and roll freely.
A front-set inside mount places the shade near the room-side edge while still keeping it within the opening. This can improve access to a chain, wand, or motor connection and can reduce the visual tunnel effect of a very deep reveal. It may require spacer blocks or extension brackets to bring the headrail forward.
Leave enough distance for the fabric roll and operating control. Do not place the shade so close to the trim that a raised bead, casing, or uneven plaster catches the fabric.
Outside mounting is often the cleanest fix when the recess is too shallow, uneven, or crowded. The shade spans the trim or wall surface and can cover more of the opening, reducing edge light. You need a level mounting surface and enough space above the window for the rolled shade stack.
A surface cassette can make the installation look intentional. World Wide Shades can help compare the clean lines of an exposed tube with a cassette; see roller shade valance options for ways to finish the top.
Measurements that matter in a recessed window
Measure the clear width at the top, middle, and bottom. Measure the clear height on the left, center, and right. Record the smallest and largest recess depth. Then measure the diagonal from top-left to bottom-right and top-right to bottom-left; a large difference indicates the opening is not square.
For a deep recess, add these details to the order:
- Headrail and bracket depth available at the proposed mounting line.
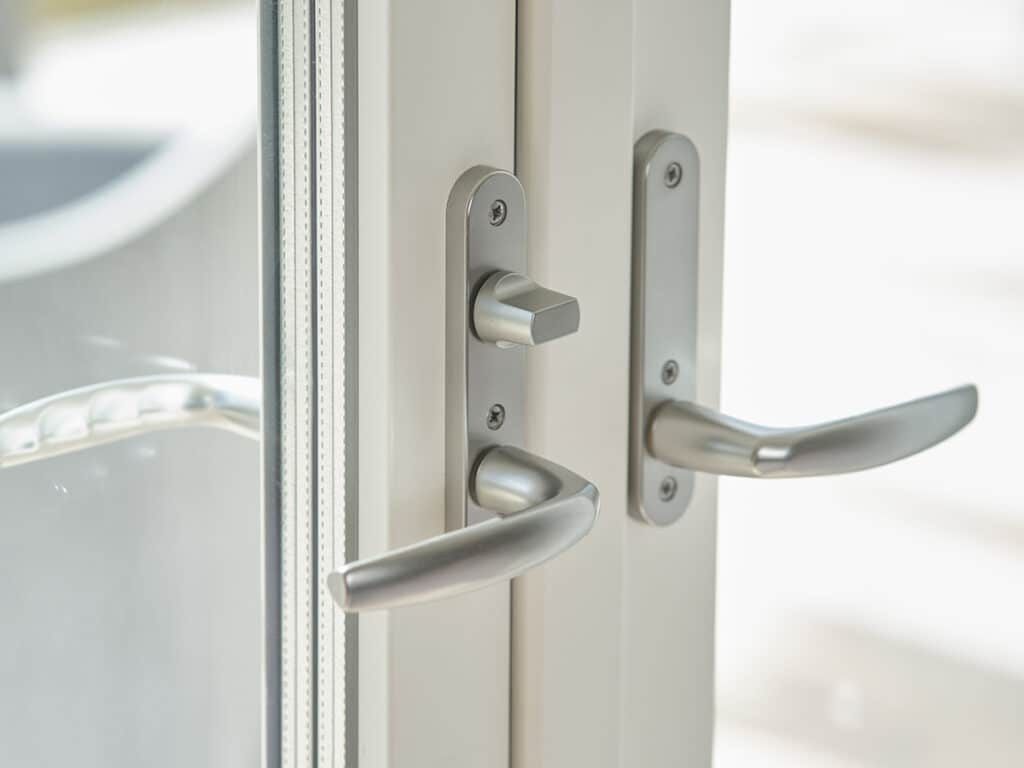
- Distance from the mounting line to the glass, sash, handle, and screen.
- Trim projection at each side and the sill.
- Whether the window opens inward, tilts, or swings.
- Where the shade will stack when fully raised.
- Which side should carry a chain, wand, wire, or motor.
If the two diagonals differ by more than about 1/4 inch on a normal window, pause before finalizing an inside mount. The opening may still work, but the fabrication and installation plan should account for it.
Install a standard inside-mounted roller shade
Hold the headrail or bracket template at the intended mounting line. Check that the shade is centered, the roll is parallel to the sill, and the fabric will not touch the jamb when it moves. Mark screw holes with a pencil, then remove the hardware and inspect for wiring or plumbing before drilling.
On drywall, use the appropriate anchor unless you can reach framing. On masonry, use a bit and anchor rated for that substrate. A bracket can see repeated torque every time a shade is operated, so a loose drywall plug is not a long-term installation.
Use a small level across the two bracket positions. In a deep reveal, it is easy for the left and right brackets to sit at different depths. That twist can make the roller rub, produce a telescoping fabric roll, or increase noise.
If the jambs are not parallel, use approved shims or spacer blocks. Do not force a metal bracket against a bowed surface; the bracket should be supported across its mounting face.
Clip or seat the headrail according to its instructions. Lower the fabric slowly and watch both edges. It should travel without scraping trim, a screen, or the sill. Raise it fully and check the stack for clearance. Test at least three complete cycles before adding a valance or closing an access panel.
Motorized shades may require pairing and limit setup after the mechanical installation. Read smart home motorized shade setup if the shade will join a hub, but finish the physical checks first.
Inside mounts naturally show a small gap between fabric and jamb. Do not fill that gap with caulk or foam; the fabric needs to rotate and the shade may need service. If darkness matters, use a cassette, side channels, an outside mount, or a dual-shade design rather than pushing the roll into an opening that is too tight.
For bedrooms and media rooms, compare blackout curtains and blackout shades. For a bright kitchen or bath, see roller shades for kitchens and bathrooms and choose a moisture-appropriate fabric.
Deep-recess solutions for common obstacles
Move the shade toward the room with spacer blocks or extension brackets, choose an outside mount, or specify a cassette that clears the handle. Never remove a required egress or ventilation component just to make a shade fit.
A sill can make the lower edge look far away and can interfere with a side channel. A front-set mount or surface mount usually gives a straighter fabric path. Confirm that the bottom bar can land without striking the sill at an angle.
Use the smallest width for an inside fit and let the fabricator specify the deduction. If the variation is substantial, an outside mount can hide irregular jambs. World Wide Shades can review a sketch and recommend the more forgiving option; send the opening details.
Avoid drilling into irreplaceable casing without permission. A surface mount attached to a removable board, a no-drill approach where appropriate, or a professional installation may preserve the trim. Browse roller shades for rental apartments for ideas that balance reversibility and fit.
Safety and quality checks
Install the shade so operating cords are out of reach of children and pets, and secure any chain tension device according to its instructions. The U.S. Consumer Product Safety Commission window covering guidance explains why accessible cords require special attention. Test the shade with the window closed, tilted, and open if those positions are normal in the room.
Check five points before calling the installation complete: brackets are tight, headrail is level, fabric clears every obstruction, bottom bar lands evenly, and the operating control is safe and reachable. If any motor cable or connector is hidden in the deep recess, leave an approved service path rather than sealing it permanently.
When professional installation is the better choice
A standard reachable window can be a reasonable DIY project. A deep recess over a stair, a skylight-like angle, a motorized shade with hardwired power, or a window above 8 feet changes the risk. Professional installation is also worthwhile when multiple shades must align across a wall or when a finished trim package is expensive to replace.
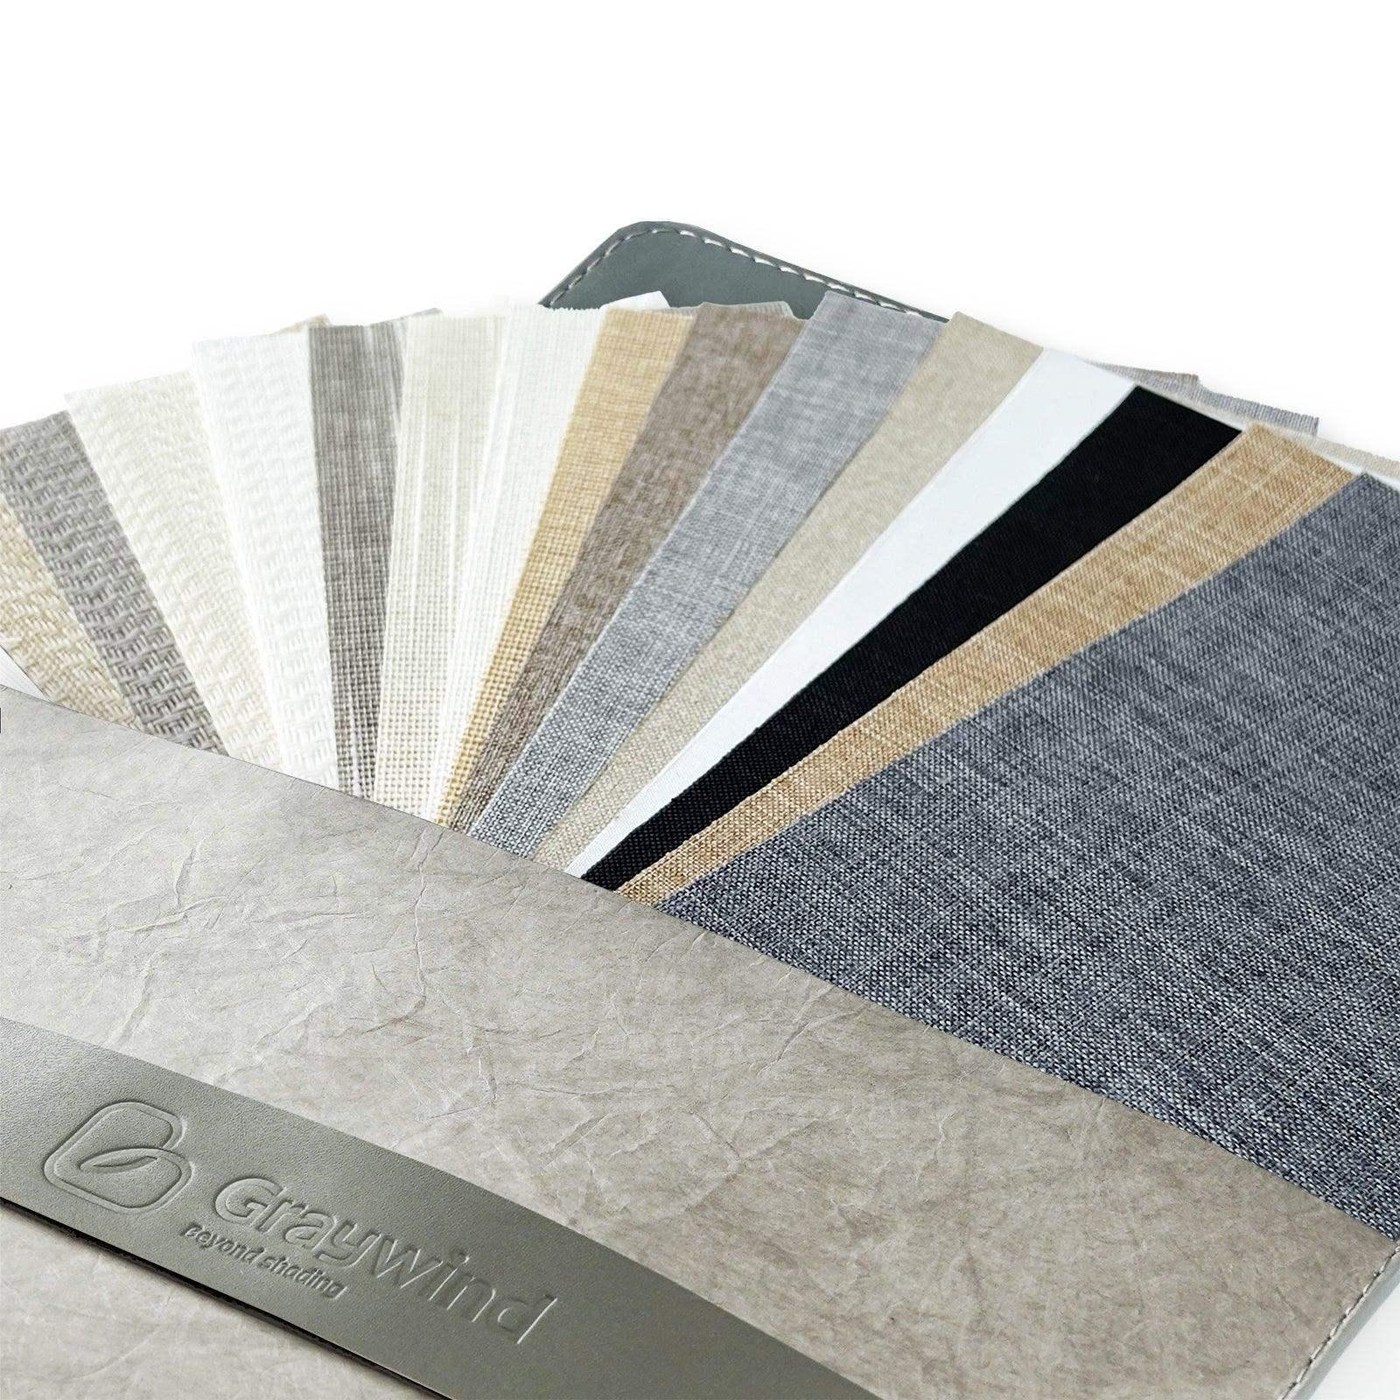
World Wide Shades can help coordinate the product and installation plan. Request a quote or call (844) 674-2716 with the recess depth, photos, and shade type. If you are ready to compare fabric and control options, configure your shade before scheduling the work.
FAQ: roller shades in deep recessed windows
Yes. It can be mounted at the rear, near the front edge, or over the trim, depending on headrail depth, hardware, fabric roll, and access. The deepest-looking recess is not always the hardest; an uneven or obstructed recess is usually the bigger issue.
Mount at the position that gives a level bracket surface, a clear fabric path, usable controls, and enough stack clearance. A front-set inside mount often improves access, while an outside mount is more forgiving when the reveal is uneven.
The required clearance is system-specific. Leave the exact manufacturing allowance to the shade supplier. Measure the clear opening and obstructions instead of subtracting a standard 1/4 inch yourself.
A roller can telescope when the brackets are not level, the tube is twisted, the fabric is not centered, or the opening forces contact on one edge. Recheck bracket alignment and fabric clearance before operating the shade repeatedly.
Yes, but a bare inside-mounted roller still has side gaps. A cassette, side channels, an outside mount, or layered treatments can reduce those gaps. World Wide Shades can help match the darkness goal to the window geometry.
Yes. Share width, height, depth, obstructions, and photos through contact, or call (844) 674-2716. World Wide Shades can help you choose a mount and prepare for a clean, serviceable installation.
A deep recess is an opportunity for a tailored fit, not a reason to settle for a crooked roll. Measure in three places, dry-fit the bracket line, and let World Wide Shades help you select the mounting and fabric package that fits the real opening.