A custom roller shade order is easier to get right when you settle the technical details before choosing a color. Finished width, drop, mount type, openness, blackout performance, control, and installation access all affect the result. A beautiful fabric cannot correct a bracket that conflicts with a window handle or a shade ordered from the wrong measurement point.
World Wide Shades uses a room-by-room planning process so the specification reflects how the windows are used. Start with the World Wide Shades builder, save your preliminary selections, and contact World Wide Shades with photos when an opening has unusual trim, a door, or a handle. The checklist below keeps a multi-window order organized.
1. Record the project basics
Create a simple schedule with one row per shade. Give every opening a location such as “kitchen east,” “primary bedroom left,” or “living room slider.” Record the finished opening width, finished height, desired shade size, mount type, fabric, control, and notes about obstructions. Numbering a 12-window project prevents two similar bedrooms from receiving the wrong fabric or motor.
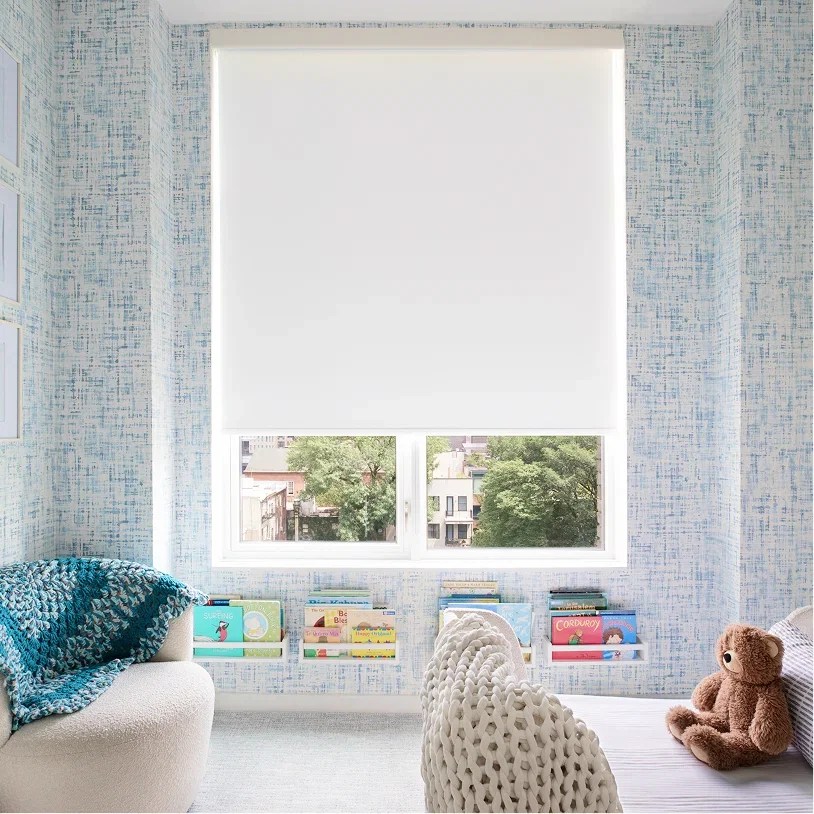
Note the room’s purpose and the desired result. Privacy, glare control, sleep darkness, heat reduction, view-through, and decoration may require different specifications. A 5% solar screen can be excellent for a home office but unsuitable for a nursery that needs darkness. The best fabrics for roller shades guide explains why the task should lead the fabric decision.
World Wide Shades can review a schedule before fabrication. Send your opening list to World Wide Shades and include whether each shade is inside mount, outside mount, or undecided.
2. Measure the opening correctly
For an inside mount, measure the actual recess width at the top, middle, and bottom. Measure height at the left, center, and right. Record to the nearest 1/8 inch and keep the smallest width and shortest height visible in your notes. Check recess depth at the point where brackets or a cassette will sit; a deep-looking sill may have a shallow drywall return.
For an outside mount, record the area you want to cover, not only the glass. A common planning allowance is 2–3 inches of overlap per side and 3–4 inches above the opening, but trim, handles, and the roll diameter can change the answer. Do not add deductions yourself unless the ordering instructions specifically request them. A professional fabricator may apply deductions for an inside mount.
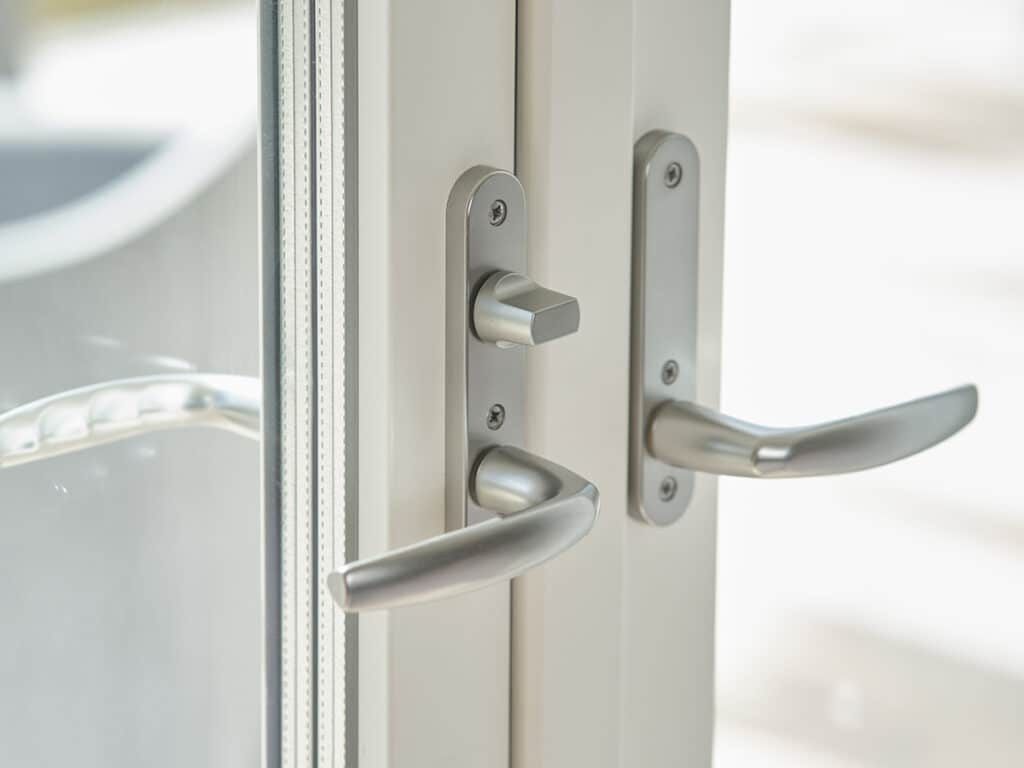
Take photos from straight on and from both sides. Include a ruler or tape for scale, and photograph window locks, cranks, door pulls, vents, crown molding, and nearby lights. The how to install roller shades guide shows the clearances that matter once hardware arrives. Use the World Wide Shades contact page for a measurement review when a window is not square.
3. Select the mount and roll direction
An inside mount sits in the recess and preserves trim lines. It usually gives a clean appearance, but it can show more side light and needs enough depth for the brackets. An outside mount covers trim, can reduce light gaps, and often works better when the recess is shallow or out of square.
Choose standard or reverse roll after checking the glass, latch, and handle. A reverse roll moves fabric farther from the tube and can clear a projecting trim edge, but it may increase the light gap. A cassette hides the roll and can make a wide shade look finished; it also requires more headroom. The roller shade valance options guide compares covered and exposed headrails.
For paired windows, decide whether shades should line up at the same head height or follow each separate opening. Consistent head heights usually look calmer in a living room, while separate inside mounts may preserve the original architecture. Ask World Wide Shades to review paired-window alignment before you order.
4. Choose fabric by openness and performance
Solar screen openness is commonly described as 1%, 3%, 5%, or 10%. A lower percentage generally filters more glare and UV while a higher percentage preserves more view and daylight. The actual result depends on fabric color, window direction, glass coating, and interior lighting. Treat openness as a starting specification, not a guaranteed energy-savings percentage.
Light-filtering fabrics soften daylight but allow a bright glow. Room-darkening fabrics reduce light substantially; blackout fabric is the stronger choice when sleep or projection quality matters. Even blackout cloth can leave perimeter light unless the mount, overlap, cassette, or side channel is designed for it. Compare goals in the light-filtering shades guide and blackout curtains vs. blackout shades guide.
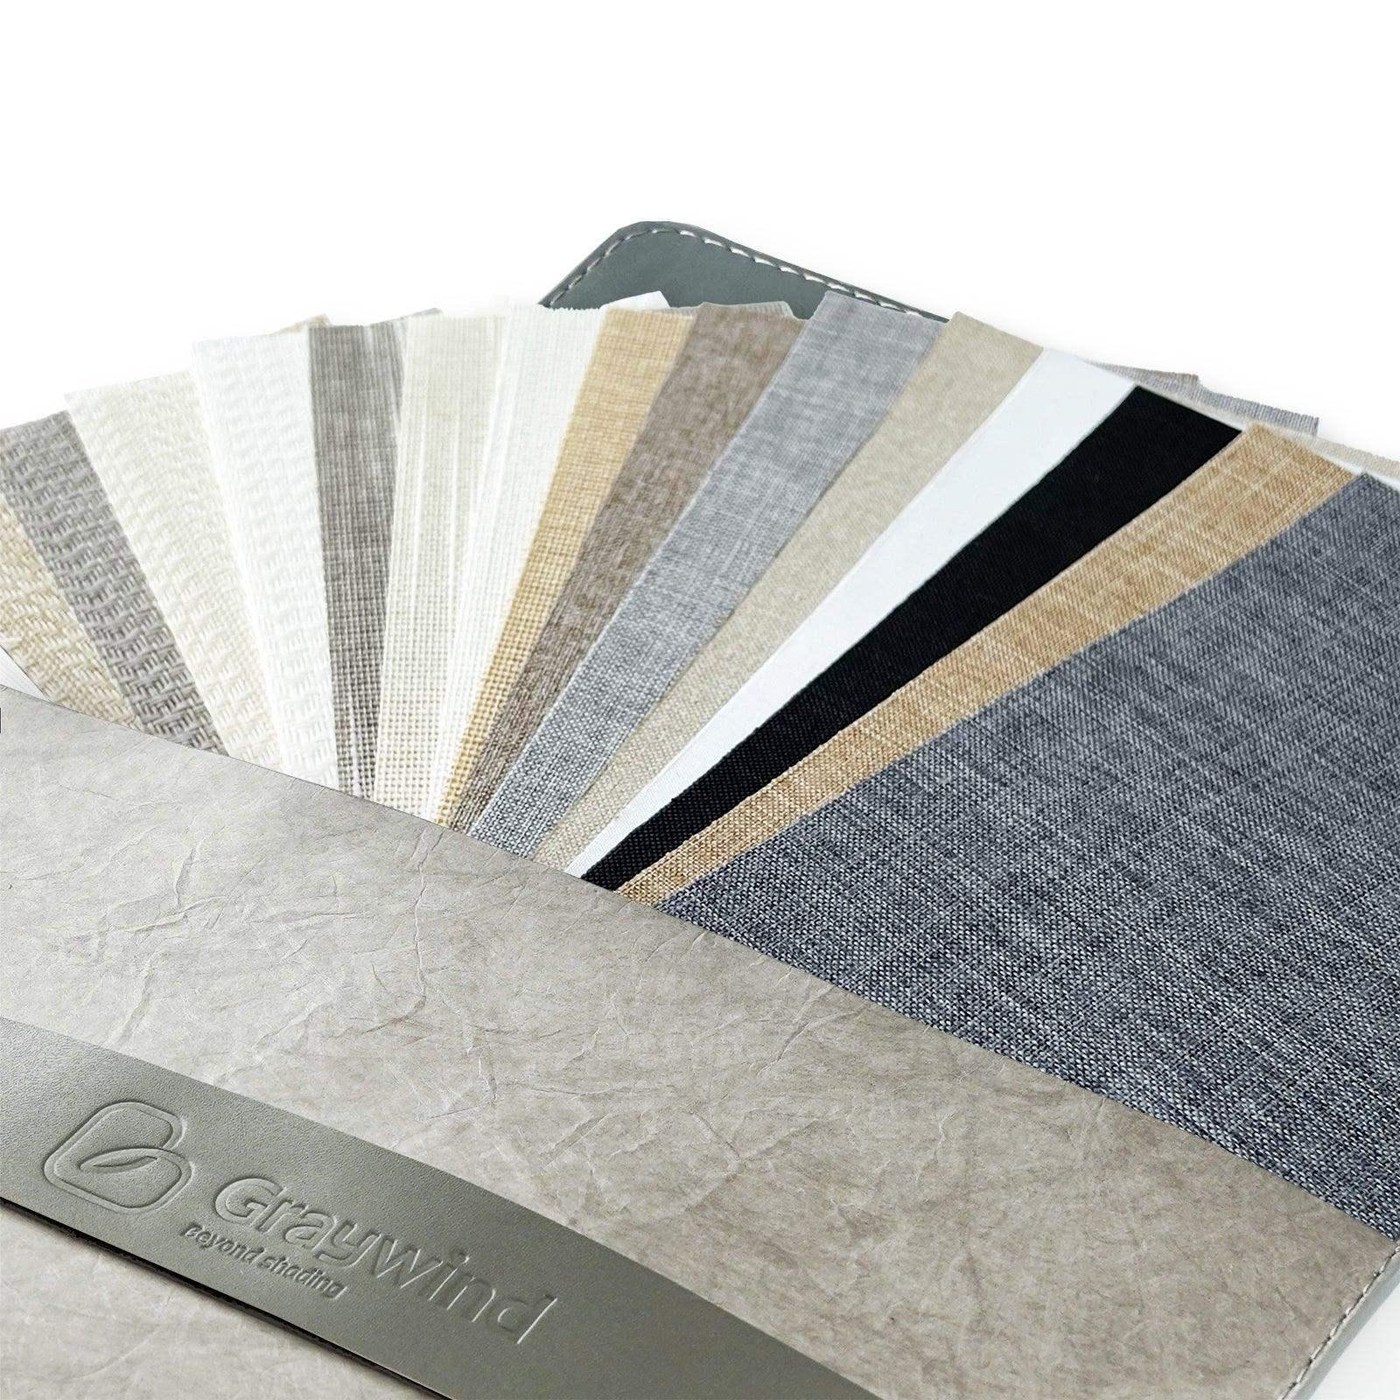
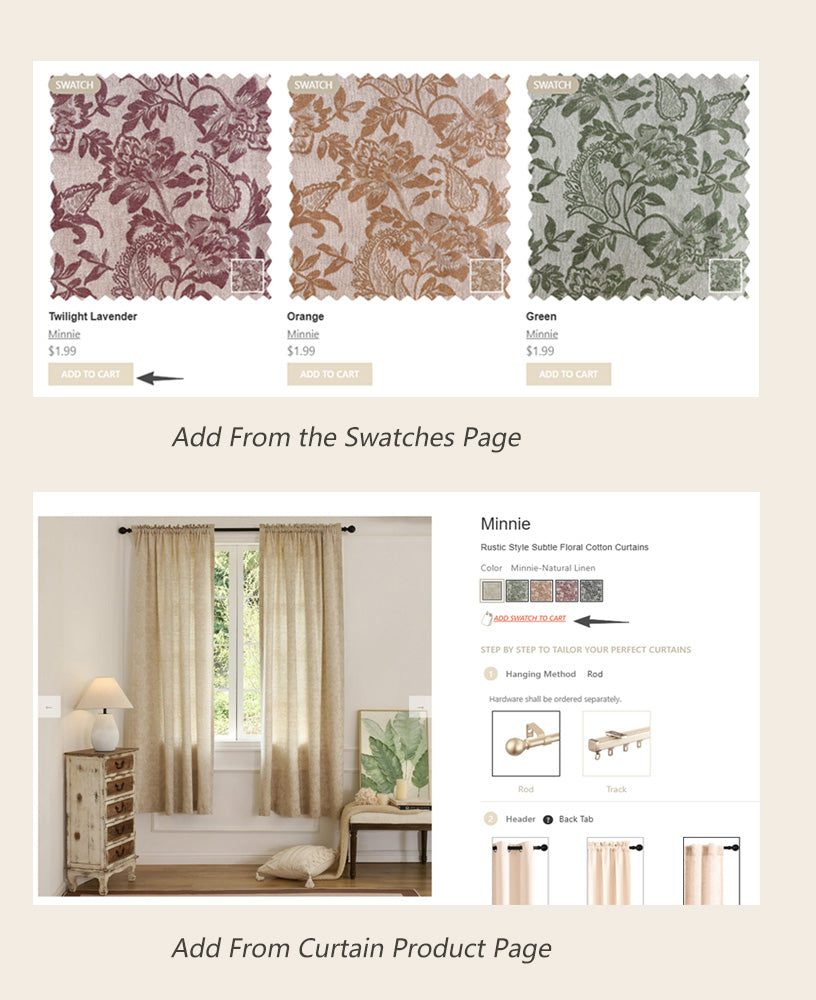
Order swatches before committing to a whole house. View them at morning, afternoon, and evening, and hold them against paint, flooring, and trim. Dark fabrics can make glare feel lower but may absorb more heat at the glass; pale fabrics can keep a room visually bright. Order World Wide Shades swatches and label each sample with the room and window direction.
5. Check color, texture, and scale
A shade covers a large visual plane, so a two-inch swatch can understate a texture’s scale. Compare the sample at least 12 inches from the wall and alongside the trim. Photograph it in daylight and under the room’s evening lamps. A warm white next to cool gray paint can look beige; a charcoal screen can read nearly black against a dark window.
For adjacent rooms, decide whether the fabrics should match exactly or share a color family. Matching fabric across a hallway can make small openings feel intentional, while a different openness in a sunny room can solve glare without creating visual chaos. The window shades color guide offers a practical approach to undertones and contrast.
World Wide Shades can help compare swatches with your photos. Contact World Wide Shades before approving a large order if trim, flooring, or wall color is difficult to photograph accurately.
6. Select manual or motorized control
Cordless manual operation is straightforward for reachable windows. For a door, high transom, child’s room, or shade wider than a typical arm’s reach, motorization may be safer and more convenient. Battery motors can simplify remodeling; hardwired motors can make sense for tall rooms or shades that move many times each day.
Estimate movement frequency before selecting a battery. Two open-and-close cycles per day can mean roughly 730 cycles in a year; a solar-control schedule plus manual adjustments may double that number. Plan where charging will happen and whether a ladder is required. The smart home motorized shades setup guide covers hubs, groups, and schedules, while motorized shades with Alexa and Google Home covers voice-control planning.
Ask for motor limits based on the finished fabric size and weight. A 72-by-96-inch blackout shade has different torque needs than a 30-by-48-inch solar screen. Use the builder to compare manual and motorized options, then call World Wide Shades at (844) 674-2716 for unusual widths or high installations.
7. Verify safety and clearance
Look for conflicts before payment: window cranks, door handles, alarm sensors, mullions, faucets, backsplash tile, furniture, and sliding panels. Allow the bottom bar to clear the sill or countertop. On a French door or patio door, check the shade’s projection against the opening swing and the latch side.
For children and pets, prefer cordless or motorized operation and keep control devices out of reach. Review the child-safe window treatments guide when a playroom, nursery, or pet bed sits near the window. World Wide Shades can flag a control choice that is technically available but impractical for the room.
8. Confirm price and timing
Custom roller shade pricing varies widely. As a planning range, a manual shade may fall around $150–$600 per opening, while a motorized shade may add roughly $150–$500 or more depending on motor, fabric, size, and integration. Installation can add $75–$250 per opening, with high windows and difficult access costing more. Use these as budgeting ranges, not a quote.
Ask for a line-item summary showing shade, fabric, cassette or valance, motor, controls, installation, shipping, and taxes. Confirm whether sample costs are credited, how changes are handled, and what happens if a measurement is outside the product limits. The custom roller shades vs. Home Depot comparison explains why service and fit can be part of the value.
Lead time is often 3–8 weeks after final approval, but fabric availability, motor programming, and installation schedules can change it. For new construction or a move-in date, allow a buffer of at least 2–3 weeks. Ask World Wide Shades for current timing before coordinating painters, movers, or electricians. Call World Wide Shades at (844) 674-2716 if a deadline depends on motor availability or installation access.
9. Approve the order like a proof
Before fabrication, compare the confirmation against your schedule line by line. Verify room, width, height, mount, fabric name, openness, roll direction, control, finish, and quantity. Confirm left/right orientation for doors and whether grouped shades will share a remote channel. Keep a copy of the approved specification and swatch.
Do not approve from memory. A single wrong digit can change a 35-inch opening into a 53-inch order, and a reversed room label can make installation day unnecessarily difficult. World Wide Shades can clarify a confirmation before production. Send the final schedule to World Wide Shades if any line is unclear.
10. Plan installation and care
Clear furniture, protect nearby surfaces, and make sure installers can reach every bracket. For a motorized project, identify outlets, hub locations, and a safe ladder position. After installation, test full open, full close, intermediate stop, remote grouping, and any smart-home routine. Confirm that fabric rolls evenly and the bottom bar does not touch trim.
Keep care simple: dust with a soft brush or vacuum attachment, spot-test any cleaner, and never pull a motorized shade by hand unless the instructions allow it. Record the installation date and motor information so future service is easier. Contact World Wide Shades if a shade binds, telescopes, or stops short of its limit.
FAQ: custom roller shade ordering
Measure width at the top, middle, and bottom and height at the left, center, and right. Record recess depth, obstructions, and whether the measurements describe the finished opening or desired shade size.
Inside mount preserves the recess and trim, while outside mount can cover irregular trim, reduce side gaps, and work with shallow depth. The best choice depends on the opening, fabric, and hardware clearance.
Order at least two or three finalists per room and compare them in daylight and evening light. Check them against paint, trim, flooring, and the window’s view instead of judging a sample in isolation.
A broad planning range is $150–$600 for many manual openings, with motorization often adding $150–$500 or more and installation adding about $75–$250 per opening. Size, fabric, access, and integration can change the total.
Choose motorization for high, wide, hard-to-reach, child-accessible, or frequently adjusted shades. Plan battery charging or wiring before the order is approved.
Yes. Share the measurement schedule, photos, and intended fabric and control choices through World Wide Shades contact. The team can identify clearance, sizing, or control questions before production.
Start with World Wide Shades builder, request swatches, or contact World Wide Shades to turn this checklist into a room-by-room shade plan.