Why bay-window measurements need a different method
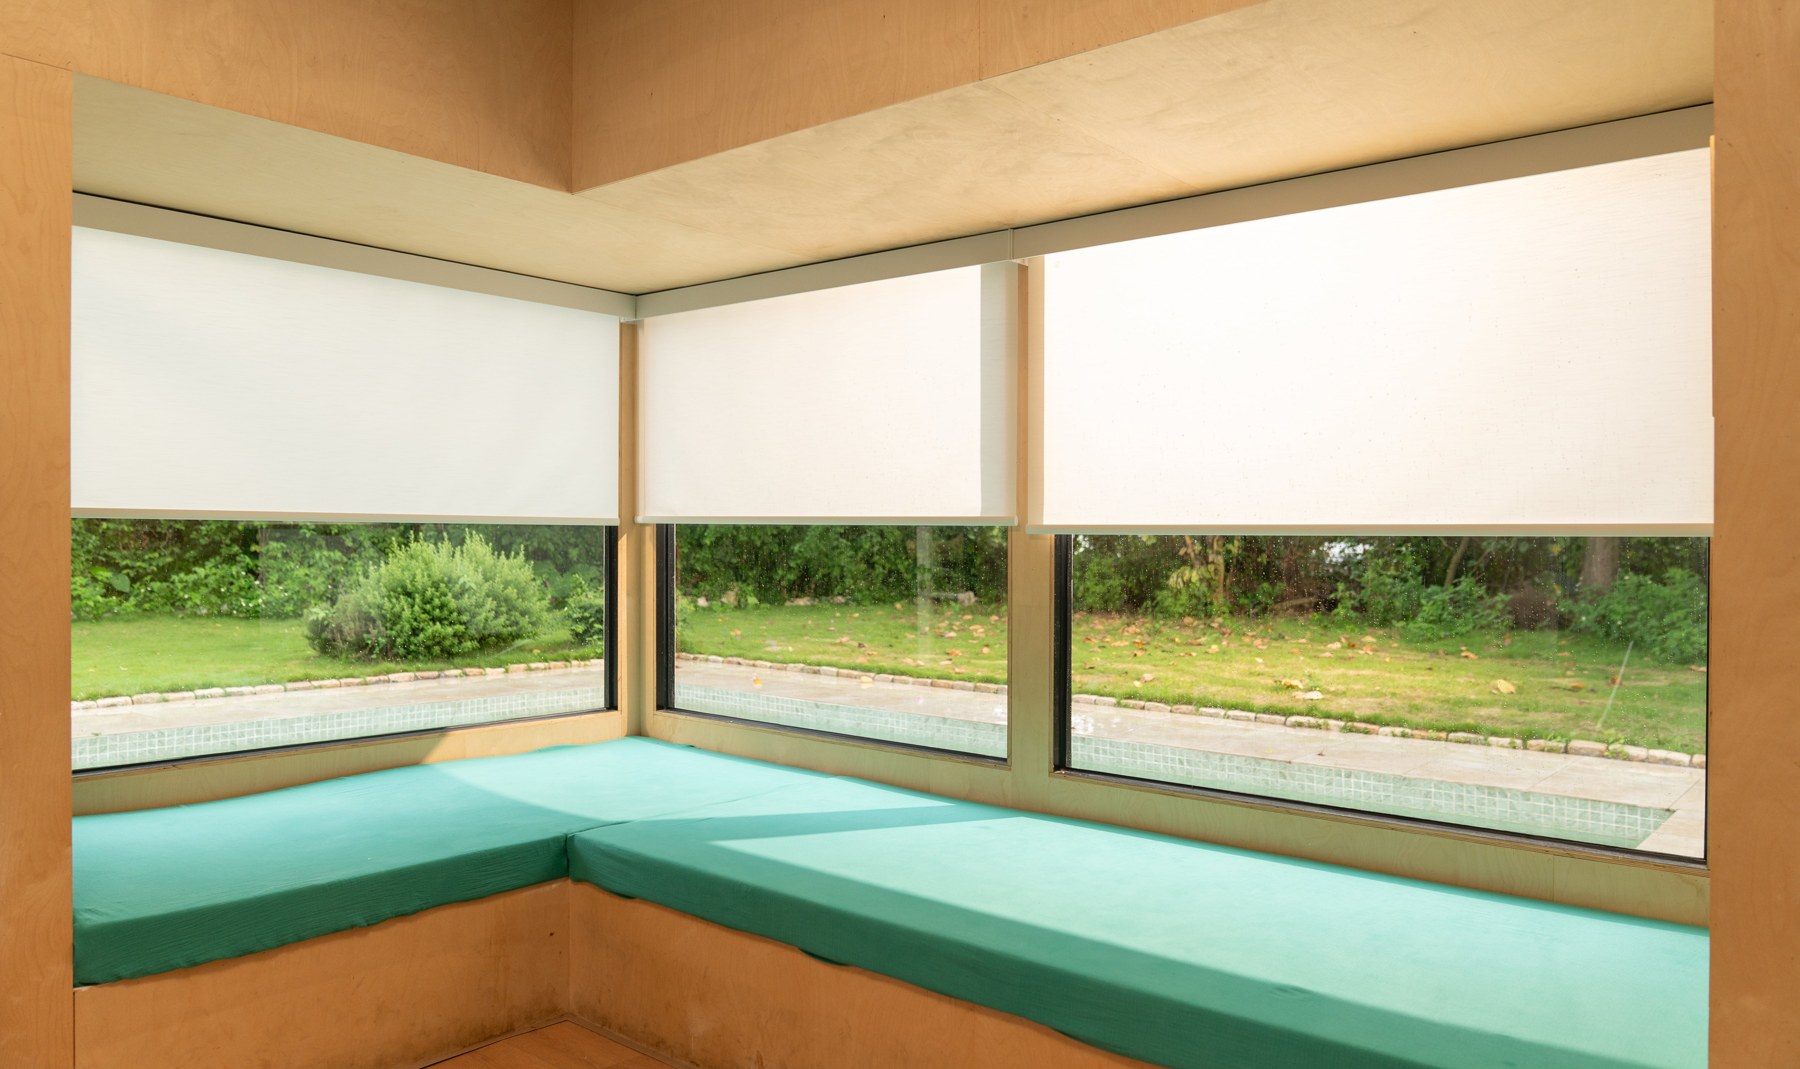
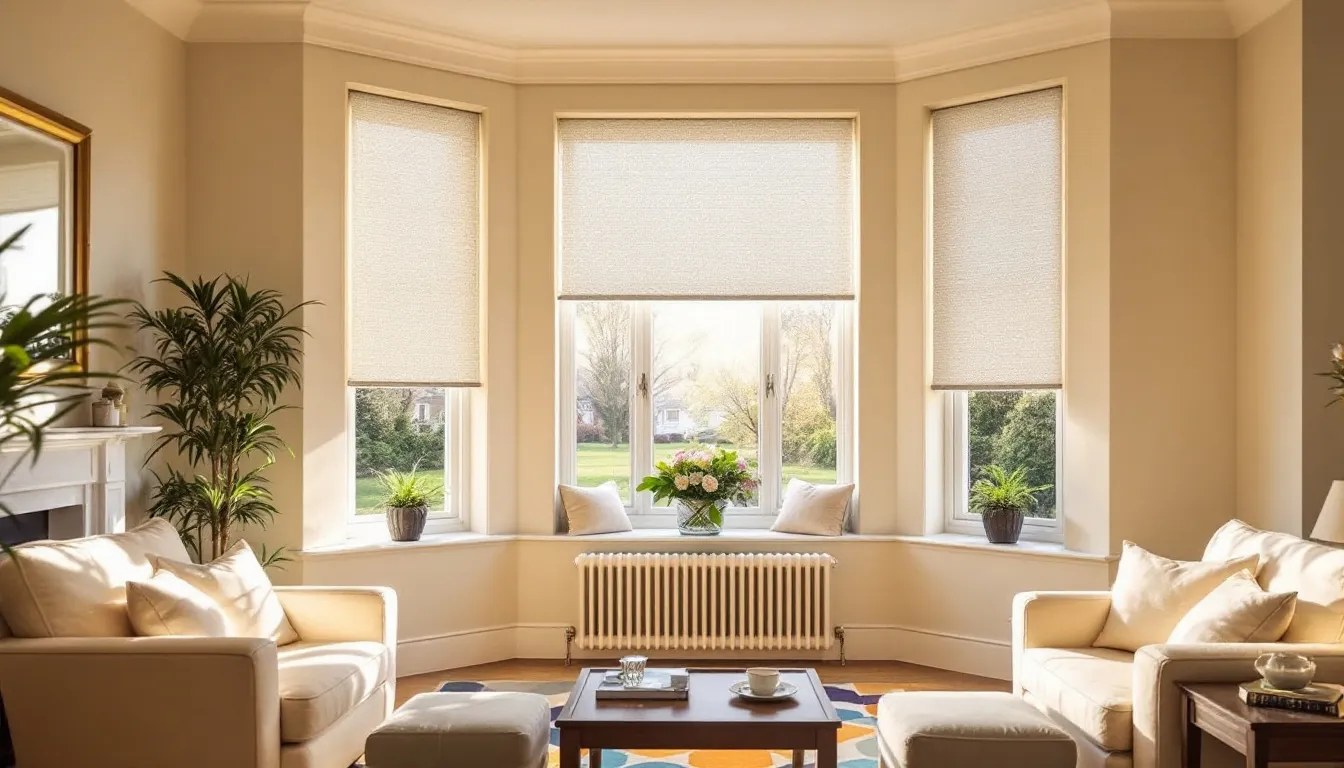
A bay window is not one opening. It is usually three or more windows joined by angled walls, with limited space at the corners. A shade can fit each glass panel and still collide with its neighbor, block a handle, or leave an uneven center gap. The goal is to record each panel, each angle, and every obstruction before ordering.
For a typical three-panel bay, plan on three separate shade sizes rather than one wide shade. World Wide Shades can review a sketch before production; begin with the World Wide Shades builder, order swatches, or use contact for a measurement check.
Tools and preparation
Use a steel tape at least 12 feet long, a pencil, paper or a phone note, a level, and a step stool on a stable surface. Do not measure from an unstable chair. Photograph the top corners, sill, handles, locks, trim, and any nearby radiator before you finalize the order.
Record dimensions in the same unit throughout. For an inside mount, write width to the nearest 1/8 inch and height to the nearest 1/8 inch unless the manufacturer specifies otherwise. Do not subtract your own deduction unless World Wide Shades tells you to; custom systems apply their own allowances.
Step 1: Identify each panel
Stand inside the room and label the center panel A, left panel B, and right panel C. For a five-sided bay, continue clockwise. Measure each glass opening independently; construction tolerances can create differences of 1/4 inch or more even when the windows appear symmetrical.
Draw a simple top-down sketch. Mark the angle between each panel, the wall return, and the direction each shade will roll. This sketch is more valuable than a single “bay width” number. World Wide Shades can use it to check whether brackets and cassettes will clear at the meeting points.
For inspiration on product layouts, see shades-corner-windows-meeting-point and roller-shades-vs-honeycomb-shades.
Step 2: Measure inside-mount width
Measure the inside width of panel A at the top, middle, and bottom. Repeat for B and C. Record the narrowest width for each panel, but keep all three numbers in your notes. The narrowest point controls fit; the other readings reveal whether the frame is out of square.
If the width changes by more than 1/4 inch, flag it. An inside mount may require a manufacturer deduction or an outside mount to avoid binding. Do not average the readings. A shade ordered to the average can be too wide at the narrow point and too loose at the wide point.
World Wide Shades can help choose a mounting approach when a bay frame is uneven. Send the three readings through contact before you submit the order.
Step 3: Measure inside-mount height
Measure height on the left, center, and right side of each panel. Record the shortest height. Check the sill: is it level, sloped, or projecting? A roller shade should clear the sill without rubbing, and the bottom rail should not strike trim as it lowers.
Measure from the actual mounting surface to the sill or desired stopping point. If the windows have different heights, order different shade lengths rather than forcing a shared dimension. Extra roll at the top is normal; a shade that is too short cannot be corrected after fabrication.
For general roller-shade measuring and installation context, read how-to-install-roller-shades.
Step 4: Check depth and corner clearance
Measure the clear depth from the front edge of the trim to the glass, then from the front edge to the back of the recess. A standard roller bracket may need about 2–3 inches; a cassette or motorized headrail may need more. Confirm the exact requirement for the chosen product.
At each angled corner, measure the distance between the two possible shade planes. A center gap of 1–2 inches may be necessary so brackets, fabric, and bottom rails do not touch. If you want less light leakage, outside-mount shades or side channels may be better than forcing two inside mounts together. See roller-shades-with-side-channels-light-blockers.
World Wide Shades can recommend a corner strategy based on the angle and trim. Order swatches while you check depth so fabric and hardware decisions happen together.
Step 5: Record handles, locks, and obstructions
Measure the projection of every crank, handle, lock, alarm contact, and insect screen. Note how far each obstruction sticks into the shade path. A 1-inch handle can prevent a shade from sitting flat; a top-mounted crank can interfere with a cassette.
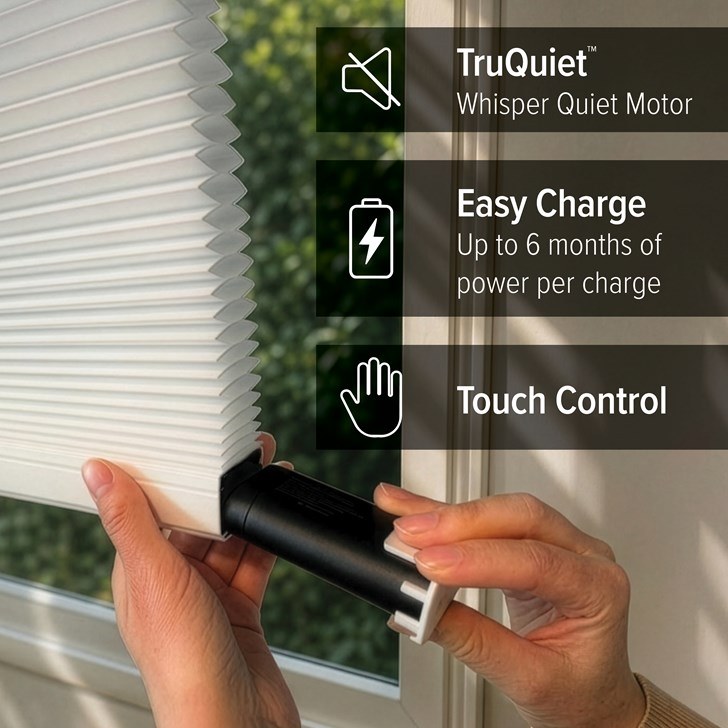
Mark the obstruction height and location on your sketch. For motorized shades, also mark where a charger would reach. A rechargeable motor that cannot be accessed without a ladder is a poor plan even if it fits. Compare control options in motorized-vs-manual-roller-shades-cost.
Step 6: Decide inside mount or outside mount
Inside mount preserves trim, keeps each shade close to its glass, and gives the bay a tailored appearance. It works best when the recess is deep, reasonably square, and free of conflicts at the corners. Expect some light at the side gaps unless the system includes channels or a close-fitting cassette.
Outside mount is useful when the recess is shallow, the frame is badly out of square, or you want overlap to reduce light. Add at least 2 inches of overlap per side when wall space allows; blackout applications may need 3–4 inches or side channels. Check that the shade does not cover decorative trim you want to show.
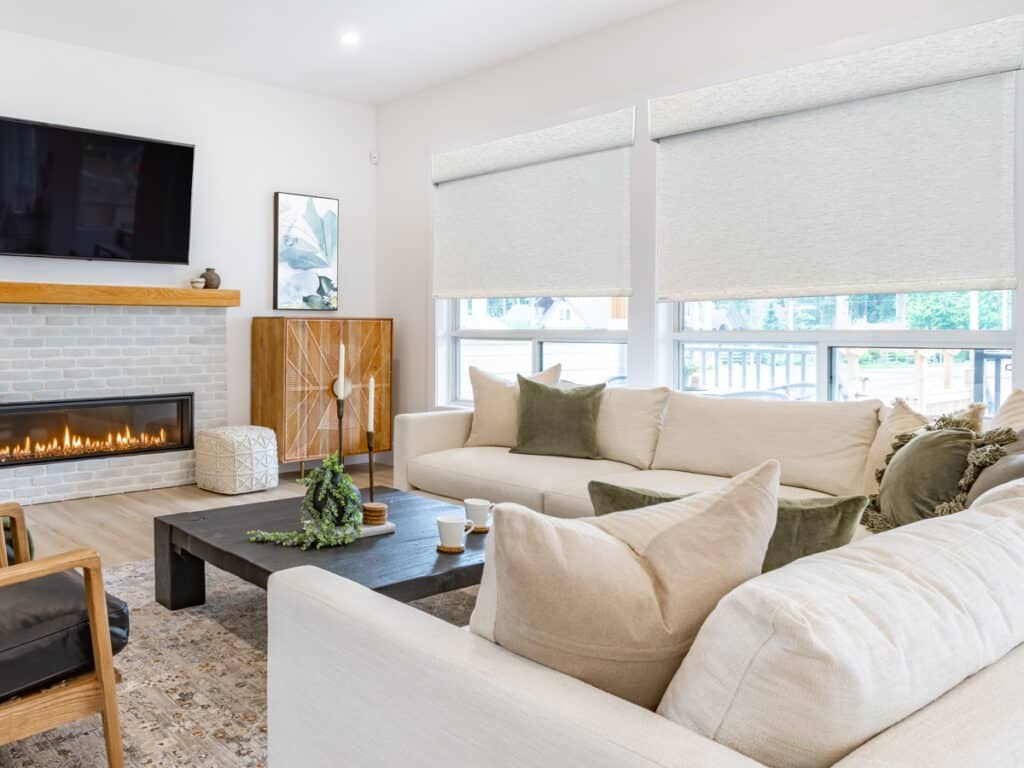
World Wide Shades can compare the visual and functional tradeoffs through builder. For room-wide style, read window-shades-color-guide and best-roller-shades-living-room.
Step 7: Plan the order of operation
For a three-panel bay, decide whether shades should lower independently or in a group. Independent shades make it easier to manage changing sun angles. Group control is convenient but can lower a shaded panel unnecessarily. Manual cordless shades require clear access to each bottom rail; motorization can help when corner windows are deep or hard to reach.
If the bay is above a sofa or table, avoid a chain that rubs against furniture. If it is near a child’s play area, choose cordless or motorized operation and review child-safe-window-treatments. World Wide Shades can specify a consistent operating method without making every opening motorized.
Common measuring mistakes
One number cannot describe three angled openings. Measure each panel and record the angle relationships.
Manufacturers handle deductions differently. Give the actual narrowest measurement and follow the ordering instructions.
A shade can fit the glass but fail to fit the recess. Measure depth before choosing a cassette, liner, or motor.
A lower rail needs clearance from the sill, crank, and adjacent rails. Check the travel path, not only the top.
A bay may look symmetrical while the center panel is 1/2 inch wider or one side is out of square. Treat every panel as its own opening.
A sample measurement worksheet
For each panel, record: panel label, inside width top/middle/bottom, inside height left/center/right, depth, angle, sill projection, handle location, desired mount, desired fabric, and operating method. Add one photo facing the bay and one close-up at each corner.
A useful example might read: panel A width 36 1/4, 36 1/8, 36 3/16; height 60 1/2, 60 3/8, 60 1/2; depth 3 1/4; panel B width 24 7/8, 24 3/4, 24 13/16; corner gap 1 1/2. These numbers are only an example, not a deduction formula. World Wide Shades should confirm the final order dimensions.
Before you submit the order
Review the sketch, photos, mount choice, fabric sample, control method, and clearance. Confirm whether the product is inside or outside mounted, whether the listed width is the finished shade width or opening width, and who applies deductions. For large or unusual bays, request a measurement review from contact or call (844) 674-2716.
World Wide Shades can help you avoid the most expensive mistake: a shade that technically fits one panel but does not operate with the others. Start the builder, request swatches, and keep your worksheet for installation day.
Frequently asked questions
Most three-panel bays work best with three separate shades, one for each window. Separate shades follow the angles, allow independent light control, and reduce the risk of a single oversized tube flexing.
Inside mount looks streamlined when the recess is deep and square. Outside mount can be better when depth is limited, the frame is uneven, or you need overlap for blackout. Corner clearance determines the final choice.
There is no universal number because angle, bracket depth, and product design vary. A 1–2-inch corner gap is common, but the manufacturer should confirm the minimum clearance. Do not force adjacent hardware together.
Measure the actual mounting opening, not only the visible glass. Record where the brackets will sit and follow the product’s inside- or outside-mount instructions. World Wide Shades can review the measurements before you order.
Yes. Motorization is useful when panels are deep, high, or difficult to reach. Plan charger access, headrail depth, and whether each panel should operate separately or as a group.
Record the smallest width and every out-of-square reading. An outside mount may hide unevenness better than an inside mount, while a custom cassette or side channel may solve light gaps. Ask for a review rather than guessing a deduction.
Get a bay-window measurement review
World Wide Shades offers custom shade guidance for angled openings and multi-panel projects. Use the World Wide Shades builder, order swatches, or contact World Wide Shades. Call (844) 674-2716 if you want a second set of eyes on your sketch.