Hardwired motorized shades are easiest to install when the walls are still open. The electrical rough-in must account for the motor, shade headrail, transformer, cable route, controls, trim, and future service access. A few minutes spent on a window schedule can prevent a hidden junction box, an unreachable power supply, or a motor cable that stops several inches short.
This guide is a planning brief for homeowners, builders, designers, and electricians. Electrical work belongs to a qualified professional who follows local code. World Wide Shades can provide the shade schedule and confirm product requirements; start a project in the World Wide Shades builder before the rough-in meeting.
What “hardwired” means
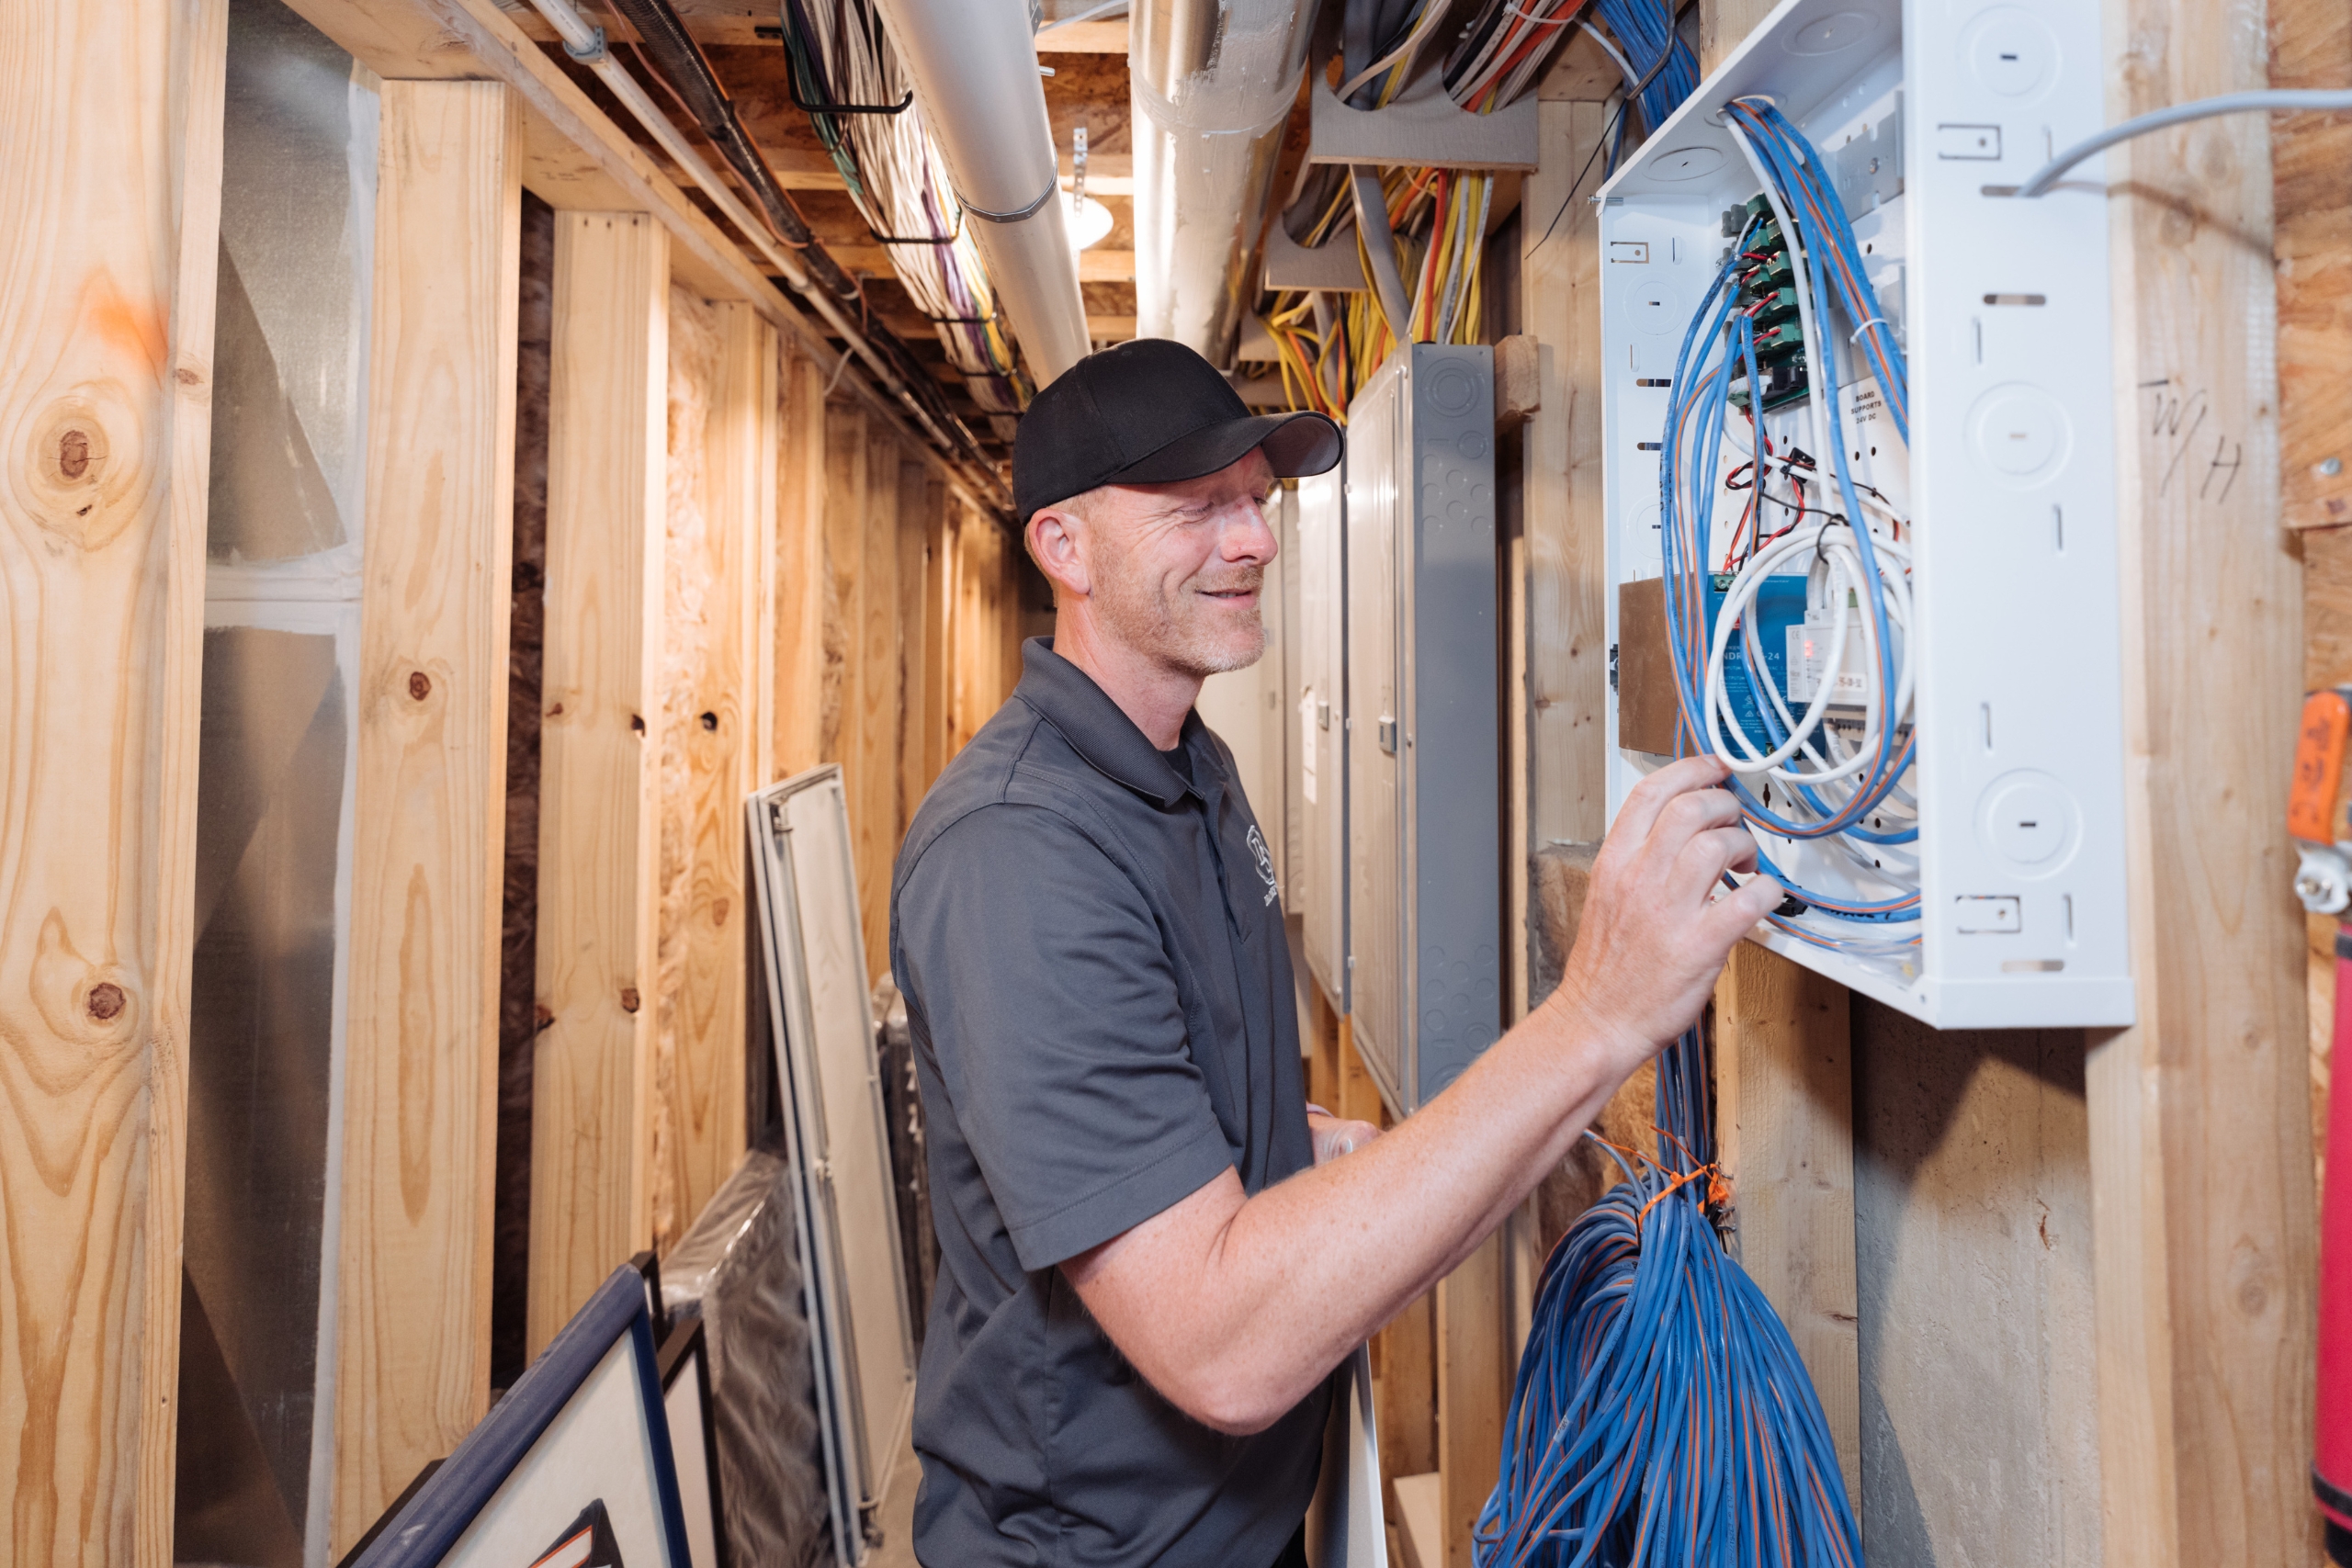
A hardwired shade receives continuous power through concealed low-voltage cable rather than a replaceable battery. Many systems use 12V or 24V DC power from a listed transformer or distribution panel. The shade motor typically does not connect directly to 120V line voltage at the headrail.
Continuous power is useful for wide shades, high windows, large groups, and rooms that cycle shades several times a day. It eliminates routine charging and can support a clean headrail. The tradeoff is planning: power supplies must be accessible, cable polarity must be correct, and each cable must be identified before drywall closes.
For a broader new-build checklist, read custom shades for new construction. For an overview of motor types and hubs, see smart home motorized shade setup. World Wide Shades can translate the window schedule into a wiring brief for your contractor.
Start with a window-by-window schedule
Create one row for every shade, even when several windows look identical. Include room, window label, finished width, finished height, mount type, shade fabric, motor side, control method, power zone, and expected cable route. A schedule for a 12-window home may contain 12 rows, not “all living room windows.”
Record whether each opening is inside-mounted, surface-mounted, in a pocket, or behind trim. A 1-inch change in headrail location can determine whether a cable exits above the shade, behind a valance, or inside a side jamb. World Wide Shades can help verify dimensions and motor placement; contact the team with architectural elevations or window shop drawings.
Choose voltage and power architecture
The motor specification should name the required voltage, current, connector, maximum cable length, and approved power supply. Common low-voltage systems use 12V or 24V DC, but the correct choice is not interchangeable. Never assume a 24V transformer is safe for a 12V motor or mix connectors from different manufacturers.
A 24V system can carry the same power at roughly half the current of a 12V system, which may help on longer runs, but the manufacturer still determines cable gauge and distance limits. Voltage drop depends on current, conductor resistance, cable length, and connections. A motor that hums, moves slowly, or stops under load may be suffering from an electrical design problem rather than a defective shade.
Ask the electrician to size the supply for the total motor load plus the manufacturer's recommended margin. Grouping many shades on one supply can simplify service, but it must remain within output and cable limits. World Wide Shades can confirm the motor data before equipment is purchased.
Plan the cable route
A home-run layout sends a dedicated cable from each motor to a central power location. It uses more cable but makes troubleshooting straightforward: one shade, one labeled run. It can be a good fit for a large project where a service panel or structured wiring cabinet is already planned.
A distributed layout places approved power supplies closer to groups of windows, such as in a closet, cabinet, attic service space, or accessible ceiling area. It can shorten cable runs and reduce voltage drop. The location must stay dry, ventilated as required, and accessible without removing finished walls.
Some shade systems allow multiple motors to share a power run; others do not. A permitted multi-drop layout can reduce cable, but polarity, maximum count, connector access, and voltage drop need written confirmation. Do not create a daisy chain simply because it looks efficient on a sketch.
For every route, show the start point, destination, cable type, slack loop, and access point. Use a conduit or pathway where the product or code requires it, especially through difficult-to-replace finishes.
Coordinate with framing, insulation, and trim
The cable exit should land where the motor connector can be reached without pinching the cable behind the headrail. Ask the framer to reserve space for pockets, cassettes, and side channels. Ask the trim carpenter to avoid covering an access panel or cable loop.
Leave a service loop near each motor—often 12 to 24 inches is a practical planning range, subject to the installer and product requirements. Coil it neatly, keep it out of the fabric path, and label both ends. Photograph every rough-in before insulation and drywall; the photo set becomes valuable when a future owner or technician needs to find a cable.
A pocket can hide a headrail, but it should not become a sealed cavity around a transformer or connector. World Wide Shades can review pocket dimensions and recommend a serviceable finish.
Power supplies and access
Transformers and distribution panels should be hidden yet reachable. Common locations include a utility closet, accessible attic, cabinet, or electrical enclosure. Do not bury a transformer permanently behind drywall or tile. Provide a labeled cover or access panel that a technician can open without damaging the room.
Keep low-voltage shade wiring separated from line-voltage wiring as required by local code and the cable rating. A licensed electrician decides the permitted separation, boxes, raceways, and power source. The National Fire Protection Association electrical safety resources are a useful general reference, but they do not replace local inspection requirements.
Label each supply output with room, window label, voltage, polarity, and motor count. A label such as “Living L3, 24V DC, SK-07” is far more useful than “shades.”
Decide how the shades will be controlled
Hardwired power and control are separate decisions. A shade may use a handheld remote, wall switch, dry contact, radio bridge, Ethernet-connected hub, or a smart-home platform. Capture the control intent while the electrician can still add a box or pathway.
For a wall control, choose a location that is reachable without walking into the shade path and that does not conflict with light switches. For a smart-home system, confirm whether the bridge needs an outlet, network connection, or dedicated low-voltage cable. If the home uses Alexa, Google Home, Apple Home, or SmartThings, document the platform and desired room/group names.
Use motorized shades with Alexa and Google Home as a planning reference. World Wide Shades can help align the motor and control choice with the home's ecosystem; request the technical details before rough-in.
Rough-in checklist for the electrician meeting
Bring these items to the coordination meeting:
- Final or near-final window schedule with labels.
- Finished width, height, and mounting line for each shade.
- Motor voltage, connector, current, and cable limits.
- Power-supply locations and access-panel dimensions.
- Cable routes, pathway or conduit notes, and service loops.
- Control locations and smart-home bridge requirements.
- Responsibility for testing, labeling, and documenting the work.
- A change-control process for windows that move after framing.
Have the electrician and shade supplier agree on who supplies transformers, connectors, junction boxes, and final terminations. Many delays come from a “someone else is bringing it” assumption.
Commission before walls close
Before insulation or drywall, test every run for continuity, polarity, and the correct voltage at the motor end. Do not connect a motor until the supplier or electrician confirms the test method. Verify that the cable has enough slack, the connector is accessible, and the shade location does not conflict with trim.
After the shade is installed, run it through at least three full cycles. Check upper and lower limits, group control, wall switches, remote response, and smart-home scenes. Read how to set motorized shade limit stops when the mechanical installation is complete, and save the final limits in the project records.
Cost and timing expectations
The shade price is only one part of a hardwired project. Budget for low-voltage cable, listed power supplies, boxes or panels, access doors, electrician labor, control hardware, commissioning, and any trim changes. A simple low-voltage run may take less time than a concealed route through finished millwork; the same number of shades can have very different labor costs.
Run the wiring during rough-in, often weeks before shade fabrication and final installation. Use a placeholder or protected cable end so the finish crew knows exactly where the motor connection will be. Ask World Wide Shades for a coordinated schedule and configure fabrics and sizes in the builder.
Safety boundaries
Do not work on energized line-voltage circuits unless licensed and qualified. Do not substitute a power supply because its plug fits. Do not hide an unapproved connector in insulation, and do not route low-voltage cable where a nail or screw can damage it. When the design changes, update the schedule instead of relying on memory.
For a project review, call World Wide Shades at (844) 674-2716. If energy performance is part of the brief, compare energy-efficient window shades before you finalize the fabric and control schedule. The team can help identify the questions your electrician needs answered before walls close.
FAQ: hardwired motorized shade wiring
Many systems use 12V or 24V DC, but the motor model determines the correct voltage, current, connector, and power supply. Confirm the specification with World Wide Shades and the electrician before buying equipment.
Sometimes. The motor count, combined load, cable length, voltage drop, output rating, and manufacturer rules all matter. Use a listed supply and a documented power schedule rather than assuming several motors can share any transformer.
Place it in a dry, ventilated, serviceable location such as an accessible closet, cabinet, attic service area, or labeled electrical enclosure. Do not permanently seal it behind drywall.
A service loop is commonly planned in the 12- to 24-inch range, but the installer and product requirements control. Leave enough slack to connect and service the motor without putting tension on the cable.
Yes. Rough-in wiring is far easier before insulation, drywall, tile, and trim close the route. Test and photograph every cable before the wall is finished.
World Wide Shades can help prepare a window-by-window shade and motor schedule and confirm product questions. Contact the team or call (844) 674-2716 before your electrician begins the rough-in.
Hardwired shades reward early coordination. Give every window a label, every motor a verified power path, and every transformer a serviceable home. Then use the World Wide Shades builder to turn the electrical plan into a finished shade order.