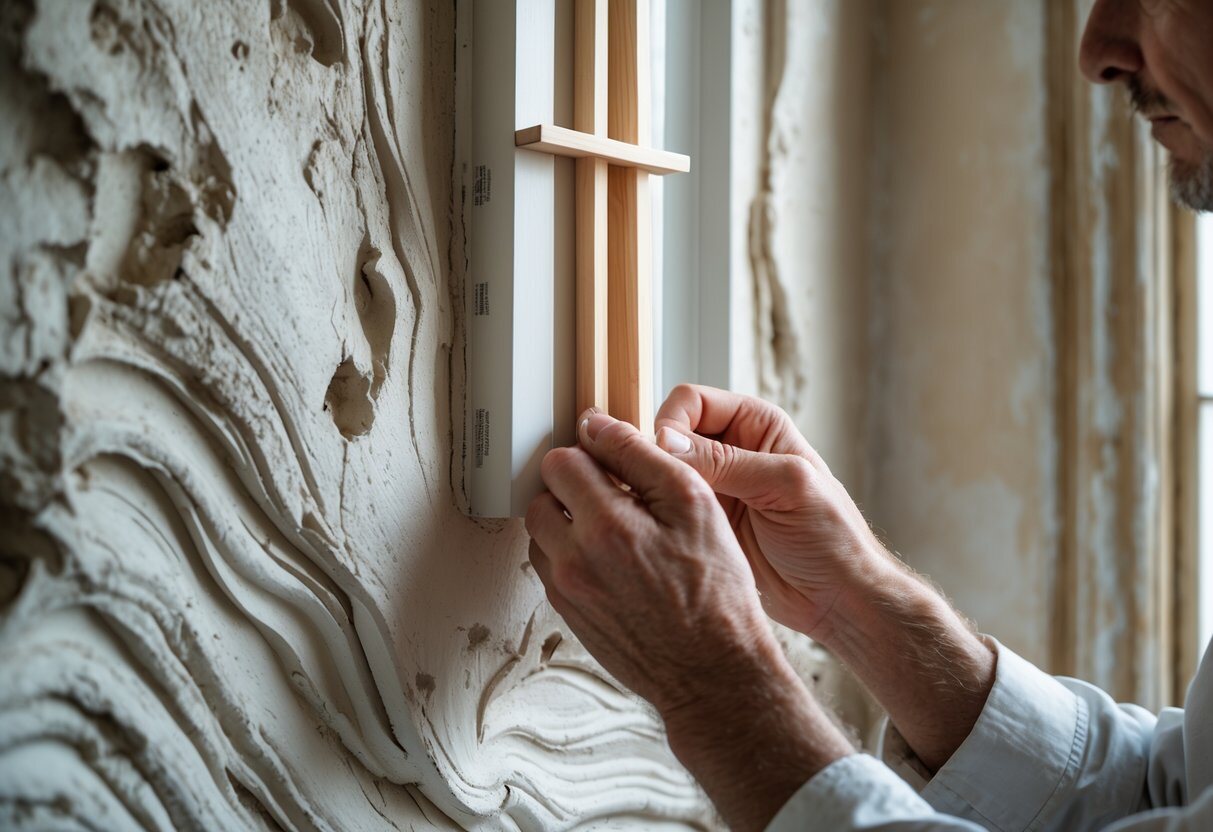
A roller shade bracket gap on an uneven wall deserves a closer look before you tighten another screw. The important question is whether you see a harmless shadow beside secure hardware or a bracket that cannot sit firmly and align with its partner.
Start by checking the mounting surface, not by forcing the shade into place. World Wide Shades recommends treating appearance and mechanical fit as separate decisions: first establish a secure, correctly aligned installation, then decide whether the remaining gap needs a cosmetic solution.
If you are unsure what you are seeing, contact World Wide Shades about your bracket installation or call (844) 674-2716 before making changes. Include a front view, a side view, and the shade model so the discussion starts with the right hardware.
Decide whether the bracket gap is cosmetic or functional
A cosmetic gap is a visible space that does not compromise the bracket’s intended bearing surface, fastening, or alignment. For example, a shadow beyond the edge of a securely supported mounting plate may look uneven without requiring a structural correction.
A functional gap needs more attention. Stop using the shade if a bracket rocks, pulls away, twists as screws tighten, or prevents the roller from seating according to its instructions.
Separate these observations before choosing a repair:
- Appearance: Look for a visible shadow, irregular trim edge, or uneven cover line without assuming the mounting plate is loose.
- Support: Check whether the bracket bears against the surface as designed, rather than resting on one raised corner.
- Operation: Note rubbing, binding, incomplete engagement, or movement at the fasteners during use.
Do not assume every roller shade uses the same brackets or installation sequence. Blinds.com’s roller shade installation guidance specifically notes that bracket types can differ with cassette valances and directs installers to their product-specific instructions.
For an overview of the installation process, read the World Wide Shades guide to how roller shades are installed. Keep the instructions supplied with your exact shade beside you while troubleshooting.
If the symptom is loose fabric rather than a bracket separating from the wall, use our guide to roller shade fabric detaching from its tube to distinguish the repair path.
Find where the mounting surfaces stop lining up
An uneven wall and mismatched bracket planes are related problems, but they are not identical. One bracket may be flat against its own mounting spot while sitting farther forward, higher, or at a different angle than the other.
For example, a proud patch behind the left bracket could push that end toward the room. Matching the screw heights alone would not necessarily make the two mounting positions compatible.
Remove the shade using its specified release procedure before loosening brackets. Support the assembly, keep hands away from the release path, and get a second person when the width or weight makes removal awkward.
Use a level to compare the relevant bracket reference points specified by the manufacturer. Then compare their distance from a consistent reference, such as a straight trim face, and check whether either bracket tilts.
Level matters to operation: JustBlinds’ installation guidance calls for level brackets and warns that a shade mounted too tightly between brackets will not function properly. Use your shade’s specified spacing and engagement requirements rather than copying clearances from another model.
Hold a straightedge across the mounting area to identify high and low spots. With the shade removed and the bracket supported, note the gap at its top, bottom, and sides without pulling the plate flat by tightening screws.
Record the locations as well as the gap sizes. A tapered opening suggests a different correction from a uniform setback, and neither measurement alone establishes how much shimming the hardware permits.
Send those observations to World Wide Shades for help reviewing your mounting approach. Describe whether the substrate is wood, masonry, drywall, or unknown, and mention any cracked finish or moving fasteners.
Correct the support before reinstalling the shade
Choose the smallest correction that produces secure support and the required alignment. Do not use the roller itself as a lever to pull brackets together or force a pin, clutch, cassette, or locking tab into position.
Examine the area around the fasteners for crumbling material, enlarged holes, loose trim, or damage. If the bracket moves because the substrate or anchor is failing, filling the visible space behind the plate is not a complete repair.
Avoid drilling additional holes until you understand the mounting material and what may be behind it. Do not sand or scrape unknown old coatings to flatten a surface without first addressing potential material hazards.
Review the product’s approved mounting positions before relocating hardware. A small move onto sound, flatter material may be preferable to building up a complicated stack, but it must preserve the specified bracket spacing and clearance.
If the manufacturer permits shimming, use stable, noncompressible material sized to support the bracket’s intended contact area. Treat the shim as part of the mounting assembly, not as a loose wedge tucked into the visible edge.
For example, a tapered surface may call for a fitted support rather than several small washers around one screw. Do not assume washers, folded cardboard, soft packing material, or an improvised stack will provide suitable bearing.
Adding thickness also changes the fastening arrangement. Confirm suitable screw length, anchor compatibility, and required embedment for the substrate; a longer screw is not automatically the correct answer.
Never over-shim a bracket until its fasteners span an unsupported space or rely on an anchor outside its intended installation conditions. If the required correction is substantial or unclear, stop and ask an installer or the hardware manufacturer to assess it.
Tighten fasteners according to the hardware instructions, watching for rotation or distortion. Recheck level, depth, and spacing afterward because the bracket may shift as it is secured.
Reinstall the shade only when its mounting interfaces line up and engage normally. Test slowly, keeping clear of moving parts, and stop if the assembly binds, shifts, or starts to release.
If new hardware or a different mounting configuration becomes necessary, start a shade configuration with World Wide Shades after confirming the usable mounting location. Do not order a replacement merely to compensate for a wall problem you have not resolved.
Know when to change the mounting approach
Repeatedly adding shims is not the only option. Consider a different mounting location when the existing recess or wall cannot provide a sound, compatible pair of mounting surfaces.
- Outside mount: Consider this when the inside recess is badly out of square, too shallow, or unsuitable for secure fastening. Confirm coverage, projection, and hardware compatibility before choosing dimensions.
- Backer board: Consider a properly designed board when you need a continuous mounting surface across irregular areas. The board itself must be securely attached to suitable structure, with thickness and fastening selected for the shade and wall conditions.
- Professional installation: Choose help when anchors move, plaster crumbles, the wall construction is uncertain, or extensive spacing is needed. Heavy or wide assemblies and hard-to-reach locations also deserve a conservative approach.
A backer board does not make weak drywall or loose trim structurally sound. For example, fastening a board only to damaged material simply relocates the uncertain connection rather than resolving it.
Before changing the mount, ask World Wide Shades about your proposed configuration or call (844) 674-2716. For planning context, compare custom roller shade cost considerations and custom roller shades versus Home Depot options without assuming a new shade eliminates installation work.
Address the appearance after the hardware is secure
Once the shade is supported and operates correctly, assess the remaining visual gap from normal viewing positions. A close-up shadow beside a bracket may be less noticeable than an oversized cover introduced solely to hide it.
Use only covers or finishing pieces compatible with the installed system. Do not pack caulk into moving interfaces, cover release mechanisms, or conceal fasteners that still need inspection.
A fascia or cassette may be worth discussing, but choose it as a compatible system component, not a substitute for alignment. Explore roller shade valance options before deciding how much hardware you want visible.
If you are redesigning the window at the same time, order World Wide Shades fabric swatches and compare them against the wall and trim in daylight. The guide to choosing fabrics for roller shades can help separate fabric decisions from the mounting repair.
Related shade-planning guides
Mounting details are only one part of a working window-treatment plan. See how local and cloud control affects motorized shades, how yoga studios can reduce mirror glare, how spa treatment rooms balance privacy and cleanability, and how to keep shade controls out of reach in bird aviaries.
Frequently asked questions
Follow the contact and support requirements for that bracket rather than judging only the visible outline. Treat rocking, distortion, or unsupported fastening as reasons to stop, even when the gap looks small.
Do not use screw force to bend a bracket against an uneven surface. Remove the shade and investigate the support condition instead of treating a disappearing shadow as proof of a sound installation.
There is no universal shim thickness for every shade, bracket, fastener, and wall. Obtain product-specific guidance, and switch to an assessed mounting solution when the required support or anchor engagement is uncertain.
Check bracket alignment first, but do not assume it is the only possible issue. JustBlinds discusses both level mounting and product-specific tracking adjustments, so avoid applying a roller-tube adjustment from another system to yours.
Resolve the mounting conditions before deciding whether replacement is necessary. If the existing recess cannot support the required installation, contact World Wide Shades to discuss an outside-mount configuration and confirm the new coverage and hardware requirements before ordering.