Start With the Space Between the Window and Cabinet
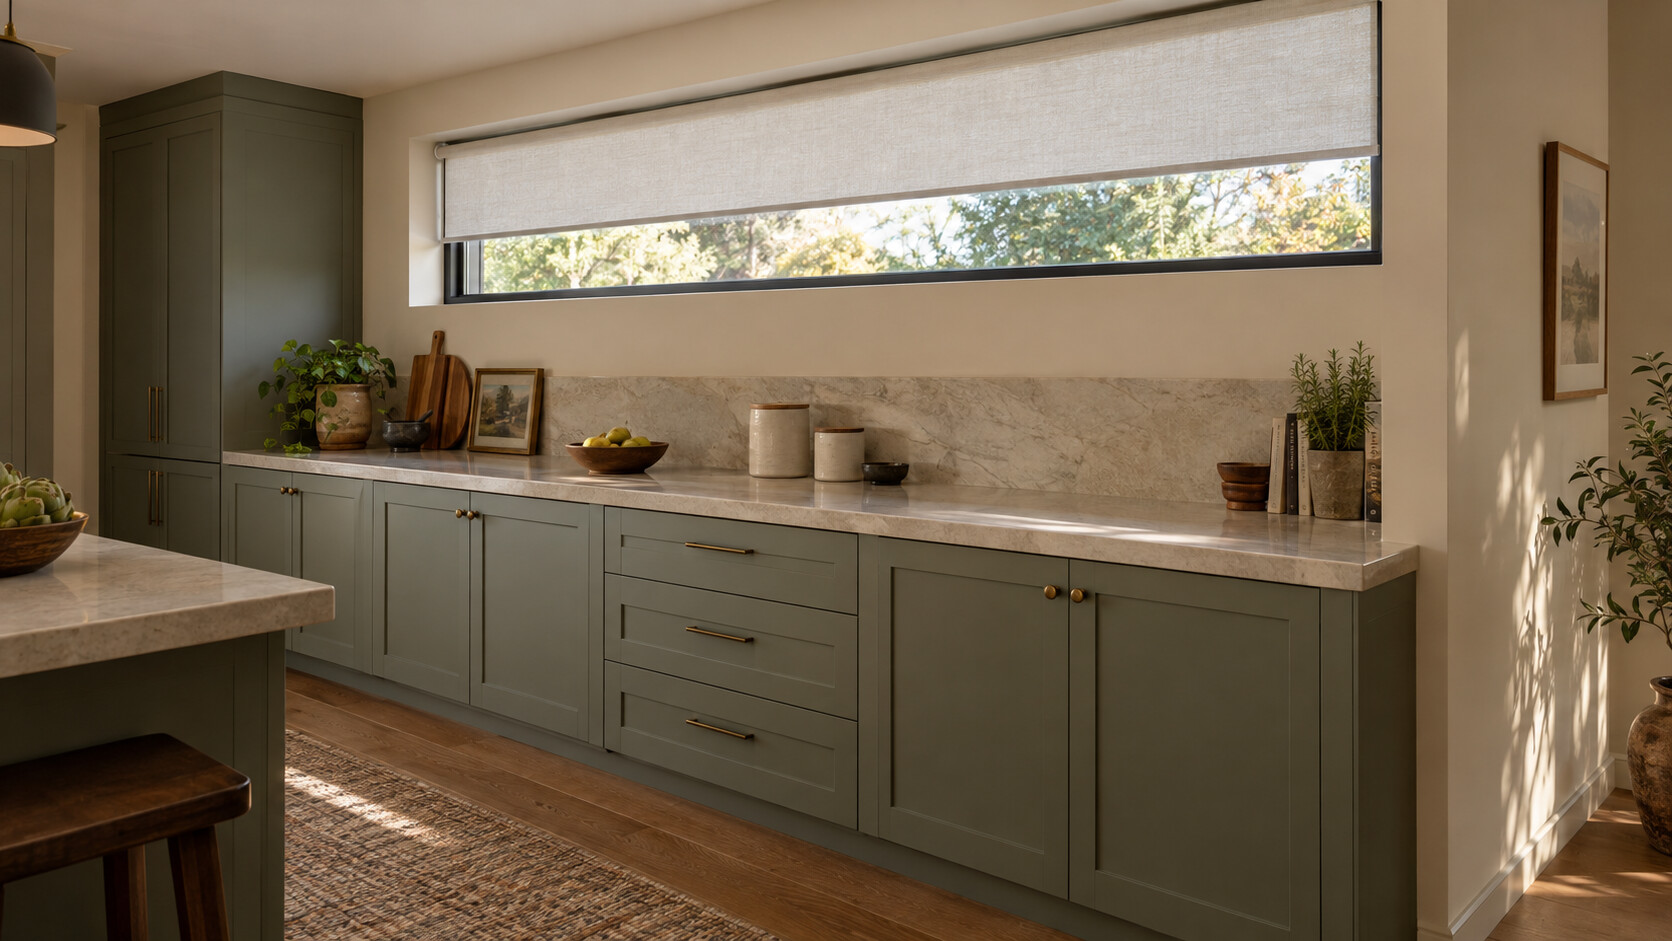
A window above a built-in desk, kitchen counter, or storage cabinet needs more than a shade that matches its width. Before choosing roller shades above built in cabinets, map where the brackets, rolled fabric, bottom bar, and controls will sit. Treat the countertop as an access obstacle, not a convenient installation platform.
World Wide Shades recommends planning this arrangement from the side as well as the front. A beautiful straight-on elevation can hide a cabinet crown that blocks the fabric or a deep worktop that puts a cordless handle out of reach. Sketch the window recess, trim, cabinet face, and counter edge before deciding on an inside or outside mount.
For a starting configuration, explore a custom shade in the builder, then keep the exact mounting hardware undecided until its dimensions are confirmed. Our roller shade installation guide offers useful background for the broader process.
Distinguish Mounting Depth From Operating Clearance
Minimum inside-mount depth describes the space needed for a particular mounting arrangement; a shade meeting that minimum may still project forward. For example, SelectBlinds lists 2 3/4 inches minimum inside-mount depth and 3 1/2 inches flush depth for its Everyday Cordless Light Filtering Roller Shade with cordless lift, not for every roller shade on the market (SelectBlinds product specifications).
That distinction matters when cabinet trim rises close to the opening. A shade that can attach securely might still put its cassette or bottom bar in an awkward position. World Wide Shades encourages confirming the complete selected configuration rather than borrowing a depth figure from another collection.
SelectBlinds specifically advises checking each product’s specifications because minimum depth and factory deductions can vary with the feature options selected (SelectBlinds measuring guide). Apply that product-specific approach to your order, including lift type, tube size, fascia, cassette, and bracket arrangement.
Consider this planning example: a recess measures 3 inches deep, but the selected assembly requires 3 1/2 inches for a flush installation. The difference is 1/2 inch, yet that arithmetic alone does not establish where the fabric will travel. Ask for the assembly profile and fabric exit position before deciding that the projection clears nearby cabinetry.
Use a cardboard side-profile template to visualize the proposed location without drilling. Include the rolled shade, cover, brackets, and bottom bar rather than tracing only the fabric line. If the upper surface is uneven, read about roller shade bracket gaps against uneven walls before assuming both brackets can sit against the same plane.
Choose a Mount That Clears Trim and Cabinetry
An inside mount is worth considering when the recess has appropriate depth and suitable attachment points. Trace the intended drop from the fabric exit to the lower stopping point. Look for projecting handles, sash locks, tile edges, cabinet crown, and objects normally stored along the counter.
Imagine opening a cabinet door while the shade is lowered. If the door swing crosses the fabric or bottom-bar position, revise the mounting location or operating routine before ordering. A temporary paper strip can help visualize the path, but it cannot replace the hardware dimensions or installation instructions.
An outside mount may be the better layout when the recess is shallow or interrupted by trim. Confirm that the selected brackets are approved for the proposed wall or ceiling orientation and that the mounting surface can support the installation. Do not assume a bracket can rotate between orientations simply because its holes appear convenient.
World Wide Shades can help you frame the right questions about the selected assembly. Compare the visual effect of an exposed roll, fascia, and cassette in our roller shade valance options guide, then call (844) 674-2716 to discuss cabinet clearance before finalizing an unusual mount.
If trim or cabinet crown pushes the fabric path forward, ask whether an approved extension bracket is available for the exact shade. Do not improvise a long stand-off using stacked scraps or substitute longer screws without confirming the attachment design. An installer should assess a difficult layout, especially where the supporting structure is concealed.
For comparison, sketch a cabinet crown projecting 1 inch beyond the surrounding wall. A fabric plane only 3/4 inch forward of that wall would intersect the crown in this example. The solution requires a verified assembly position, not an automatic instruction to add a particular bracket extension.
Confirm Support Before Making Holes
Decorative cabinet panels, applied moldings, and finished fillers should not be treated as known structural backing. Before drilling into cabinet finish, determine what lies behind it, whether the attachment is appropriate, and whether the cabinet manufacturer permits that modification. If the backing or concealed conditions are uncertain, use a qualified installer instead of probing with trial holes.
Treat tiled backsplashes and narrow trim with the same caution. Plan fastener positions around known support and use hardware specified for the actual substrate and shade. A clear photo of the surface cannot establish what is hidden behind it.
For bracket alignment, Blinds.com advises using a steel measuring tape or level and securing the brackets during installation; its illustrated offsets belong to that guide’s installation method and should not replace instructions supplied with a different product (Blinds.com installation guide). Keep your chosen shade’s instructions beside the installer rather than mixing directions from several systems.
World Wide Shades recommends resolving the support question before discussing cosmetic cover-ups. A neat cassette cannot compensate for an unsuitable attachment point. If the project is part of a larger renovation, our custom shades for new construction guide can help organize the shade conversation earlier.
Keep Everyday Controls Reachable
A high window above a 25-inch-deep countertop is a useful reach-planning example, not a standard every room shares. Mark the proposed handle position and try reaching it while standing normally on the floor. Do not design daily operation around climbing onto a countertop, leaning across a sink, or using a chair.
For a manually operated cordless shade, consider both the fully lowered position and the position where you would begin pulling it down. A handle that is comfortable at the bottom may become inaccessible when the shade is raised. Ask whether an approved operating accessory exists if the layout otherwise works.
Motorization can be worth discussing when the shade sits beyond comfortable reach. Confirm the proposed power arrangement, control method, and access for charging or battery replacement before choosing it. A remote solves the reach to the fabric, but it does not automatically solve access to the power source.
Review child-safe window treatment planning if children use the space, and keep corded-control questions specific to the product and its instructions. World Wide Shades can help compare operating layouts; contact the team at (844) 674-2716 for a reach-and-control discussion before settling on a lift system.
Set the Finished Drop Around Real Activities
Decide where the bottom bar should stop when the shade is in use. The target might be the window sill rather than the countertop, especially if the counter runs below the opening. Write down the intended finished position separately from the height you submit, then follow the seller’s ordering convention.
As a planning example, suppose the intended stopping point is 1 inch above the counter to avoid a tray normally stored there. Check whether that position leaves unwanted glass exposed and whether the tray could simply move. That 1-inch gap is a design choice in this scenario, not a required clearance for all installations.
SelectBlinds distinguishes inside-mount measurements from outside-mount coverage and cautions against making your own deductions, so do not convert a finished-drop sketch into an order without checking the selected product’s directions (SelectBlinds measuring guide). The bracket height, fabric length, and ordered shade height are not interchangeable planning labels.
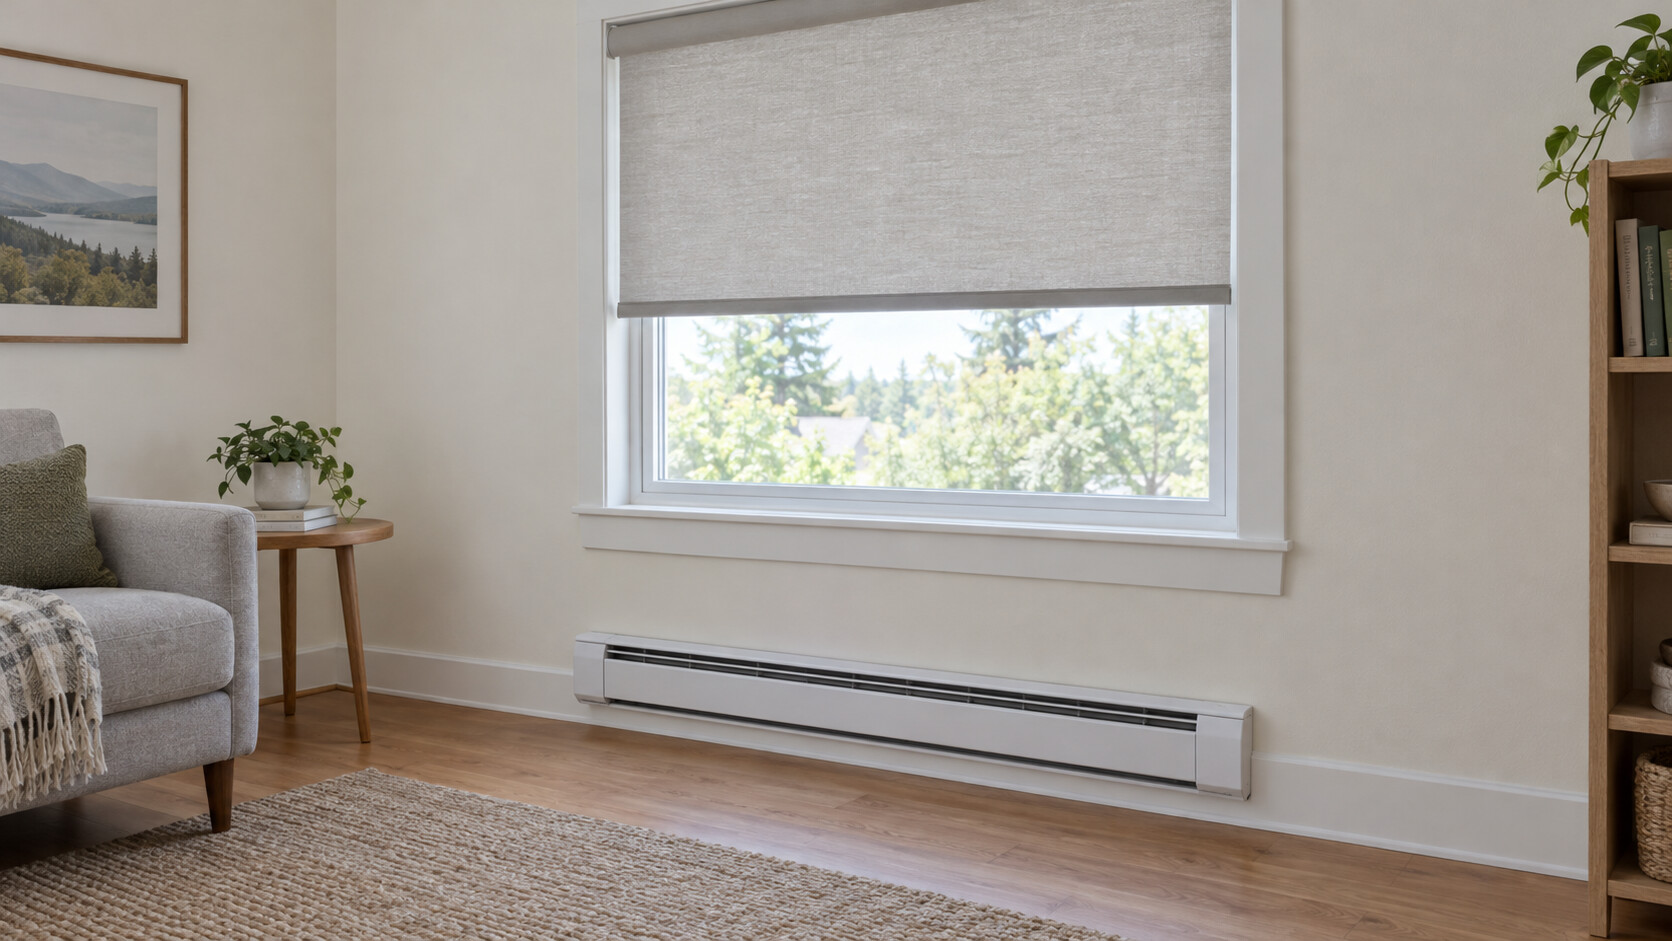
Keep the working surface in the discussion. A kitchen arrangement may need a different stopping point from a display cabinet, and roller shades for kitchens and bathrooms provide related room-planning considerations. If warmth from nearby equipment is another concern, review roller shade clearance above baseboard heaters rather than borrowing a cabinet gap as a heat-clearance rule.
Choose Fabric and Preserve Cleaning Access
Bring samples to the actual window before selecting fabric. Hold them where the shade will hang and inspect them beside the cabinet finish, backsplash, and counter in both daylight and evening light. World Wide Shades recommends this comparison over choosing from a screen alone; order swatches for your cabinet and countertop palette to make the decision in the room.
Our roller shade fabric guide can help structure that comparison. For spaces with framed pieces on the countertop or wall, read roller shades to protect framed artwork; for a workbench used for painting or material selection, consider the priorities discussed in roller shades for art studio color accuracy.
Also plan how someone will safely reach the fabric and hardware for cleaning or service. Keep the route clear of permanently fixed appliances and avoid a cover arrangement that cannot be opened without disturbing finished cabinetry. Follow the selected fabric’s care instructions rather than assuming a kitchen installation makes the fabric washable.
Shared work counters introduce another practical question: who needs access while the shade is moving? The workflow considerations in roller shades for hospitality event registration windows can help you think through busy counter areas. Once the mount, reach, and stopping position are resolved, return to the shade builder with your confirmed configuration.
Frequently Asked Questions
They can be considered if the chosen assembly has suitable support, an unobstructed fabric path, and reachable controls. World Wide Shades recommends evaluating these separately so an apparently generous window recess does not hide an access problem.
No single dimension should be applied across products. SelectBlinds lists 2 3/4 inches minimum depth for the specific Everyday cordless configuration cited above, while its measuring guidance says requirements vary with product and feature options (SelectBlinds product specifications, measuring guide).
Do not drill into the cabinet finish without knowing the backing, attachment suitability, and any restrictions on modifying the cabinetry. Have a qualified installer assess concealed or difficult conditions before choosing that location.
Choose a finished stopping position that suits the window and activities below it, then verify it against the product’s ordering instructions. There is no universal countertop gap in this guide; the proposed position must avoid the actual obstacles in your room.
Reconsider the control layout before ordering instead of relying on furniture or the countertop for access. Discuss an approved operating accessory or motorized configuration, including safe access for servicing, and ask World Wide Shades for help with the final layout.