A craft room needs daylight, but uncontrolled daylight can fade fabric, warp paper, heat adhesives, and make a cutting mat impossible to read. The best window shades for a craft room make light predictable: bright enough to see true color, soft enough for close work, and easy to lower when the sun crosses the worktable. World Wide Shades builds shades around the craft’s materials and the room’s work zones. Compare craft-room options in the World Wide Shades builder before choosing a fabric.
Map the room by task
Start with the cutting table, sewing machine, paint station, and storage wall. A glare problem at the sewing needle is different from a fading problem at a bolt of quilting cotton. Note the exact hours when direct sun reaches each surface and whether the window is behind you, beside you, or in front of a camera for online classes.
A room with north-facing light may need only a light-filtering shade. East-facing glass can be harsh during morning setup; west-facing glass can be intense when you are finishing a project. Send your room notes to World Wide Shades so the recommendation follows the work rather than a generic “craft room” label.
Use openness to keep daylight usable
Solar shade openness is commonly described as 1%, 3%, or 5%. A 5% screen usually preserves a brighter view and a more open feel; 3% balances view and glare; 1% offers tighter solar control and privacy. For a sewing machine or monitor placed near glass, begin with 3% or 1%. For a worktable several feet from a north-facing window, 5% may keep the room more naturally lit.
Remember that openness is not a color-accuracy guarantee. A tinted or strongly colored fabric can shift the light reaching a white canvas. Order samples and look at them beside white paper, skin tones, and the materials you actually use. World Wide Shades offers swatches for side-by-side comparisons so you can judge the weave under your own daylight.
Protect fabric, paper, and finished work
Sun damage is cumulative. Bright light can fade thread, ribbon, printed paper, photographs, paint, and natural fibers even when the room never feels hot. Keep delicate materials in drawers or opaque bins, and lower the shade when direct rays strike the worktable. A shade that covers the full glass area helps, but side gaps and uncovered transoms can still create a bright strip.
Use the UV-protection window shades guide to think about exposure as a room-management problem rather than a single product claim. World Wide Shades can suggest a more opaque fabric or a layered treatment when the craft room stores heirloom quilts or artwork.
Choose a finish that supports color work
A neutral shade is the safest starting point for color matching. Soft white, flax, warm gray, and pale taupe keep the room calm without casting a strong hue. If your craft room is painted a saturated color, sample the fabric against a neutral board; the wall can reflect color onto the work even when the shade is technically neutral.
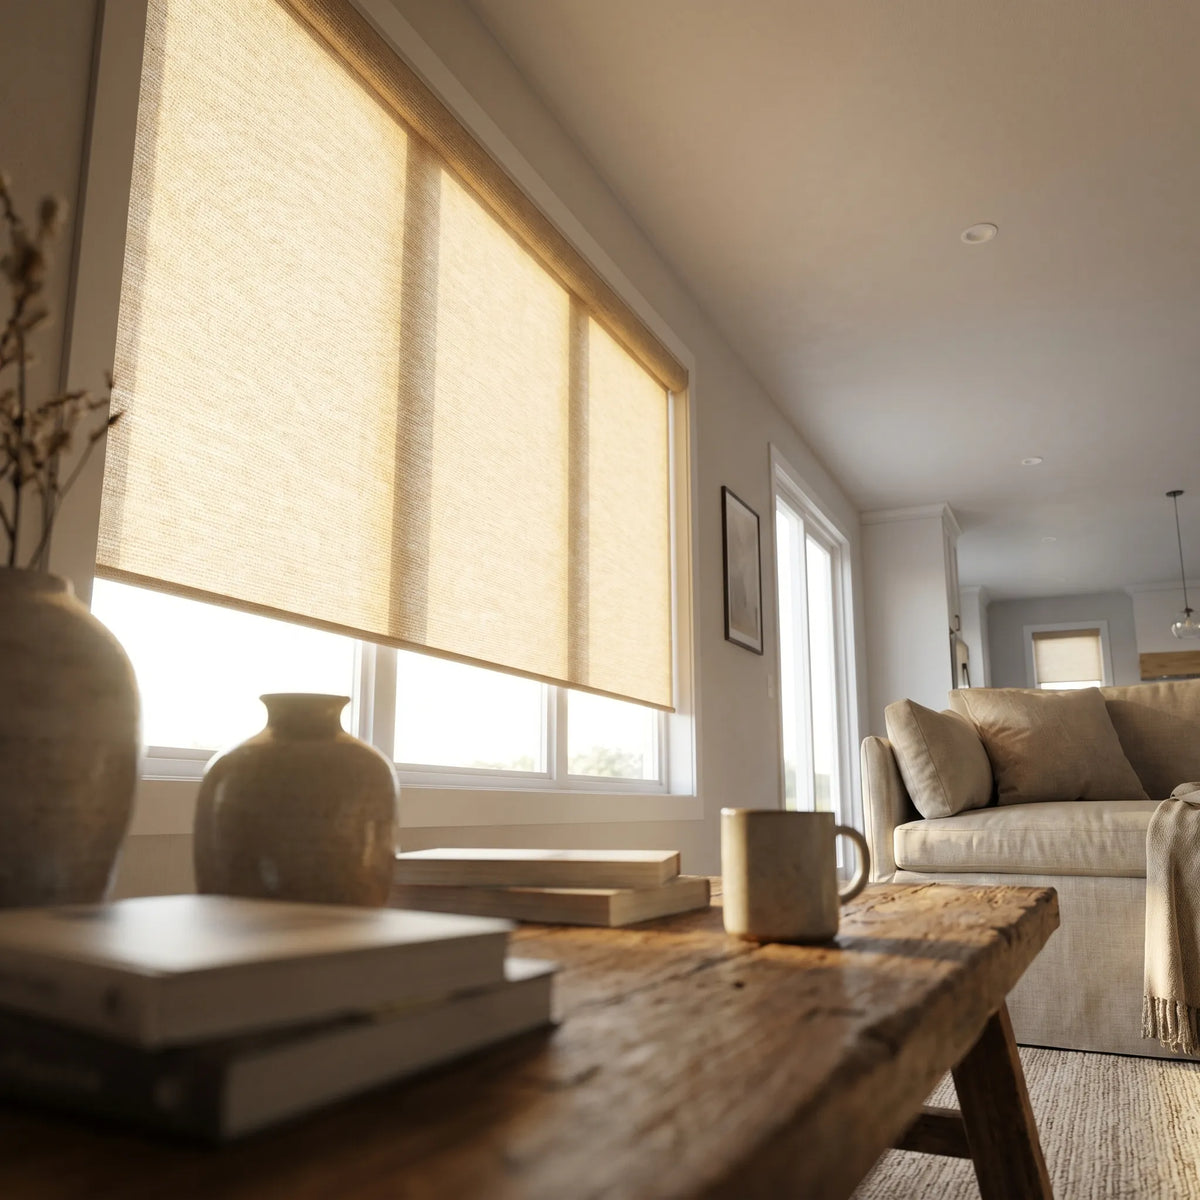
Flat roller shades are easy to wipe and keep clear of shelves. A linen-look fabric adds warmth without the folds that can collect dust near a cutting area. Compare best fabrics for roller shades with the window shade color guide before finalizing the palette. Ask World Wide Shades for material guidance when the room includes paint, glue, or fibers.
Keep controls out of the way
Cordless operation keeps a pull chain from catching on a chair, thread, or rolling cart. If the window sits behind a workbench or above storage, motorization is more than a luxury: it lets you change light without moving a project. A simple schedule can lower west-facing shades at 2 p.m., while a wall switch or remote gives you immediate control for photography.
For connected homes, group shades into “sewing,” “photo,” and “cleanup” scenes. The smart-home motorized shades setup guide covers hub planning, and Alexa and Google Home controls can be useful when your hands are covered in paint. World Wide Shades can coordinate the motor location and fabric so the system stays tidy.
Measure around shelves and equipment
Measure every opening at the top, middle, and bottom, then note trim depth, window cranks, pegboards, shelves, and the swing of cabinet doors. An inside mount looks neat when the frame provides enough depth, but an outside mount may clear a cutting table backsplash or cover uneven trim. Keep the bottom rail above a work surface only if it will not create a distracting horizontal line in your sightline.
For a bank of windows, separate shades let you lower only the pane causing glare. That saves daylight in the rest of the room and makes maintenance simpler. Have World Wide Shades review the layout before you assume one large shade is best.
Think about ventilation and heat
Sun can raise temperatures quickly in a small craft room, especially with south or west glass and heat-producing equipment. Solar screens reduce glare and some solar load while preserving a view, but they are not a replacement for ventilation or air conditioning. Leave space for the window to open if you rely on cross-ventilation, and confirm the shade does not interfere with a fan, task lamp, or camera mount.
The energy-efficient shades guide and best shades for south-facing windows offer orientation-specific ideas. World Wide Shades can help you choose between a screen, light-filtering fabric, or a dual system.
Plan a practical budget
Custom craft-room shades often land in a broad range of $200 to $850 per opening, based on width, fabric, cassette, motor, and installation. A small inside mount may be economical; a tall, motorized outside mount above a worktable requires more hardware. Include sample costs, installation, and any electrical work in the plan instead of comparing fabric prices alone.
A useful quote states the openness, openness color, mounting method, dimensions, and operating system. Request a World Wide Shades estimate, or call (844) 674-2716 with the number of windows and the room’s primary tasks.
A craft-room recipe that works
For a bright east- or west-facing craft room, sample 1% and 3% neutral solar fabrics, then test them beside white paper and your most light-sensitive material. Use separate shades for separate work zones. Choose cordless for reachable windows and motorized control for glass above storage. Add outside overlap where fading or direct beams are the problem, and store delicate supplies away from the remaining light.
The best craft-room shade is not the darkest option. It is the one that lets you see the work, protect the materials, and change the room’s light in a few seconds. That is the kind of tailored decision World Wide Shades is built to support.
Make photography part of the shade decision
Many craft rooms double as studios for photographing finished work or teaching a class online. A fabric that softens the table nicely can still create a color cast or a bright rectangle behind the camera. Test the shade with the camera you use, turn off automatic exposure if possible, and compare a white reference card before and after lowering it. A motorized shade can then become a repeatable “photo” position rather than another adjustment made with messy hands.
FAQ: window shades for a craft room
A neutral 1% to 3% solar or light-filtering fabric is a strong starting point because it softens direct beams while preserving useful daylight. Sample it beside white fabric before ordering.
They can reduce direct UV and visible-light exposure, especially when the shade covers the full opening and is lowered during sun-heavy hours. Store heirloom and delicate materials in opaque containers as an added layer.
Cordless shades remove a dangling chain that can catch on thread, chairs, and rolling carts. They are especially convenient around active worktables and storage furniture.
Blackout is useful for photography, projection, or heat-heavy west-facing rooms, but many crafters prefer light-filtering fabric for color work. A dual system can provide both modes.
Yes. World Wide Shades can plan motorization for difficult-to-reach windows and group the shades into room scenes. Call (844) 674-2716 or contact the team.
Order World Wide Shades swatches, place them next to white paper and your craft materials, and observe them in morning and afternoon light. Start the design process once you know the glare hours.