Can you replace only the fabric on a roller shade?
Yes—sometimes. In many roller shade designs, the fabric is attached to a tube (roller) with adhesive, a spline, or a mechanical channel. If the tube and mechanism are still in good condition, fabric-only replacement can be a cost-effective refresh.
But not all shades are built for easy re-skinning. Some prepackaged shades use proprietary tubes, clutches, or spring systems that make fabric replacement frustrating or unreliable.
World Wide Shades generally recommends fabric-only replacement when the hardware is high quality and the issue is purely aesthetic (stains, color change, design update) rather than mechanical.
CTA: If you want a guaranteed fit without compatibility guessing, build a new custom shade at /builder.
When fabric-only replacement makes sense
If the shade:
- Rolls evenly
- Holds position
- Doesn’t slip or creep
…then the clutch/spring is likely still healthy.
If the mechanism is inconsistent, fix that first (or replace the whole unit). See how to fix a motorized shade not responding if your issue involves automation.
A bent tube causes:
- Telescoping
- Wrinkles
- Edge wear
If the tube is compromised, new fabric won’t solve the root problem.
Fabric swaps are common when:
- Converting light-filtering to blackout
- Updating décor colors
For opacity choices, compare light filtering shades guide and room usage in best roller shades for living room.
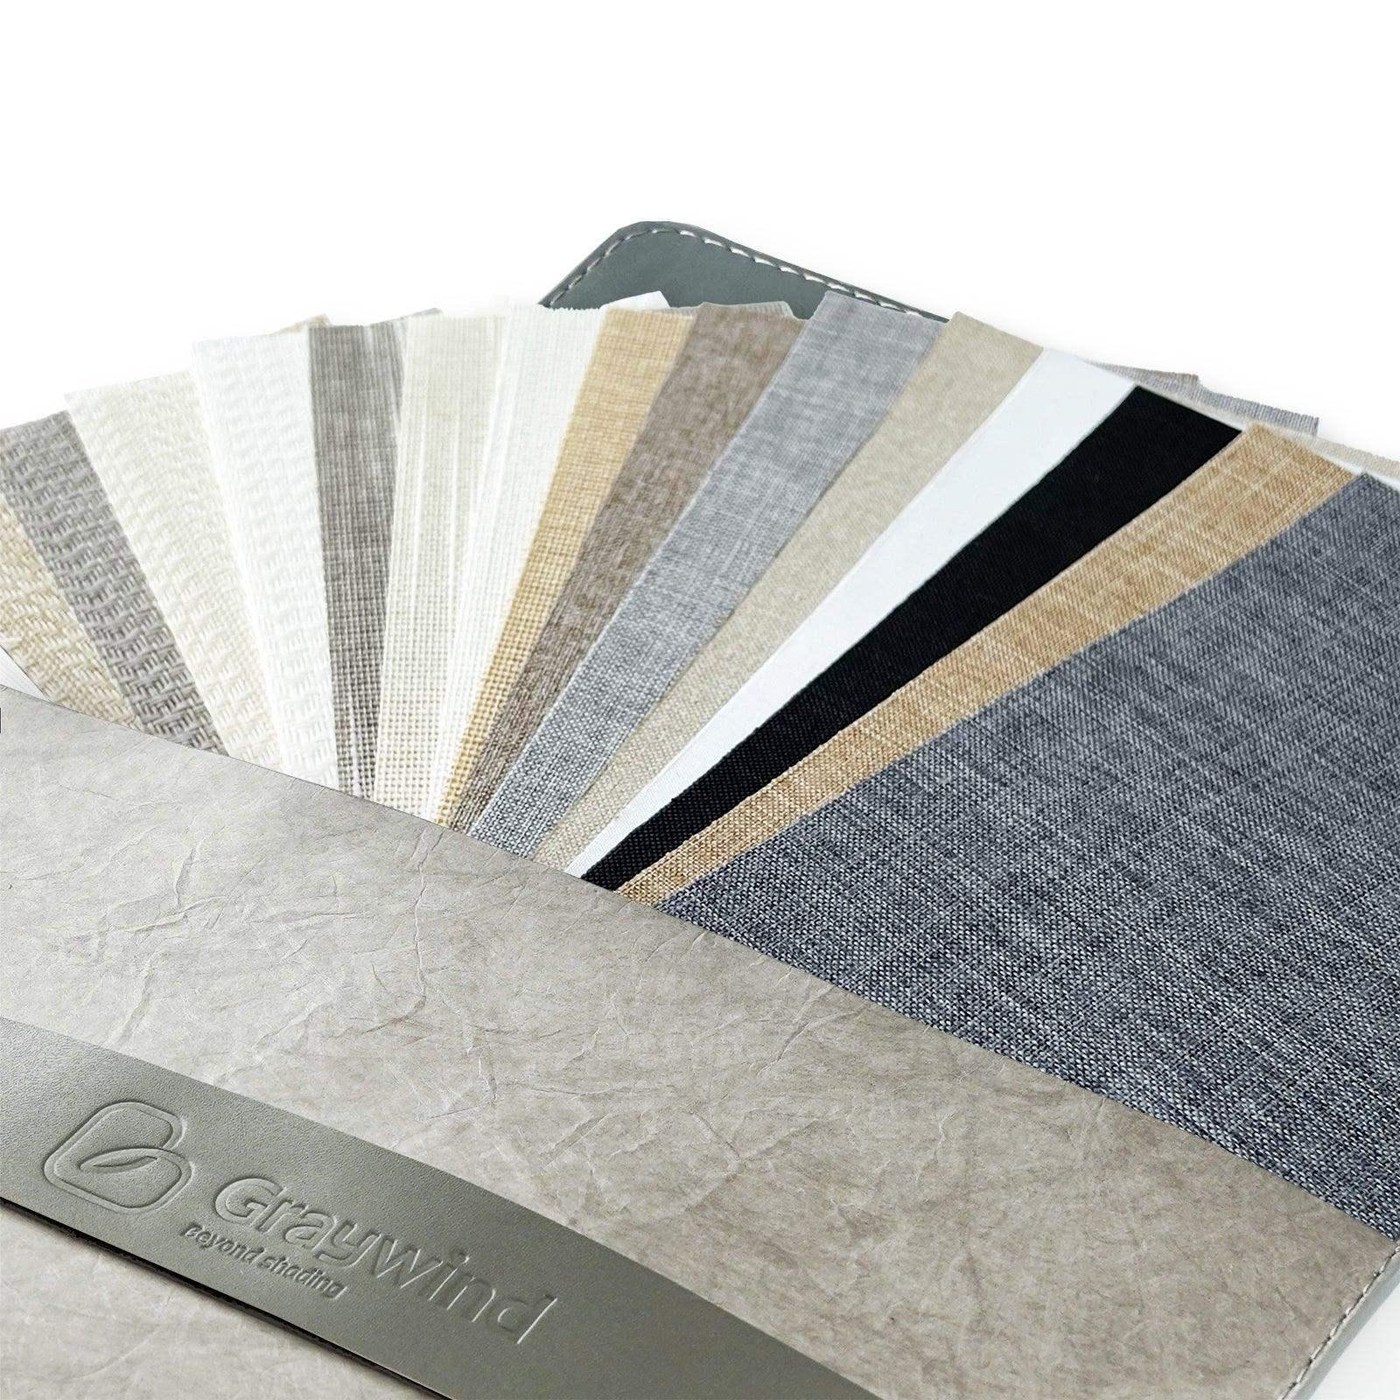
CTA: Want to see colors before you commit? Order samples from World Wide Shades swatches.
When it’s better to replace the entire shade
Fabric-only replacement is often a false economy when the underlying parts are nearing end-of-life.
Many roller shades can last longer, but wear accumulates in:
- Clutch teeth
- Springs
- Bracket alignment
- Chain/loop links
If you’re already investing time to re-skin, consider whether a full replacement is the smarter long-term choice.
A new fabric may even make the problem worse if the new fabric is heavier.
If you’re seeing functional issues, start with the basics in how to install roller shades (level brackets, correct spacing) and then evaluate hardware.
If you’re upgrading to motorized operation, it’s often cleaner to replace the unit to ensure:
- Correct motor torque
- Proper tube compatibility
- Reliable limits and control
Start with smart-home motorized shades setup and motorized shades with Alexa and Google Home.
CTA: If you want a motorized shade designed as a system (not a patchwork), call World Wide Shades at (844) 674-2716 or start at /builder.
Compatibility checklist (before you buy fabric)
If you replace fabric only, compatibility is the whole game.
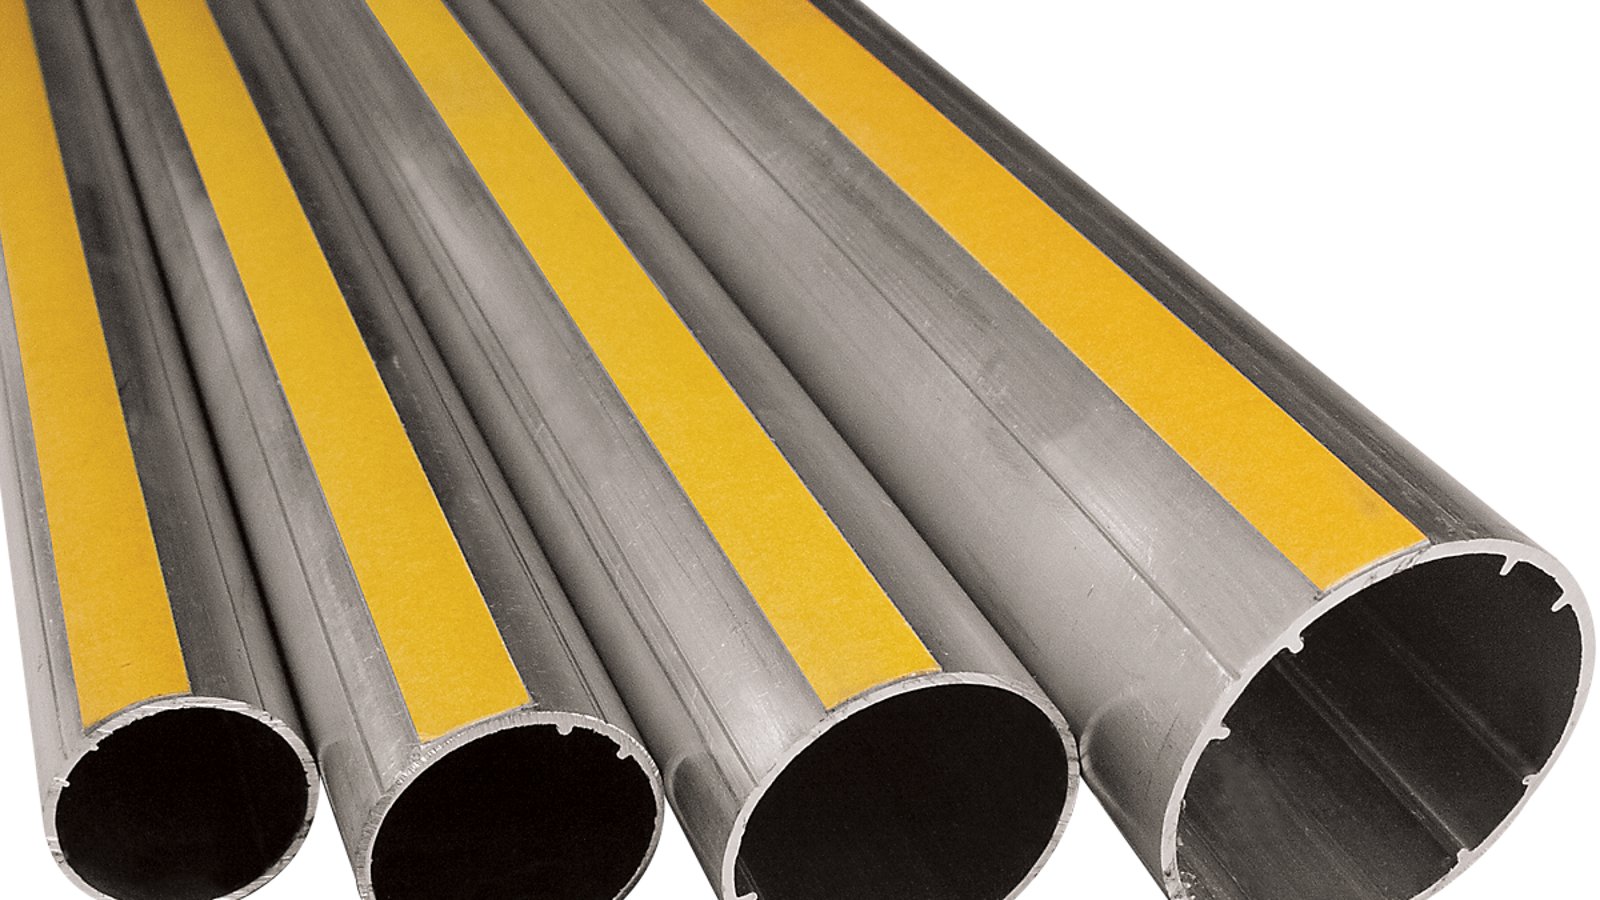
Tube diameter impacts stability. Larger shades often need larger tubes to prevent deflection.
If you change to a heavier fabric (like true blackout), you may exceed the clutch rating.
For material selection, review best fabrics for roller shades.
Common attachment types:
- Double-sided tape/adhesive strip (common for many systems)
- Spline channel (fabric edge fits into a groove)
- Staples or mechanical clamps (less common in modern residential systems)
You need to match the original attachment design.
Hem bars can be:
- Enclosed
- Exposed
- Sewn pockets
If your new fabric doesn’t match the hem style, the bottom edge can ripple.
If you’re planning a valance or fascia upgrade at the same time, see roller shade valance options.
CTA: Not sure what tube or hem style you have? Contact the World Wide Shades Team at (844) 674-2716 or reach us at /contact.
How to replace roller shade fabric (high-level steps)
Exact steps vary, but this is the general workflow homeowners can follow.
Before removal:
- Photograph bracket positions
- Note chain side vs idler side
- Label the shade (room, window)
Most roller shades lift out by:
- Releasing the idler pin
- Sliding the clutch side out of its bracket
Be careful not to bend the tube.
- Unroll fully.
- Detach from the tube (peel adhesive carefully).
- Clean leftover adhesive residue so the new fabric sits flat.
Key point: if the fabric isn’t square to the tube, it will telescope.
Practical method:
- Mark a straight reference line on the tube.
- Align fabric edge to that line.
- Attach gradually, smoothing as you go.
- Reinstall the shade.
- Run it up and down 10–15 cycles.
- Watch for edge drift and correct early.
If the shade telescopes immediately, bracket level or fabric squareness is the first suspect. Use the alignment guidance in how to install roller shades.
CTA: If you’d prefer a fresh unit with factory alignment, rebuild your window in the World Wide Shades builder.
Tools and materials you’ll realistically need
A fabric swap is easier when you have the right tools ready.
Basic kit:
- Tape measure and pencil
- Level (helps verify brackets are still square)
- Microfiber cloth and isopropyl alcohol (for cleaning the tube)
- New double-sided tape or the correct spline (depending on system)
- Scissors and a straightedge
Helpful extras:
- Painter’s tape for temporary alignment marks
- A second person (wide shades are awkward to manage alone)
If your project involves tall windows, factor in safe access. The planning ideas in shades for floor-to-ceiling windows are helpful.
Risks most DIYers underestimate (and how to avoid them)
When the fabric is attached slightly out of square, the roll “walks” sideways. That can lead to:
- Edge fraying
- Wrinkles
- Rubbing on brackets
Prevention:
- Mark a straight reference line on the tube.
- Align the fabric edge precisely.
- Do a short test roll before fully committing.
Low-quality tape can release in heat, especially on sunny windows.
If the shade is on a high-sun exposure window, compare solutions in best shades for south-facing windows and consider whether full replacement is the safer option.
Switching to heavier fabric can cause a clutch to slip or a motor to stall.
If you’re upgrading performance, review best fabrics for roller shades to understand weight and durability tradeoffs.
Cost reality: fabric-only replacement vs full replacement
A common expectation is that fabric-only replacement costs “half” as much. In reality:
- Fabric can represent a large portion of the total cost on higher-end shades.
- Labor/time is significant if you DIY.
- If the new fabric causes telescoping, the redo cost is real.
For a realistic baseline, use how much do custom roller shades cost and compare that to the fabric-only quote.
Tips to avoid telescoping after a fabric swap
Telescoping (fabric drifting sideways on the roll) is the #1 complaint after re-skinning.
To reduce risk:
- Ensure brackets are perfectly level.
- Confirm the tube is straight.
- Start fabric perfectly square.
- Avoid pulling the fabric sideways during operation.
If telescoping keeps happening, replacing the full shade may be cheaper than repeated adjustments.
FAQ: Replacing roller shade fabric
It depends on the shade design. Systems with adhesive attachment are often manageable for careful DIYers, but proprietary tubes and spring systems can be difficult.
Sometimes, but blackout fabric is often heavier. You must confirm the clutch and tube are rated for the increased weight.
Not usually. Uneven roll is often caused by bracket misalignment, tube deflection, or a worn mechanism.
Square the fabric carefully to the tube and confirm brackets are level. Run multiple test cycles and adjust early.
If the mechanism slips, the tube is bent, or you want motorization, a full replacement is usually the best long-term solution.
CTA: Want the simplest path with a guaranteed fit? Use the World Wide Shades builder or call (844) 674-2716 for guidance.