Roller shades for dormer windows need a little more planning than a shade on a wide, open wall. Before choosing fabric, work out where the brackets can sit and how the shade will travel past the window hardware.
The goal is not to follow the angle of the ceiling. It is to find a straight, level mounting position that lets the shade cover the glass without rubbing the surrounding surfaces. This guide explains how to map that space, compare mounting options, and avoid confusing the shade's overall width with its fabric width.
Bring your window photos and rough measurements to World Wide Shades before settling on a mounting style. Call (844) 674-2716 if the sloped ceiling makes the bracket position hard to judge.
Start with the window, not the roofline
First, check whether the glass stands vertically or follows the roof slope. VELUX describes roof windows as units installed flush along a pitched roof, which makes them a different starting point from a vertical window beneath a sloped ceiling (VELUX roof window buying guide).
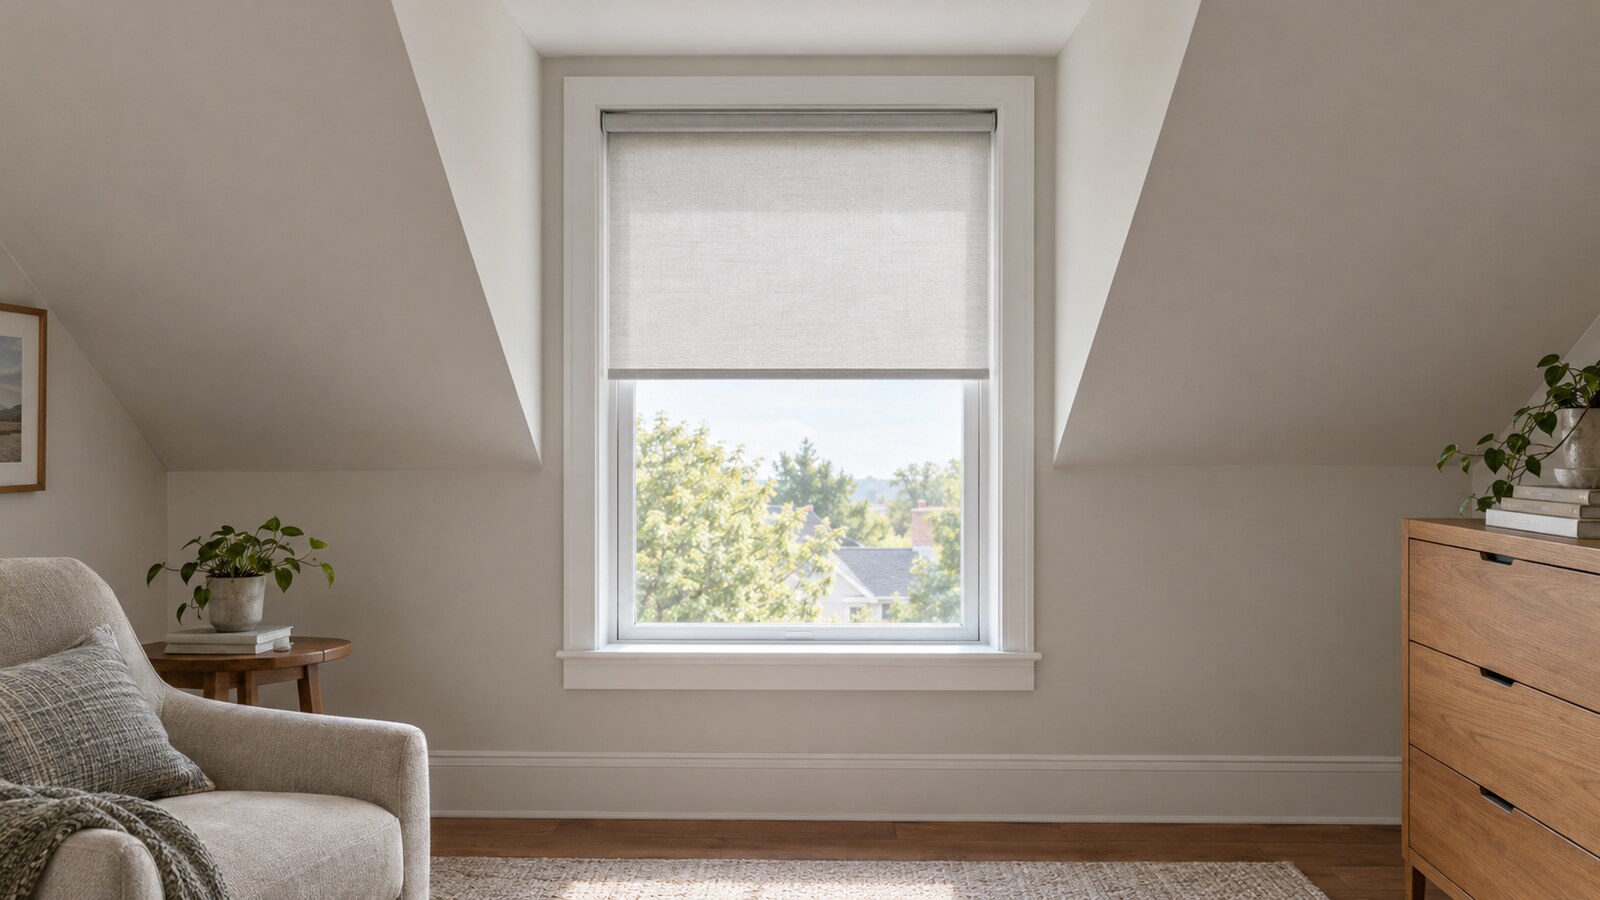
For a vertical dormer window, plan around a level roller above the opening. Do not assume a shade intended for vertical use can work across tilted glass; ask the manufacturer to confirm the application before ordering.
If your glass is overhead or angled, begin with our skylight shades guide. Record the window manufacturer's name and model number, then ask about a compatible shade rather than choosing by opening size alone.
Map the space around the opening
Use a steel tape measure and label every dimension as width, height, or depth; measure each window separately even when the dormers look alike (Blinds.com measuring guide). Give each opening a simple name, such as “left bedroom dormer,” so its notes stay together.
Take one photo straight on and another from the side. Add close-ups of the top corners, handles, locks, and trim so a reviewer can understand what the tape measurements cannot show.
Identify the flat underside at the top of the recess, the vertical wall above the opening, and any flat trim that might support brackets. Treat each as a possible location, not an approved attachment point.
Check the full proposed shade width at that position. A roof slope may leave room at the center while crowding one end, so mark both bracket locations before deciding that an outside mount will fit.
Sketch the proposed housing as well as the brackets. Include its depth into the room, its height, and the space needed to fit it into the brackets.
Write down where handles, locks, screens, and projecting trim sit. Open the window through its normal range and note anything that crosses the planned shade position.
Do not average away a tight corner. Record the restriction and ask whether the selected hardware can clear it without moving the fabric into another obstruction.
Measure an inside mount in a narrow recess
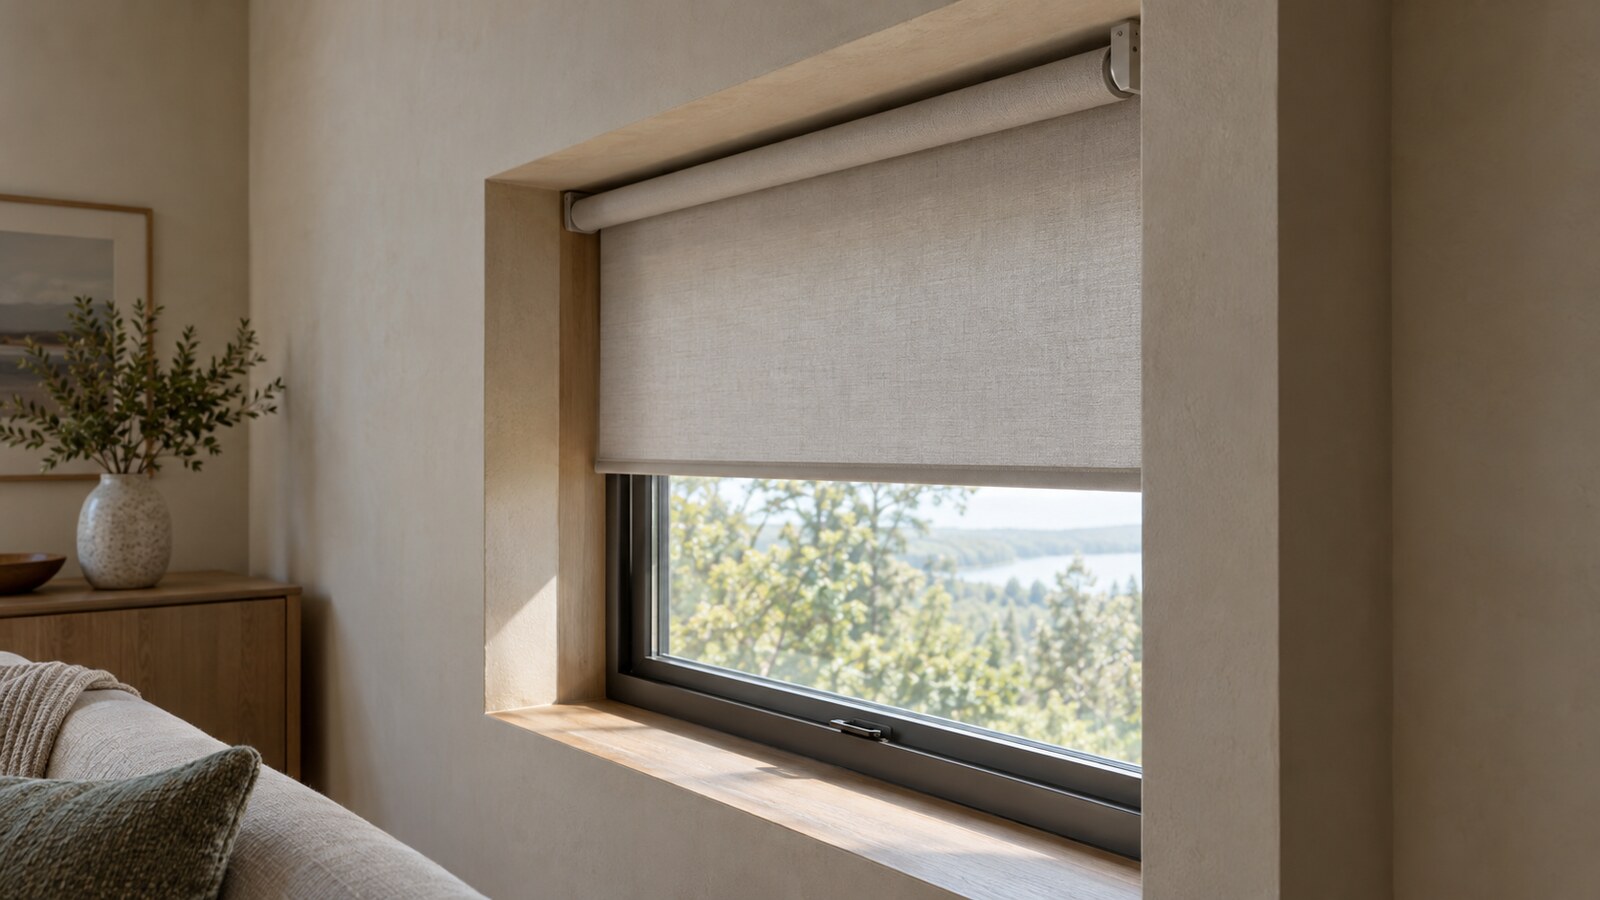
An inside mount is worth considering when you want to keep the shade within the window opening. Its feasibility depends on the selected product's mounting requirements, not simply on whether the recess looks deep enough (SelectBlinds measuring guide).
Record the opening width at the top, middle, and bottom so you can flag any narrowing. For the final ordering width, follow the selected shade's instructions: both SelectBlinds and Blinds.com direct customers to measure roller-shade width at the top (SelectBlinds measuring guide, Blinds.com measuring guide).
For example, suppose the top is 28 inches wide but the bottom is 27 5/8 inches. Send both dimensions for review rather than assuming the top measurement proves that the fabric and bottom bar can travel freely.
Measure height at the left, center, and right, and retain all three readings. The cited guides use the greatest height for their roller shades, but use the ordering rule supplied for your exact World Wide Shades configuration (SelectBlinds measuring guide, Blinds.com measuring guide).
Measure the usable depth where the brackets would actually attach, and note any handle or trim that interrupts that space. Compare it with both the minimum mounting depth and the flush-mount depth, which are separate specifications (SelectBlinds measuring guide).
As a hypothetical example, a recess with 2 1/4 inches of usable depth could meet a product's 2-inch mounting requirement without meeting its 3-inch flush requirement. Those numbers illustrate the comparison only; they are not World Wide Shades specifications.
Do not subtract a guessed allowance for the brackets. The cited measuring guides tell customers not to make their own inside-mount deductions, and SelectBlinds notes that deductions vary by configuration (SelectBlinds measuring guide, Blinds.com measuring guide).
Ready to compare configurations? Open the World Wide Shades builder, then confirm the mounting depth, minimum width, and ordering convention for your chosen lift and housing before submitting dimensions.
Fit an outside mount beneath a sloped ceiling
An outside mount is another option when recess depth or obstructions prevent an inside mount, but it still needs enough flat space for its hardware (Blinds.com measuring guide). In a dormer, test that space across the entire proposed width.
Start by marking the area you want the fabric to cover. Then compare that area with the selected product's overall dimensions and required bracket locations.
Do not mistake ordered shade width for fabric width. Manufacturer guidance notes that the fabric can be narrower than the overall shade, with the difference depending on the product and configuration (SelectBlinds measuring guide).
For example, covering a 26-inch opening with 2 inches of fabric overlap on each side requires 30 inches of fabric coverage. It does not automatically mean ordering a 30-inch-wide shade; first confirm how the supplier defines the ordered width.
Treat overlap as a design decision rather than a universal allowance. Manufacturer recommendations differ, so compare the available wall space, desired coverage, and exact product instructions (SelectBlinds measuring guide, Blinds.com measuring guide).
If moving the brackets upward makes the roof slope interfere, test a lower position on your sketch. If neither location works, pause and request a mounting review rather than forcing the shade into the corner.
Send the proposed location to World Wide Shades through our contact page, or call (844) 674-2716. Include the opening width, available wall width, and distance from the window top to the ceiling at both ends.
Choose the hardware before final measurements
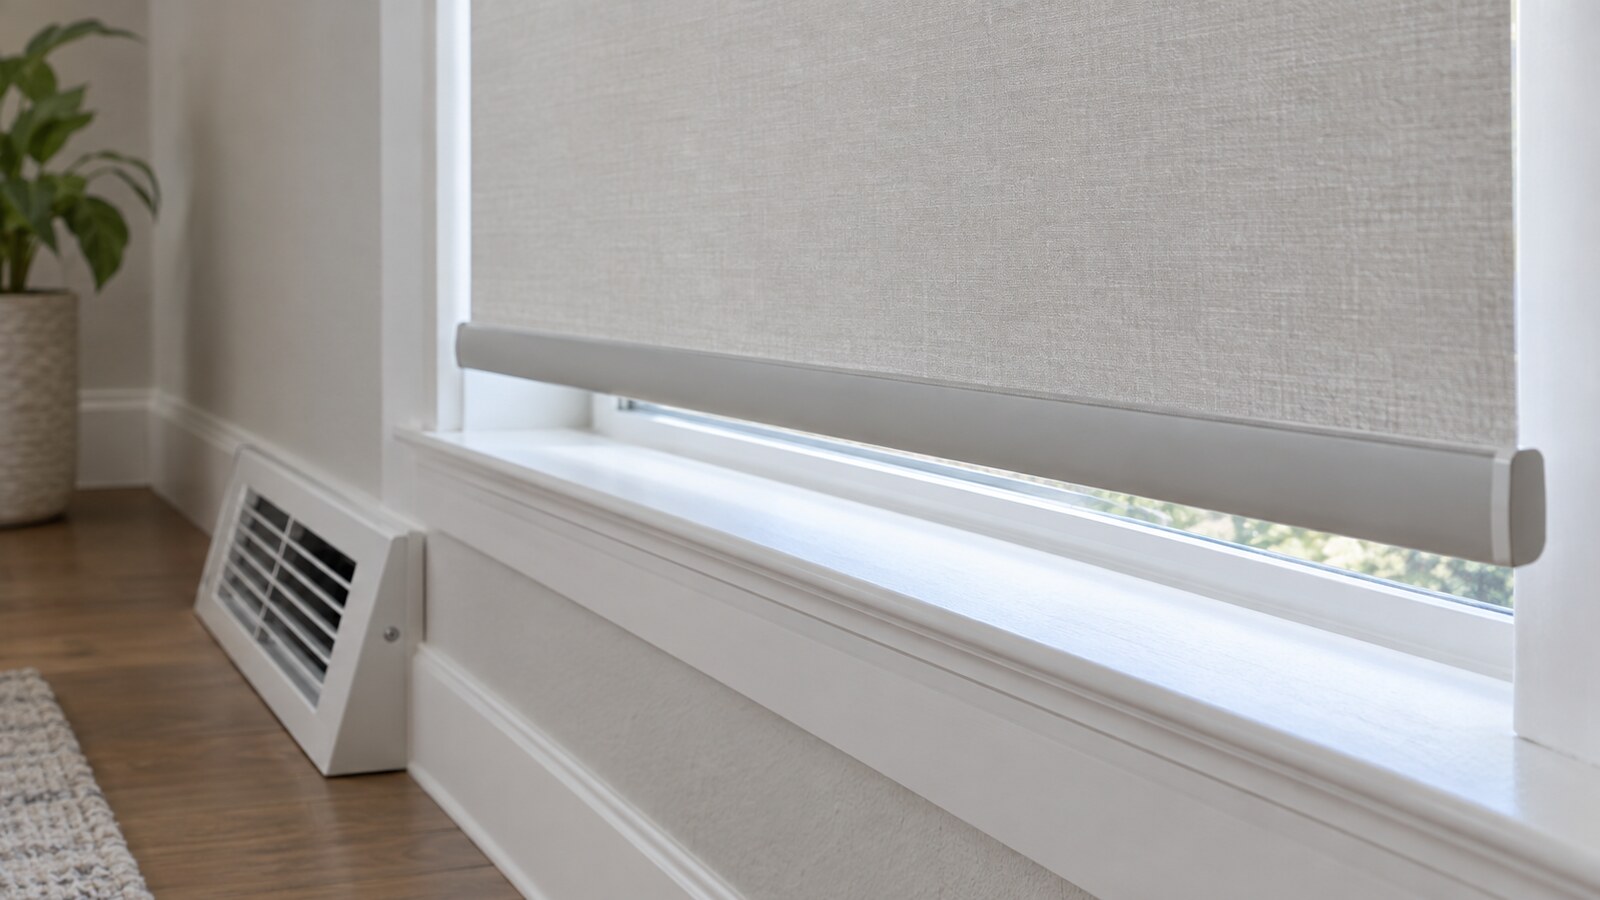
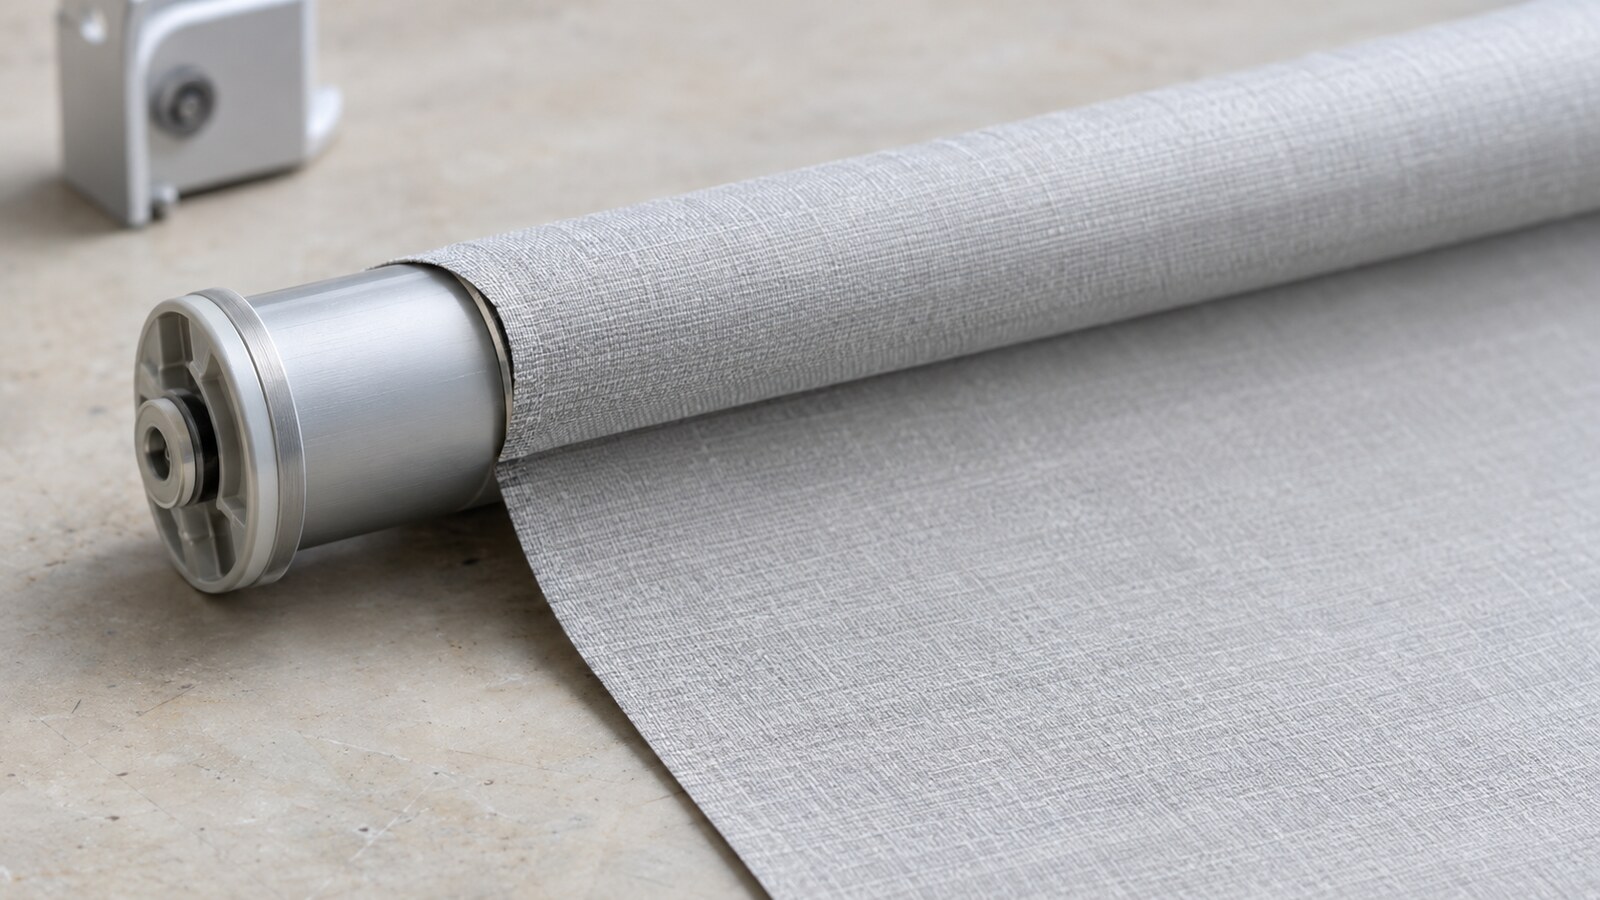
Compare an exposed roll and a cassette using their actual drawings. Mounting depth, flush depth, and outside-mount surface requirements can change with the housing and control type (SelectBlinds measuring guide).
Use a cardboard profile cut to the published dimensions to test the proposed position. Allow for the installation motion shown in the instructions, not just the space the housing occupies after mounting.
Ask about roll direction if a handle is close to the fabric path. Have World Wide Shades confirm the available options and resulting fabric position rather than assuming a different roll direction solves every clearance problem.
For a narrow dormer, check the minimum order width for the exact control system too. A promising mounting sketch is not enough until the selected configuration is available in that size.
Our roller shade installation guide provides useful preparation for the next stage. Keep the instructions shipped with your actual hardware as the final reference.
Match light control to the room
Compare fabric and edge coverage together rather than choosing by color alone. The manufacturer's fabric-deduction guidance shows why a shade's full hardware width does not represent an unbroken panel across the opening (SelectBlinds measuring guide).
For a bedroom, ask what light can remain around the installed shade and what options address it. For a desk or reading nook, test candidate samples where you expect glare instead of judging them elsewhere in the house.
Use our roller shade fabric guide to organize your choices. If the dormer faces strong afternoon sun, also review shades for south-facing windows before narrowing the sample selection.
Order World Wide Shades swatches and compare them at the dormer in morning and afternoon light. Hold each sample against the trim and wall so the final choice suits the whole recess.
Plan safe, comfortable daily operation
Choose a control you can use from a stable floor position. Before ordering, stand where you expect to operate the shade and consider whether a desk, bed, or window seat will block access.
For homes where young children are present, the CPSC recommends cordless window coverings as the safest option (CPSC window covering safety guidance). Review our child-safe window treatment guide alongside the exact product's safety instructions.
If you are considering motorization, ask how charging, batteries, and any power cable will be accessed. Plan service access before placing furniture beneath the window.
Compare the full configuration, not fabric alone, when setting a budget. Our guide to custom roller shade costs can help frame questions about the options you are considering.
Related guides for other shade problems
These guides cover neighboring fit and service questions: narrow front-door sidelights, deep window recesses, bottom-rail movement in airflow, and fabric detached from its roller tube.
For more specialty installations, see the recent guides to steel window frames, triangular gable windows, aligning adjacent shades, office glass partitions, and glass-block windows.
Frequently asked questions
Do not plan a tilted roller without written manufacturer approval for that application. For a vertical dormer window, ask for a level mounting solution and evaluate the roof slope as a surrounding clearance constraint.
Use the exact product specification, including the selected housing and control type. Manufacturer tables distinguish secure mounting depth from fully recessed depth, so meeting one does not necessarily meet the other (SelectBlinds measuring guide).
Not automatically: the cited roller-shade guides use the opening's top width, rather than a blanket narrowest-width rule (SelectBlinds measuring guide, Blinds.com measuring guide). Keep your middle and bottom readings and have any taper reviewed before ordering.
Do not assume fabric selection resolves the mounting gaps. Confirm the actual fabric width and discuss the proposed edge coverage, since the manufacturer may make the fabric narrower than the overall shade (SelectBlinds measuring guide).
Revisit the mounting plan before installation. Test the proposed position against the window's full operating path and ask for an alternative if the housing or fabric would interfere.
Make the mounting plan part of the order
A useful dormer plan includes the opening dimensions, usable depth, nearby slopes, window hardware, and desired fabric coverage. Keep those details together so the final order reflects the space rather than just the glass size.
Start your World Wide Shades design in the builder once the mounting approach is clear. If a corner or clearance remains uncertain, resolve it before ordering instead of trying to correct the fit during installation.